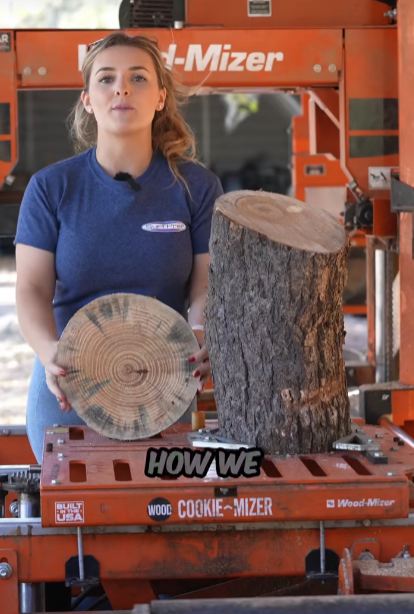
People always seem curious about how we make our wood cookies—the beautiful, round, natural slabs that we use for crafts, home décor, and even furniture. Whether it’s at the farmer’s market, a local art fair, or just in the backyard when neighbors walk by, we constantly get asked: “How do you make those so perfectly round?” or “Is there a special tool for that?” The answer is yes. We use a special attachment called the Cookie-Mizer, and honestly, we wouldn’t have it any other way.
So, let’s take a deep dive into how we make our wood cookies from raw logs, how the Cookie-Mizer works, and what makes this process not just efficient but actually kind of fun. If you’ve ever thought about making your own wooden slabs for DIY projects or even just wanted to understand what goes into making these rustic masterpieces, you’re in the right place.
What Are Wood Cookies?
Before we talk tools and techniques, let’s clarify what a “wood cookie” is. In woodworking lingo, a “cookie” is a thin, horizontal slice of a log—imagine slicing a loaf of bread, but the bread is a tree trunk. These cookies preserve the cross-section of the tree, complete with growth rings, natural edges, and all the character that makes wood so appealing.
They’re used in all kinds of projects: coasters, tabletops, clocks, wall art, stools, and rustic signage. Because they show the tree’s age rings and grain patterns, no two cookies are ever alike, making each piece unique and valuable.
From Tree to Cookie: Our Process
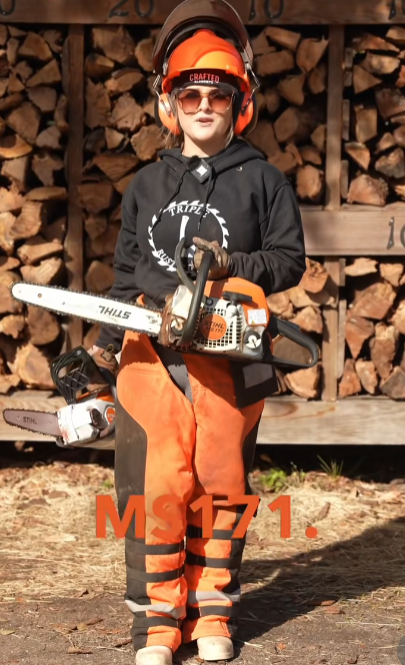
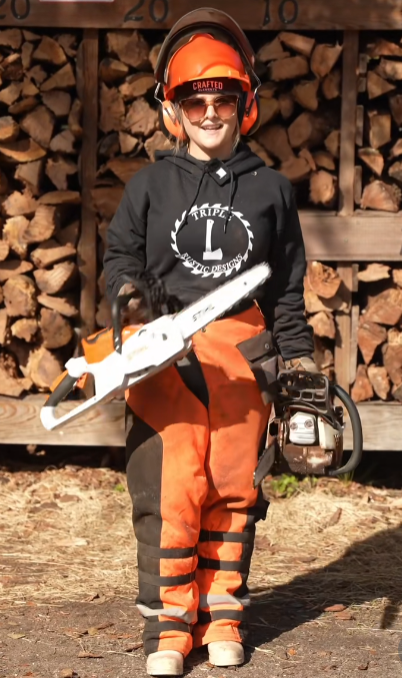
The first step in our cookie-making process is sourcing the right wood. We don’t just grab any log and slice it. We look for logs that are relatively straight, dry or dry-able, and without excessive cracking or rot. Oak, maple, cedar, cherry, and walnut are among our favorites, but we experiment with different species all the time.
Once we select the right log, we prep it by removing any dirt, bark that’s too loose, or sharp edges that might interfere with our tools. We cut logs into manageable lengths, usually no longer than 3–4 feet, depending on the diameter. This makes them easier to handle on our sawmill.
Enter the Cookie-Mizer
Now comes the magic: the Cookie-Mizer.
The Cookie-Mizer is an ingenious attachment that fits onto our sawmill and transforms it into a precise cookie-cutting machine. It holds the log steady, aligns it at just the right height, and allows us to make clean, even cuts across the entire length of the log. Without it, the process would be much harder, riskier, and less consistent.
The problem with cutting wood cookies by hand or with a chainsaw is the wobble. Logs are round, and they love to roll or tilt. Even on a bandsaw mill, it’s hard to keep a round log from shifting or tipping during a horizontal cut. That’s where the Cookie-Mizer shines—it cradles the log securely and keeps it from rolling during the cutting process. Plus, it lets us make cut after cut at the same thickness with very little adjustment.
Precision and Efficiency
Once everything’s set, the actual cutting process is smooth. The sawmill glides over the top of the log, slicing off perfectly even cookies. We can cut 10, 15, even 30 cookies in one session, all uniform and clean-edged.
The Cookie-Mizer helps reduce the amount of sanding and finishing work we have to do later. Because the cuts are consistent and clean, we don’t end up with rough or jagged edges. That saves hours of work and a lot of wear and tear on our sanding equipment.
Drying and Curing
One thing most people don’t realize is that freshly cut wood cookies can crack or warp if they’re not dried properly. After cutting, we lay each cookie flat and label them with the date and species. Then we stack them with spacers between each cookie to allow air circulation and prevent mold.
Drying can take weeks or even months, depending on the wood species and thickness. Sometimes we use a kiln to speed up the process, but air drying is often better for maintaining natural color and stability.
Sanding, Sealing, and Finishing
Once the cookies are dry, we start the finishing process. This includes:
- Sanding: We use a belt sander or orbital sander to smooth both surfaces. Sometimes the natural edge gets a light touch just to knock off any splinters.
- Sealing: To prevent future cracking or moisture damage, we seal the cookies using wood stabilizer, epoxy, or polyurethane, depending on the final use.
- Finishing Touches: We might laser-engrave, paint, or attach hooks and handles depending on the final product. This is where the cookie goes from rustic to refined.
Why We Love the Cookie-Mizer
We’ve tried a lot of methods over the years—chainsaws, handheld band saws, jigs, even circular saws—but nothing compares to the control and precision of the Cookie-Mizer. It not only saves time, but it saves wood by reducing waste. And it lets us take on larger batches with consistent quality every time.
We love it so much that it’s become a key part of our production workflow. We even recommend it to other small woodshops or hobbyists looking to expand their capabilities.
Final Thoughts
So now you know! When people ask us, “How do you get those wood cookies so perfect?” we smile and say, “It’s the Cookie-Mizer.” But the truth is, it’s also years of experience, attention to detail, and a love for the craft.
Every cookie tells a story. You can see the tree’s history in the rings. You can feel the craftsmanship in the smooth surface and the clean edge. And when someone turns that slice of wood into a clock, a centerpiece, or a memory, we feel proud to have been a part of it.
If you’ve ever wanted to make your own wood cookies, consider giving it a try—but don’t forget that the right tools make all the difference. And for us, that tool is the Cookie-Mizer.
Happy cutting!