In the world of construction and interior design, wall finishing is a critical step that determines both the appearance and durability of a structure. One method that has gained significant popularity in recent years is thin-layer wall plaster. This technique offers an efficient, cost-effective, and aesthetically pleasing way to create smooth, clean surfaces. Whether for renovation projects or new constructions, thin-layer plaster provides many advantages over traditional thick plaster applications. In this article, we will explore what thin-layer plaster is, its benefits, application methods, and best practices.
What is Thin-Layer Wall Plaster?
Thin-layer wall plaster, sometimes referred to as skim coat plaster or thin coat render, is a finishing material applied in a thin layer—usually between 1 to 3 millimeters thick—on interior walls and ceilings. Unlike traditional thick plastering methods, which may require multiple coats totaling up to 20 mm or more, thin-layer plaster focuses on creating a smooth and even surface with minimal material.
The plaster used can be cement-based, gypsum-based, or lime-based, depending on the surface and project requirements. It’s typically applied over pre-leveled surfaces such as cement boards, drywall, concrete, or old plaster walls that only require smoothing rather than structural filling.
Advantages of Thin-Layer Plaster
1. Faster Application Time
One of the major advantages of thin-layer plaster is its speed. Since only a small amount of material is required per square meter, skilled workers can complete large areas quickly. This makes it ideal for time-sensitive projects.
2. Cost-Effective
Because it uses less material and reduces labor time, thin-layer plastering is generally more affordable than traditional thick plastering. You save on materials, workforce hours, and energy consumption.
3. Smooth, High-Quality Finish
Thin-layer plaster can create a nearly flawless surface that is ideal for painting or wallpapering. It hides small imperfections and offers a clean, professional look that enhances the overall interior design.
4. Minimal Shrinkage and Cracking
Due to its thin application, this type of plaster is less prone to shrinkage cracks, which are common in thicker applications. This means longer-lasting results and fewer maintenance needs.
5. Lightweight and Less Load on Structures
Especially useful in high-rise buildings and lightweight partition walls, thin-layer plaster adds minimal weight to the structure.
Suitable Surfaces for Thin-Layer Plaster
Thin-layer plaster is not suitable for every surface. It is most effective when the underlying substrate is already relatively smooth and stable. Ideal surfaces include:
- Drywall (gypsum boards)
- Smooth concrete walls
- Old plaster that is still firm and crack-free
- Cement fiber boards
- Moisture-resistant panels in bathrooms and kitchens
It is not ideal for uneven, rough, or crumbling walls unless they are first treated or leveled with a base coat.
Types of Thin-Layer Plaster
Depending on the application and environmental conditions, you can choose from several types of thin-layer plaster:
1. Gypsum-Based Plaster
Ideal for indoor environments with normal humidity, gypsum plaster dries quickly and provides a smooth finish. It’s lightweight and easy to apply.
2. Cement-Based Plaster
Suitable for areas with higher humidity or exterior applications, cement plaster is more durable but requires careful handling to prevent cracking.
3. Lime-Based Plaster
Traditionally used in heritage buildings, lime plaster is breathable and helps with moisture regulation. It is environmentally friendly and offers a natural finish.
Application Process
Applying thin-layer plaster requires skill, precision, and the right tools. Here’s a general overview of the process:
Step 1: Surface Preparation
Clean the surface of dust, grease, and loose particles. Apply a bonding agent or primer if necessary, especially on concrete or very smooth surfaces.
Step 2: Mixing the Plaster
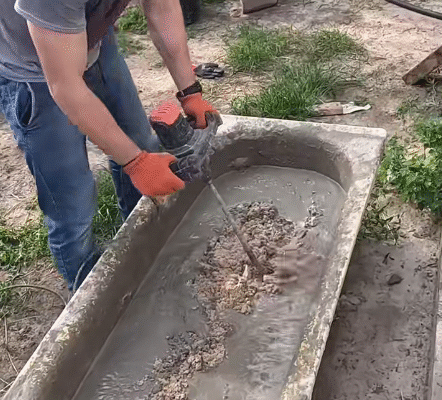
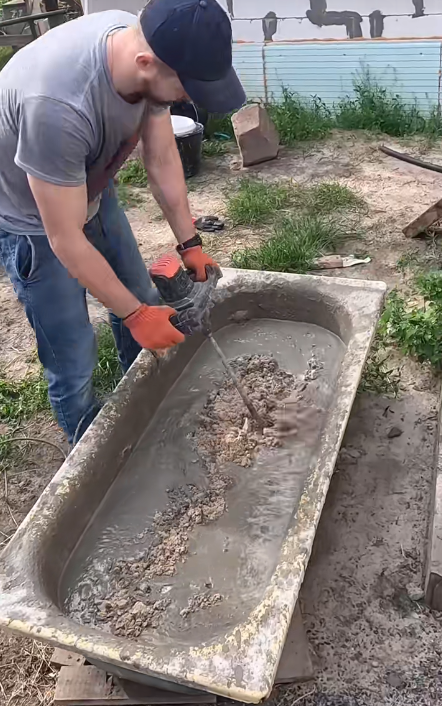
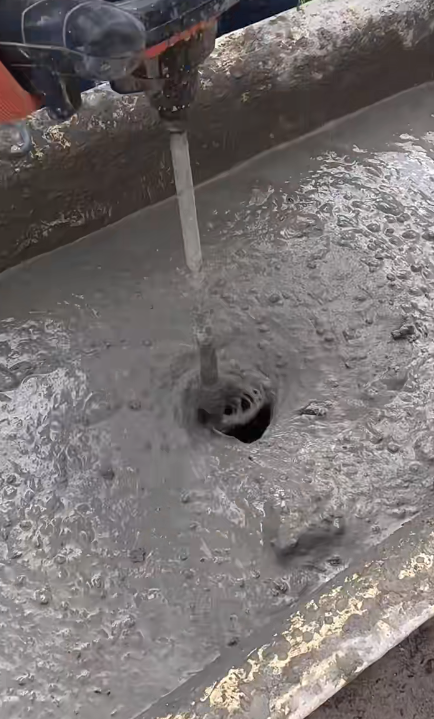
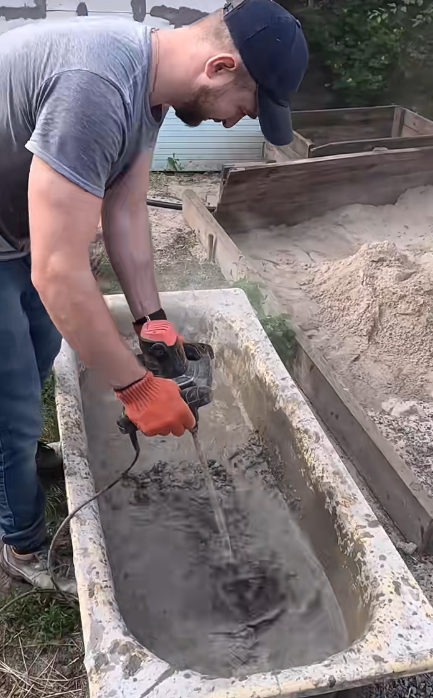
Follow the manufacturer’s instructions to mix the plaster. Ensure a lump-free, creamy consistency. Avoid overmixing, which can trap air bubbles.
Step 3: Application
Use a stainless steel trowel to spread a thin, even layer of plaster across the wall. Work in sections and maintain consistent pressure to avoid ridges or uneven areas.
Step 4: Smoothing and Finishing
Once applied, use a float to smooth the surface. Let it set slightly, then re-trowel to remove marks and imperfections. Some plaster types allow for sanding after drying for an ultra-smooth finish.
Step 5: Curing and Drying
Allow the plaster to dry completely before painting or wallpapering. Drying times vary but generally range from 24 to 48 hours depending on room temperature and humidity.
Tools and Equipment Needed
To ensure a successful application, the following tools are recommended:
- Stainless steel trowel
- Hawk board
- Mixing bucket and drill with a paddle
- Sandpaper or sanding block (if needed)
- Primer or bonding agent
- Protective gloves and safety goggles
Common Mistakes to Avoid
Even though thin-layer plastering is relatively straightforward, there are a few common pitfalls:
- Overapplication: Applying too thick a layer can lead to cracking and poor adhesion.
- Poor surface preparation: If the base surface isn’t clean or stable, the plaster won’t bond well.
- Incorrect mixing: Using the wrong water-to-powder ratio can ruin the consistency and make application difficult.
- Working in poor conditions: Very hot, cold, or humid environments can affect drying time and finish quality.
- Skipping priming: Primers help bond the plaster to the surface and prevent suction, which could otherwise cause uneven drying.
When to Use Thin-Layer Plaster
This method is particularly useful in the following situations:
- Home renovations: When old plaster is still in good condition but needs refreshing.
- Commercial buildings: Where time and budget efficiency are essential.
- Interior decoration: Before applying paint or decorative coatings.
- Drywall installation: For final surface smoothing before painting.
Conclusion
Thin-layer wall plaster is a versatile, modern solution for achieving smooth, polished interior walls. With the right materials, preparation, and techniques, this method delivers a high-quality finish while saving time and costs. It is an excellent choice for DIY enthusiasts, professional builders, and interior designers alike. As long as the underlying surface is sound and well-prepared, thin-layer plaster can transform any room with minimal effort and maximum impact.
By embracing this efficient wall-finishing technique, homeowners and professionals can enjoy long-lasting results and beautiful surfaces that enhance the aesthetics and functionality of their spaces.
