Installing a terrace is a rewarding home improvement project that extends your living space and enhances outdoor comfort. However, the success and durability of your terrace depend heavily on how well you prepare the site. Whether you’re building a wooden deck, a tiled patio, or a composite terrace, careful preparation is key. In this article, we’ll walk through how to properly prepare a place for the installation of a terrace, covering everything from choosing the location to preparing the foundation.
1. Choosing the Right Location
The first step in preparing for terrace installation is selecting an appropriate location. Ideally, the terrace should be easily accessible from your home, perhaps via a backdoor or living room opening. Consider the following:
- Sunlight and Shade: Do you want a sun-drenched space or something more shaded?
- Privacy: Will the terrace be visible to neighbors or passersby?
- Views: Does the location offer pleasant views or connection with your garden?
- Accessibility: Can you access it easily for relaxation, entertainment, or dining?
2. Planning and Measurements
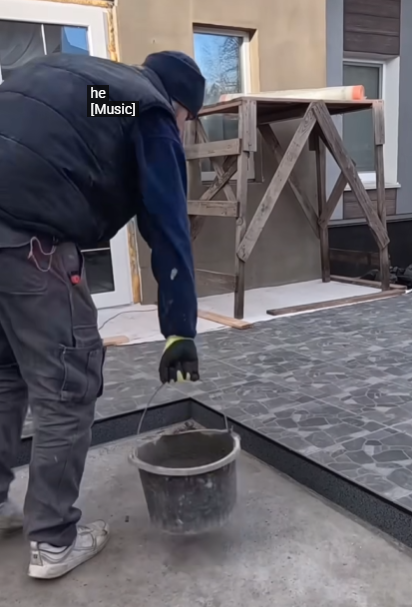
Once the location is chosen, it’s time to measure the area. Accurate measurements ensure that you order the correct amount of materials and avoid costly mistakes.
- Mark the Area: Use string lines, stakes, and spray paint to outline the perimeter.
- Determine Dimensions: Note the length, width, and height relative to existing doors or structures.
- Allow for Expansion: If using materials like wood, remember they expand and contract with weather changes.
A detailed sketch or plan of the area will help during construction and is essential if you’re working with professionals or applying for building permits.
3. Clearing the Site
With your plan ready, the next step is to clear the site. This is often one of the most labor-intensive parts, but it sets the foundation—literally—for the rest of the build.
- Remove Plants and Grass: Use a spade or sod cutter to remove vegetation.
- Excavate if Necessary: For ground-level terraces, you may need to dig down a few inches to accommodate a gravel base or concrete slab.
- Remove Debris: Clear away roots, rocks, or any materials that could affect leveling.
If you’re replacing an old terrace, demolition may be necessary. Always wear proper safety gear and dispose of waste responsibly.
4. Leveling the Ground
A level surface ensures stability and prevents water pooling. Use a spirit level, long straight boards, and stakes to check your work.
- Compact the Soil: Use a hand tamper or plate compactor to press the soil down firmly.
- Add a Base Layer: Most terraces benefit from a sub-base of gravel or crushed stone. Spread this evenly and tamp it down.
- Check Drainage: The terrace should slope slightly away from your home (typically 1–2%) to allow rainwater to run off.
Improper leveling can lead to structural problems down the line, so don’t rush this step.
5. Setting the Foundation
Depending on the type of terrace you’re installing, the foundation will vary. Here are a few common options:
a. Concrete Slab
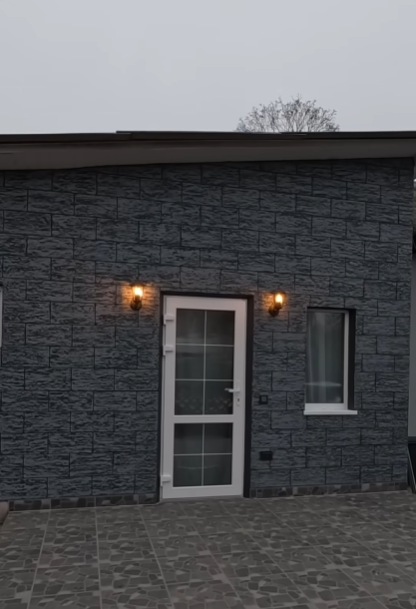
For tiled or stone terraces, a concrete slab provides a stable and permanent base.
- Build formwork using wooden planks around the prepared area.
- Pour concrete evenly, using a screed to level it out.
- Allow it to cure fully—usually 24–48 hours.
b. Gravel Base
Ideal for decks and some paver terraces, gravel provides drainage and support.
- Spread gravel in layers, tamping each one down.
- Use landscape fabric between soil and gravel to prevent weed growth.
c. Deck Footings or Piers
If you’re installing a raised wooden or composite deck, you’ll need posts set in concrete footings.
- Dig holes below frost line (check local building codes).
- Set posts or piers, ensuring they are plumb and level.
- Pour concrete and allow it to cure before continuing.
6. Laying a Weed Barrier (Optional)
If you’re building a ground-level terrace, especially with tiles or pavers, consider installing a weed barrier fabric over the base before proceeding.
- This prevents vegetation from growing between cracks.
- It also adds a layer of protection between soil and the terrace material.
7. Double-Check Utilities and Drainage
Before final installation, it’s crucial to verify that there are no underground utilities where you plan to dig or install footings. You can usually contact your local utility provider to mark lines for gas, water, or electricity.
Additionally:
- Plan Drainage Solutions: Include drains, gravel trenches, or run-off areas as necessary.
- Downspouts: Redirect them away from the terrace to avoid pooling water or erosion
8. Permit and Inspection (If Required)
In many areas, adding a terrace requires a building permit, especially if it’s attached to your home or elevated. Submit your plans to the local planning department and schedule any necessary inspections.
Skipping this step could result in fines or being required to remove the terrace later.
9. Preparation for Final Installation
With the ground leveled, base in place, and utilities marked, your site is now ready for the actual terrace materials—whether it’s pavers, decking boards, or tiles.
- Lay Out Materials: Set them temporarily to visualize the layout.
- Gather Tools: Ensure you have everything you need—saws, drills, spacers, level, etc.
- Organize Work Area: Keep tools, fasteners, and materials organized for efficient installation.
10. Safety and Sustainability Tips
- Use Treated Lumber or Weather-Resistant Materials: Especially important for wood terraces.
- Recycle Removed Materials: Wood, concrete, or soil may be repurposed elsewhere.
- Wear Safety Gear: Gloves, goggles, and boots are essential during ground prep.
Final Thoughts
Preparing a place for the installation of a terrace is a foundational step that determines the longevity and functionality of the final structure. Taking the time to carefully plan, clear, level, and lay a proper foundation will save you time, money, and headaches down the line. Whether you’re doing it yourself or hiring professionals, a well-prepared site ensures your terrace becomes a beautiful, sturdy, and long-lasting outdoor retreat.
