In true “American” style—independent, hands-on, and a little bit proud—let’s talk about building your own blind area path around the house. Whether you’re looking to protect your foundation, create a clean edge around your home, or just love a good weekend project, this DIY path is a perfect way to get your hands dirty and your home looking sharp.
But first—what exactly is a blind area path?
What Is a Blind Area?
A blind area (also called a blind zone or blind strip) is a protective buffer zone around the perimeter of your house, usually made of gravel, concrete, or paving stones. It helps redirect rainwater away from the foundation, prevents soil erosion, keeps your basement dry, and blocks weeds or grass from creeping up the walls.
It’s practical and essential. And when done right—it even looks good.
Why Go the DIY Route?
Doing it yourself is more than just saving money. It’s about taking pride in the work, choosing your own materials, setting your own pace, and maybe enjoying a cold drink in the shade after a job well done.
American homeowners love DIY because it gives them control and satisfaction. So, let’s roll up our sleeves.
Step 1: Planning the Project
Before you touch a shovel, take time to plan.
- Measure the perimeter of your home
Walk around with a measuring tape. You’ll want your blind area path to extend about 24 to 40 inches from your house, depending on your local climate and soil. - Choose the material
- Concrete: Durable, long-lasting, sleek
- Paving stones: Aesthetic and easier to repair
- Gravel: Cheap, fast, good drainage
- Check local regulations
Some neighborhoods have HOA guidelines or local codes about water drainage and construction close to the property line. A quick call to city hall or your building department will save headaches.
Step 2: Gather Your Tools & Materials
You’ll need:
- Shovel
- Rake
- Tamper or plate compactor
- Wheelbarrow
- Edging material (plastic, metal, or stone)
- Weed control fabric
- Gravel, concrete mix, or paving stones
- Level
- Gloves and safety glasses
Optional but handy:
- Mason line and stakes (to mark straight paths)
- Concrete mixer or mixing tub
- Spirit level
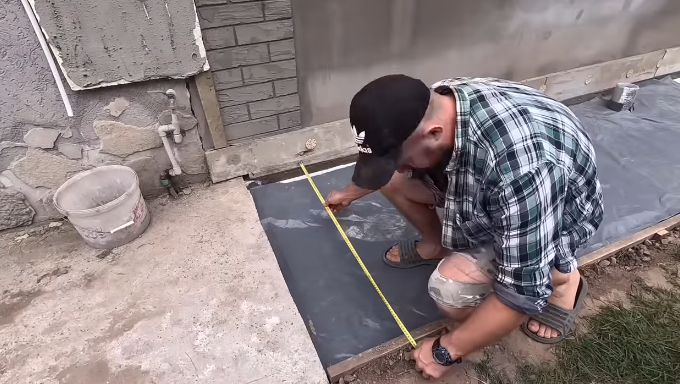
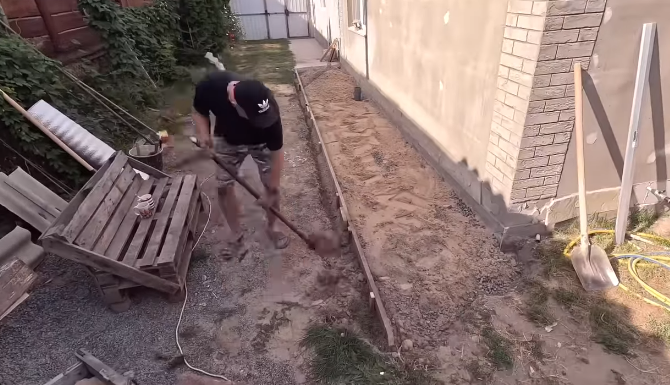
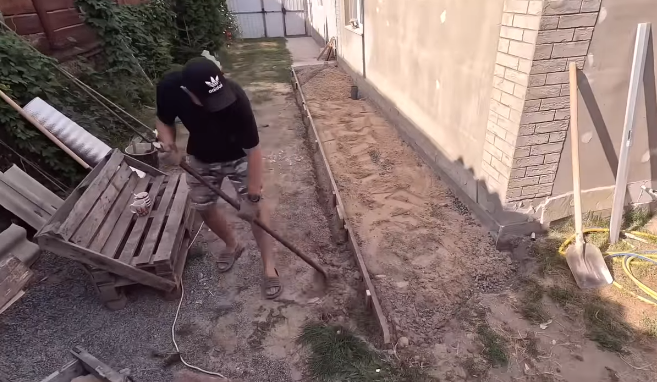
Step 3: Mark and Excavate
Use stakes and string to outline your blind area path. Make sure your lines are straight and square. If you’re going for curves, lay out a garden hose as a guide.
Dig down 4 to 6 inches, depending on your material:
- For gravel, you’ll need less depth—about 4 inches.
- For concrete or pavers, aim for 5–6 inches to account for base and finish material.
Pro tip: Ensure the trench slightly slopes away from your house—about a 2% slope—to encourage drainage.
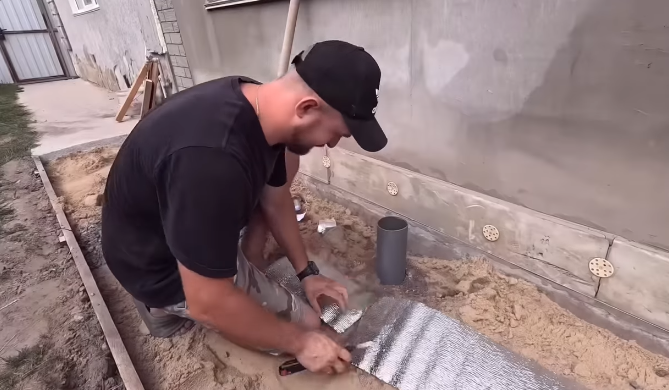
Step 4: Prepare the Base
This part is critical for longevity. A poorly prepared base leads to sinking and cracking later on.
- Compact the soil at the bottom of the trench.
- Add a base layer of crushed stone or gravel (around 3 inches thick).
- Tamp it down firmly with a tamper or plate compactor.
Then, lay down weed barrier fabric over the compacted base. This stops weeds from creeping in later and keeps the look clean.
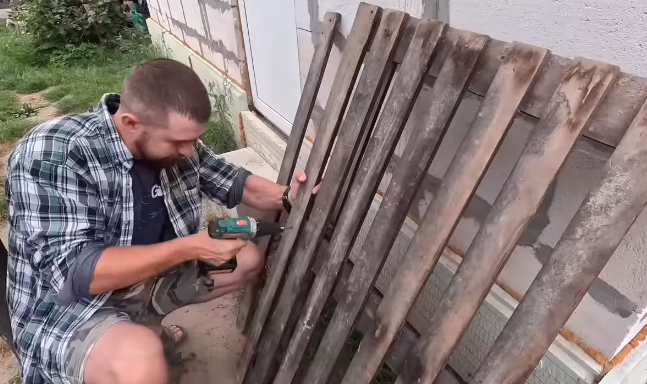
Step 5: Install Edging
Edging holds everything in place and keeps the path neat.
- For gravel, plastic or metal edging will keep the stones contained.
- For pavers, you may want concrete edge restraints or buried bricks.
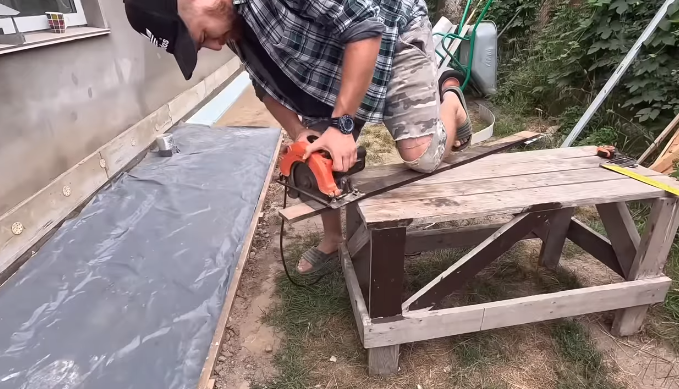
- For concrete, wooden forms will help you pour straight, even paths.
Drive stakes into the ground to hold your edging tight. The cleaner the edge, the more professional the result.
Step 6: Add Your Surface Material
Option 1: Gravel Blind Area
- Pour in a 2- to 3-inch layer of decorative gravel.
- Rake it out evenly.
- Optional: Use stepping stones for a walkway effect.
Gravel is the simplest option—and great for drainage.
Option 2: Paving Stone Path
- Spread a layer of sand (about 1 inch thick) over the gravel base.
- Use a straight 2×4 and level to screed it smooth.
- Lay your pavers snugly, using spacers if needed.
- Tap them into place with a rubber mallet.
- Fill gaps with fine sand or polymeric sand and sweep it in.
- Mist with water to set.
Pavers take more time but offer a high-end look.
Option 3: Concrete Blind Area
- Mix your concrete according to package directions.
- Pour into your wooden forms.
- Use a screed to level it out.
- Smooth the surface with a trowel.
- Add control joints with a groover to prevent cracking.
Let it cure for at least 24–48 hours before walking on it.
Step 7: Final Touches
Clean up the area. Remove extra materials, tidy up your edging, and check for spots that need topping up. You may even want to:
- Add lighting for nighttime elegance.
- Install drainage pipes under the path if water tends to pool.
- Plant decorative shrubs or mulch just beyond the blind area.
Maintenance Tips
Even in “American” DIY style, the job isn’t done forever. Here’s how to keep it looking good:
- Rake gravel occasionally to keep it level.
- Pull any weeds that sneak in at the edges.
- Refill sand between pavers every year or so.
- Seal concrete every few years to prevent cracks.
Final Thoughts
The blind area path around your house may not be the flashiest project—but it’s one of the smartest. It protects your home, adds curb appeal, and says something about the kind of homeowner you are: practical, self-reliant, and just a little bit proud of your work.
So grab your gloves, fire up your playlist, and build it “in the American manner”—DIY, with determination and style.