Creating a garden path made of concrete is one of the most practical and beautiful ways to enhance your outdoor space. A concrete path not only offers durability and strength but also brings structure, function, and charm to your garden. Whether you have a small backyard garden or a sprawling landscape, a well-planned concrete path can guide visitors, protect your plants, and create a neat, organized appearance.
Why Choose Concrete for Your Garden Path?
Concrete is a top choice for garden paths due to several compelling reasons. First, it’s extremely durable. Unlike gravel or wood chips, concrete doesn’t wash away during heavy rains or shift out of place over time. It can handle foot traffic, wheelbarrows, and even heavy garden equipment with ease.
Second, concrete is versatile in design. It can be poured into molds to create custom shapes, textured to resemble natural stone, or stained in various colors to complement your garden’s aesthetic. Whether you prefer a modern, clean look or a rustic, natural feel, concrete can be adapted to suit your vision.
Additionally, maintenance is minimal. Once a concrete path is properly installed and sealed, it requires little upkeep beyond occasional cleaning. This makes it a time-saving and cost-effective solution in the long run.
Planning Your Garden Path
Before starting construction, careful planning is essential. Think about where the path will go and how it will be used. Is it a main walkway to the back of your house, or a meandering trail through flower beds? Identify key points in your garden that the path should connect, such as a seating area, fountain, or shed.
Measure the length and width of the path. A standard width is about 3 feet, allowing two people to walk side by side comfortably. For narrow, decorative paths, you can go as small as 18 inches wide.
Also consider the shape. A straight path is easier to build and gives a formal appearance, while a curved or winding path adds a natural, relaxed vibe. Use a garden hose or string to lay out the shape on the ground before digging.
Tools and Materials You’ll Need
To build a concrete garden path, gather the following tools and materials:
- Shovel or spade
- Wheelbarrow
- Wooden stakes and string
- Concrete mix
- Water hose or buckets
- Mixing tub or concrete mixer
- Trowel and float
- Edging boards or path molds
- Gravel or crushed stone (for the base)
- Rebar or wire mesh (for reinforcement, optional)
- Concrete sealer (optional)
You can purchase pre-mixed concrete from a hardware store or mix your own using cement, sand, and gravel.
Step-by-Step Guide to Building the Path
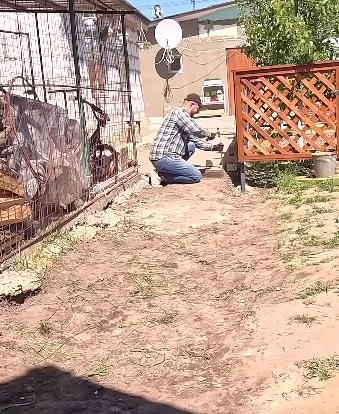
1. Prepare the Ground
Mark the path layout using string and stakes. Then, dig out the marked area to a depth of about 4 to 6 inches, depending on how thick your path will be. Make sure the base is level or slightly sloped away from structures to allow drainage.
2. Add a Base Layer
Pour a 2- to 3-inch layer of gravel or crushed stone into the trench. Compact it using a hand tamper or plate compactor to create a firm base. This helps prevent cracking by improving drainage and supporting the concrete slab.
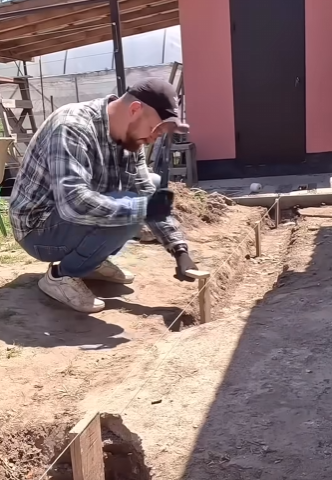
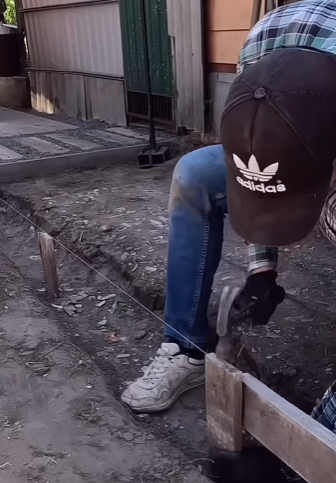
3. Install Edging or Molds
If you’re pouring a straight-edged path, use wooden boards to create forms along both sides of the path. Secure them with stakes and ensure the tops are level. For a more decorative look, you can use path molds that create individual concrete stones or patterns.
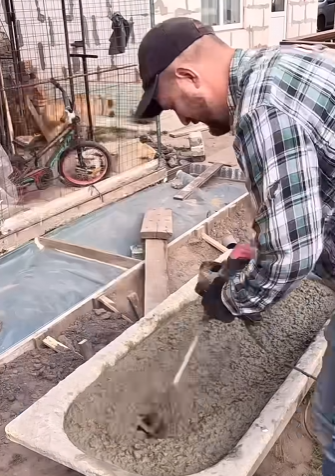
4. Mix and Pour Concrete
Prepare your concrete according to the instructions on the bag. If you’re using a mixer, follow safety instructions carefully. Pour the concrete into the path mold or form, starting at one end and working your way down.
Use a shovel or rake to spread the concrete evenly. Tap the sides of the forms with a hammer to help the concrete settle and remove air bubbles.
5. Smooth and Finish
Use a trowel to smooth the surface of the concrete. For a non-slip finish, you can use a broom to gently sweep the surface before it sets. You can also press in textures or patterns with stamps or natural materials like leaves or stones.
Allow the concrete to cure for at least 24–48 hours before removing forms. Avoid walking on it during this time.
6. Seal the Surface (Optional)
To enhance durability and appearance, apply a concrete sealer after the surface has fully cured (usually within 7 days). Sealers protect against water, stains, and UV damage, and some can give the path a glossy or matte finish depending on your preference.

Creative Design Ideas
Concrete doesn’t have to be boring. With a little creativity, your garden path can become a beautiful feature in itself.
- Stained Concrete: Add color to your path with concrete stains or dyes. Earth tones blend well with natural gardens, while bold hues can add a modern touch.
- Stamped Patterns: Use concrete stamps to create the look of cobblestone, slate, or brick. These patterns add character and visual interest.
- Embedded Stones or Tiles: Embed pebbles, glass pieces, or decorative tiles into the wet concrete for a mosaic effect.
- Border Plants: Line your path with flowers, ornamental grasses, or low shrubs to soften the edges and integrate the path into your garden.
Maintenance Tips
Though concrete is low-maintenance, a few simple steps will keep your path looking its best:
- Regular Cleaning: Sweep away dirt, leaves, and debris. Occasionally hose it down to remove stains or mildew.
- Weed Control: Prevent weeds from growing along the edges by applying mulch or using landscape fabric underneath the path.
- Inspect for Cracks: Small surface cracks are common over time. Patch them early with a concrete repair mix to prevent further damage.
- Re-seal as Needed: Depending on the product, reapply concrete sealer every 2–3 years to maintain protection.
Final Thoughts
A concrete garden path is a smart investment that adds both function and beauty to your outdoor space. Whether you’re guiding visitors through your flower beds or creating a sturdy walkway to a shed, concrete offers a lasting, attractive solution. With proper planning, the right tools, and a bit of effort, you can create a stunning path that elevates your entire garden.
So roll up your sleeves, grab your tools, and start building a concrete path that you’ll enjoy for years to come!