Home improvement projects can be both intimidating and empowering. When I stood in front of my house, staring at the worn and chipped facade, I knew it was time to give it a much-needed makeover. I had no prior experience, but something deep inside me said, “You can do this.” That’s how I began my journey with putty, plaster, and a bold vision: to coat the base of my house with eternally black decorative plaster.
Step 1: Assessing the Facade
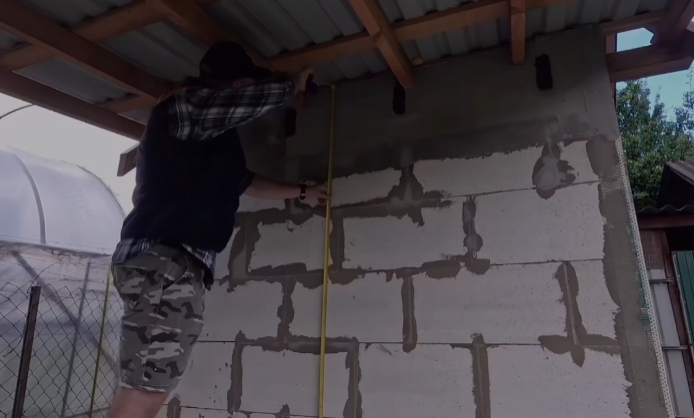
The first thing I did was thoroughly inspect the facade. Years of exposure had left the surface cracked, faded, and flaky. The base — that crucial lower section of the exterior — was especially neglected. Water stains, uneven patches, and discoloration made it look like the house had been crying for years. It was time to give it a facelift.
Step 2: Learning the Basics of Puttying
Before touching a single tool, I did my research. What is facade putty? How does one apply it? What mistakes should I avoid? I watched tutorial videos, read blog posts, and visited a couple of hardware stores for expert opinions. The more I learned, the more confident I became.
Puttying, I found, is both an art and a science. You need the right tools — a steel spatula, sanding paper, primer, and of course, high-quality facade putty. I chose a weather-resistant, acrylic-based putty that promised durability and smooth application.
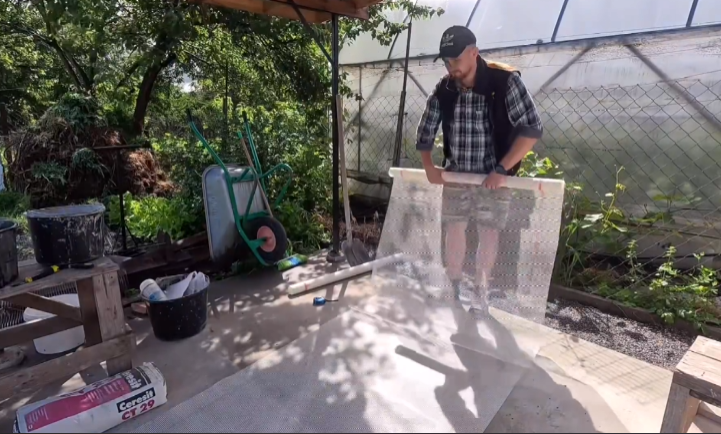
Step 3: Prepping the Surface
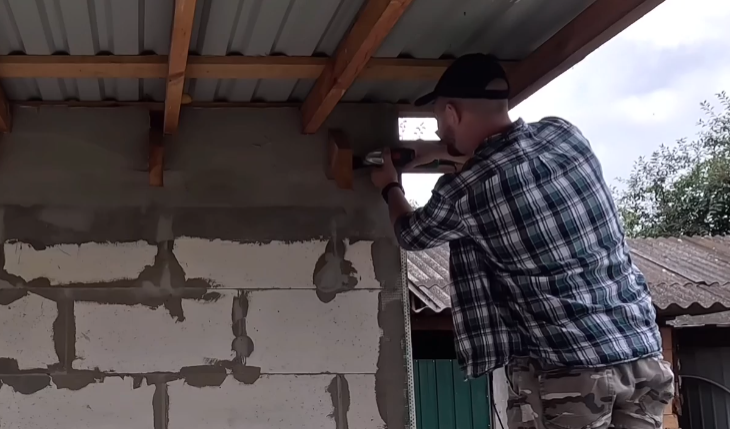
Preparation is everything. I started by cleaning the wall with a stiff brush and a hose. Loose paint and dust were removed, and I scrubbed any mold spots with a vinegar solution. Then, I let the wall dry thoroughly.
Next came the primer. I rolled on a deep-penetrating primer to seal the surface and ensure the putty would adhere well. This step made a noticeable difference. Already, the wall looked like it had more life.
Step 4: The Actual Puttying
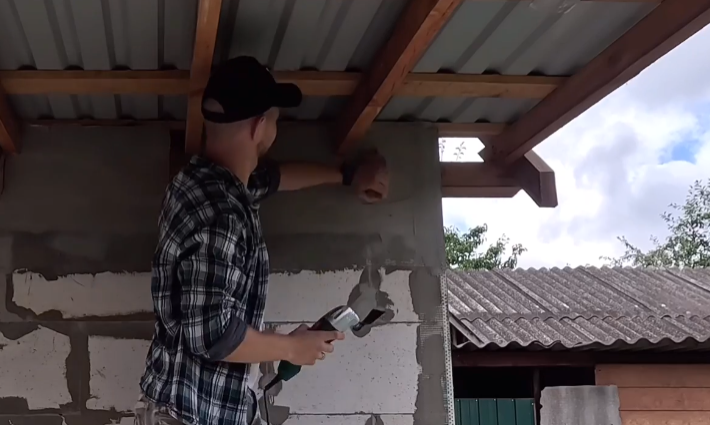
With gloves on and putty knife in hand, I started the application. The first few strokes were awkward. I wasn’t sure how much pressure to apply or how thick the layer should be. But I got the hang of it. Spreading putty across the wall, smoothing it out, and watching the surface transform was oddly satisfying — almost therapeutic.
I worked in sections, taking breaks to assess the coverage. By the end of the first day, my hands were sore, but the wall looked reborn. It wasn’t perfect, but it had character — my character.
Step 5: Choosing the Perfect Black Plaster
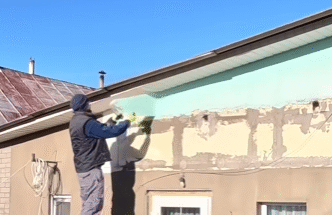
Once the putty dried and the surface was sanded smooth, it was time for the final touch: the eternally black decorative plaster. I wanted something striking — something that would give my home a bold, modern base. Black is a powerful color. It speaks of strength, depth, and elegance.
I settled on a textured, mineral-based decorative plaster that promised long-lasting color and weather resistance. It wasn’t cheap, but it was worth every penny. The product came premixed, with a consistency that reminded me of thick yogurt. The key to applying it was using a steel trowel and working in small, smooth motions.
Step 6: Applying the Plaster
This was the most rewarding part. As I spread the plaster across the base of the house, it glided on like butter. The black color was rich and deep — not shiny or artificial, but organic and matte, like a stone forged in fire.
I took my time. Each stroke felt like a brush on a canvas. The base of my house slowly transformed into a sleek, modern pedestal. The contrast between the textured black base and the lighter upper facade created a stunning visual balance.
Step 7: The Finishing Touches
Once the plaster was dry, I stepped back and admired the work. It looked like a professional job. Neighbors stopped by to compliment the look, and some even asked which contractor I had hired. I smiled and said, “No one. I did it myself.”
But the job wasn’t over yet. I sealed the plaster with a transparent, breathable coating to protect it from moisture and UV rays. That final layer added a subtle richness to the color and ensured it would remain “eternally black.”
Lessons Learned
Doing it myself taught me more than just how to putty and plaster. It taught me patience, perseverance, and pride. Here are some lessons I took from the experience:
- Preparation is key: Rushing the prep leads to a poor finish.
- Invest in good tools and materials: They make a massive difference.
- Don’t expect perfection: Every flaw is a part of the story.
- Take breaks and step back: Sometimes you see things more clearly from a distance.
- Trust yourself: You’re capable of more than you thin
Why Black?
Some might wonder — why black? Isn’t it too bold? Doesn’t it absorb too much heat? For me, black represents timeless elegance. It doesn’t show dirt easily, and it gives the house a modern, grounded appearance. The base now anchors the building visually and emotionally.
And the term “eternally black” isn’t just about color — it’s about permanence. It’s about choosing something that will stand strong through seasons, storms, and time.
Final Thoughts
Renovating your home’s exterior by yourself isn’t just a project — it’s a personal journey. From that first handful of putty to the final smooth stroke of plaster, I felt connected to my home in a new way. I didn’t just improve it — I left a part of myself on its walls.
Would I do it again? Absolutely. With a little time, effort, and heart, you can turn a simple base into a bold statement. And maybe, just maybe, you’ll fall in love with the process — just like I did.