There’s something magical about having your own terrace—a place where you can relax with a cup of coffee, host gatherings, or simply enjoy the fresh air and sunshine. But before any of that can happen, there’s an essential first step: preparing the area for installation. Whether you’re building a terrace in your backyard, extending your house with an elevated deck, or laying one on a rooftop, proper preparation is key to a successful project.
In this article, we’ll walk you through the full process of preparing a place for installing a terrace, sharing useful tips and ideas along the way. 🤗👌
1. Choosing the Perfect Location
The first thing we did was choose the best spot for our terrace. Not all locations are ideal, so we considered a few key factors:
- Sunlight: We wanted an area that receives plenty of natural light but still allows for some shade during the hottest hours.
- View: A beautiful view can make a terrace truly special, so we picked a spot with a scenic overlook of the garden.
- Accessibility: We made sure the location was easy to access from the main house, so stepping onto the terrace feels natural and seamless.
Once we were satisfied with the location, it was time to move on to the preparation process. 🤗
2. Cleaning and Clearing the Area
The chosen area was a bit overgrown and cluttered with random garden tools and weeds. So, the first real step was cleaning up:
- We removed all debris, including old pots, leftover bricks, and twigs.
- We trimmed back bushes and pulled out weeds, giving us a clearer view of the space.
- We leveled the ground, removing bumps, rocks, and uneven soil to create a flat foundation.
Clearing the space gave us a fresh start, and we could already visualize where the terrace would go. 👌
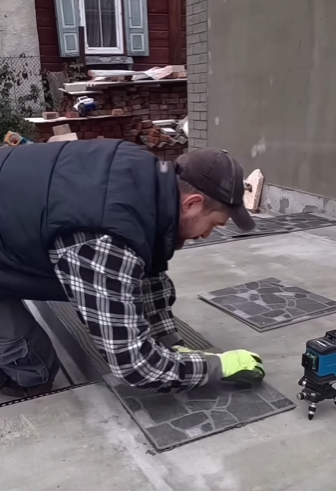
3. Measuring and Marking the Layout
Next, we took out our measuring tape and some chalk to mark the exact dimensions of the terrace. This step is essential for making sure the design fits perfectly and aligns with any existing structures like doors, pathways, or fences.
We marked out a rectangular shape, leaving some space around the edges for future landscaping. To keep everything straight and level, we used:
- A string line tied between wooden stakes
- A spirit level to check the evenness of the ground
- Chalk powder or spray paint to outline the corners
Measuring might sound boring, but this step sets the stage for a smooth installation later on. Plus, it helped us feel even more excited seeing the future terrace outlined on the ground! 🤗🤗
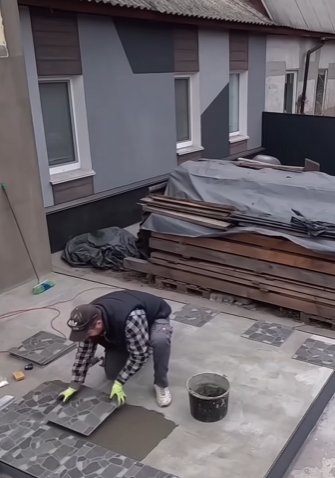
4. Preparing the Groundwork
Depending on what kind of terrace you’re planning (wooden deck, stone tiles, concrete slab), the base preparation will vary. In our case, we opted for a wooden deck terrace, so we needed a solid, level foundation.
Here’s what we did:
- Dug out the top layer of soil, about 15–20 cm deep
- Added a layer of gravel, which helps with drainage and keeps the foundation dry
- Compacted the gravel using a tamper tool
- Laid down weed control fabric to prevent future growth underneath
Each of these steps helped to create a stable, long-lasting base for the terrace. It took some effort, but it was definitely worth it!
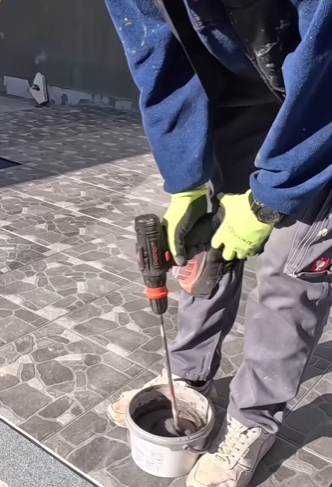
5. Installing Support Structures
With the groundwork done, it was time to prepare the structural supports. For a wooden deck, this means installing concrete footings or deck blocks to hold the frame securely.
We did the following:
- Marked out the positions of the footings based on the terrace design
- Dug holes and placed concrete deck blocks at regular intervals
- Checked each one with a level to make sure they were even
- Let the concrete cure for a full day before moving to the next step
This part of the preparation gives your terrace strength and stability. Even though we hadn’t laid a single board yet, we could already imagine how beautiful the finished terrace would look. 🤗👌
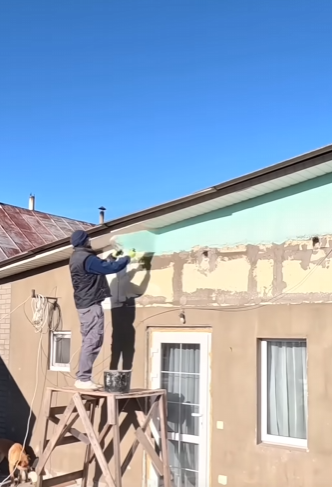
6. Considering Drainage and Utilities
A big mistake some people make is forgetting about water runoff and access to utilities. We didn’t want our terrace to collect puddles every time it rained, so we built a slight slope for drainage—just a few degrees, barely noticeable, but very effective.
Also, we planned for:
- Outdoor lighting, so we laid down conduits for electrical cables
- A water outlet, just in case we wanted to add a small fountain or garden hose
- Space for flower boxes and planters, making sure the layout wouldn’t block sunlight or airflow
Being thoughtful during the preparation stage can save you time, money, and frustration later.
7. Final Checks Before Construction
Before starting the actual terrace installation, we double-checked everything:
- Were all the footings level?
- Was the layout square and measured correctly?
- Were utilities and drainage planned out?
- Was the area clean and ready?
Once we confirmed everything was in place, we stepped back to admire the work. It may not have been a finished terrace yet, but it was a place perfectly prepared—and that’s a milestone worth celebrating! 👌🤗
Wrapping It Up
Preparing a place for installing a terrace is not just about digging and measuring—it’s about laying the foundation for future memories. From sunny breakfasts to cozy evening chats, the terrace will be a space filled with life, laughter, and peace.
Taking the time to properly prepare the area ensures that the final result is not only beautiful but also strong, durable, and comfortable.
Whether you’re a DIY enthusiast or working with professionals, don’t skip the prep—it’s the most important part of the journey. 👌🤗🤗🤗