The backbend, also known as the “wheel pose” or “upward bow pose” (Urdhva Dhanurasana in yoga), is a powerful and graceful movement that stretches the spine, opens the chest, strengthens the entire body, and brings a surge of energy. Doing a backbend from the floor requires flexibility, strength, and proper technique. Whether you’re a yogi, a gymnast, or simply someone looking to improve their mobility, this guide will walk you through everything you need to know to do a backbend safely and confidently from the floor.

Understanding the Backbend
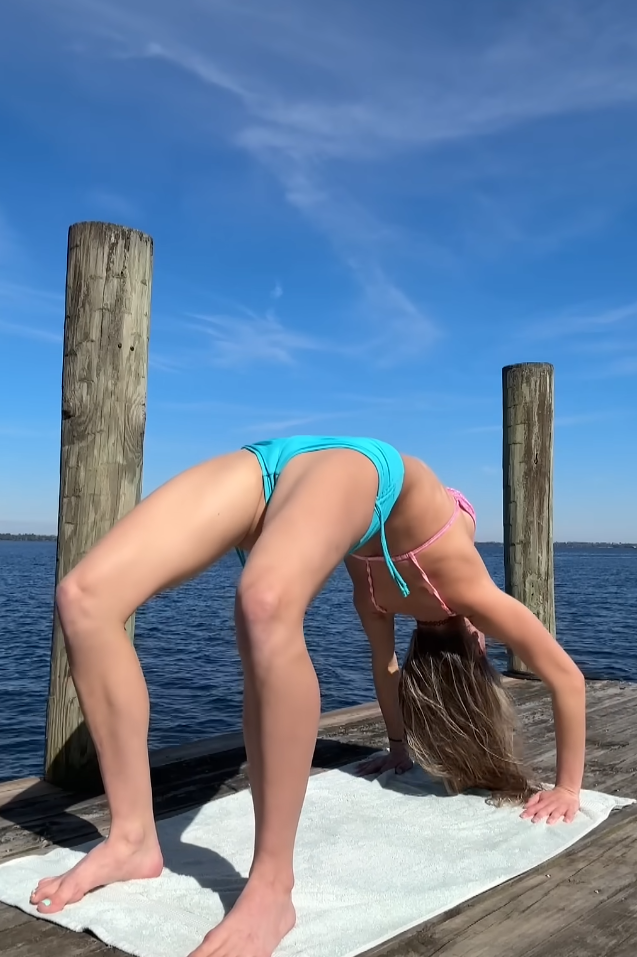
A backbend from the floor is a full-body movement that primarily works the spine, shoulders, wrists, legs, and core. Unlike a bridge pose, where your head often stays close to the floor, a full backbend involves lifting the chest high and creating an arched shape with your body.
Benefits of Backbending
- Improves spinal flexibility and posture
- Strengthens the arms, legs, and back
- Opens the chest and shoulders, improving breathing
- Stimulates the nervous system and boosts energy
- Helps release emotional tension stored in the body

Step-by-Step Guide: How to Do a Backbend from the Floor
Step 1: Warm Up Your Body
Attempting a backbend without warming up can lead to injury. Spend at least 10-15 minutes loosening your body.
Key warm-up exercises:
- Cat-Cow Pose: Warms up the spine
- Downward Dog: Stretches the shoulders and hamstrings
- Bridge Pose: Prepares the back and glutes
- Cobra or Sphinx Pose: Begins opening the chest and spine
- Lunges with backbend: Opens up hip flexors and deepens spinal mobility

Step 2: Prepare Mentally and Physically
Backbending can feel vulnerable and challenging. Stay present and breathe deeply.
Tips:
- Wear comfortable clothing
- Use a yoga mat or soft surface
- Have a wall nearby if you want extra support

Step 3: Get Into Position
Lie flat on your back with your knees bent and feet hip-width apart. Bring your heels as close to your glutes as possible. Your feet should be flat on the ground and parallel—not turned out.
Place your hands next to your ears, fingers pointing toward your shoulders, elbows pointing upward.

Checklist:
- Feet and knees hip-width apart
- Hands placed firmly beside your ears
- Shoulders relaxed
- Breathe slowly and deeply
Step 4: Engage Your Muscles
Before lifting, engage your body:
- Feet: Press into the floor
- Thighs: Stay active to support the hips
- Core: Gently draw in to protect your lower back
- Shoulders: Rotate slightly outward to open the chest
- Glutes: Lightly engaged (not clenched)

Step 5: Lift into Bridge First (Optional)
Especially for beginners, start by pushing into your feet to lift your hips into Bridge Pose. This helps you connect with the feeling of lifting off the ground.
Hold for a few breaths, then lower. Repeat once or twice.
Step 6: Push Up into the Backbend
Once ready, take a deep breath in. As you exhale, do the following:
- Press into your feet to lift your hips.
- Press into your hands to begin lifting your head and shoulders.
- As your chest rises, lift your head off the floor gently, looking between your hands.
- Push more firmly into your hands to straighten your arms (as much as your flexibility allows).
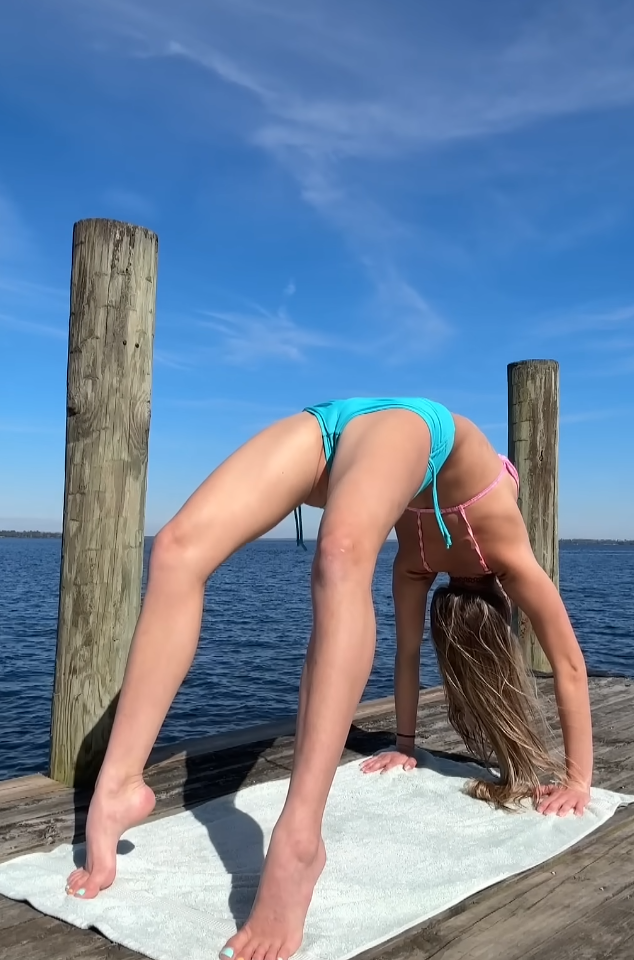
You are now in a full backbend!
Step 7: Breathe and Hold
Once in the pose:
- Keep your feet grounded and knees aligned (don’t let them splay out).
- Breathe deeply and evenly.
- Keep your arms strong and chest lifted.
- Stay in the pose for 3-5 breaths or longer if comfortable.
Step 8: Coming Down Safely
To exit the backbend:
- Tuck your chin slightly toward your chest.
- Slowly bend your elbows and lower your upper back down with control.
- Gently lower your hips to the ground.
- Hug your knees to your chest and rest.
Always counterbalance a deep backbend with a gentle forward bend (like Child’s Pose) or a supine twist to reset the spine.
Common Mistakes and How to Fix Them
1. Knees or feet splaying outward
- Fix: Keep knees and feet parallel. Place a block between your thighs if needed to maintain alignment.
2. Not warming up
- Fix: Never skip warm-ups. They prevent injury and prepare the body.
3. Forcing the pose
- Fix: Ease into the pose gradually. Flexibility takes time to build.
4. Not using the core
- Fix: Lightly engage the abdominals to support your spine.
5. Collapsing into the lower back
- Fix: Focus on lifting through the chest and lengthening through the arms and legs.
Progressions and Modifications
For beginners:
- Start with Bridge Pose or Supported Bridge using a block.
- Practice upward-facing bow on an elevated surface like yoga blocks under your hands.
For advanced practitioners:
- Try walking your hands closer to your feet in the backbend.
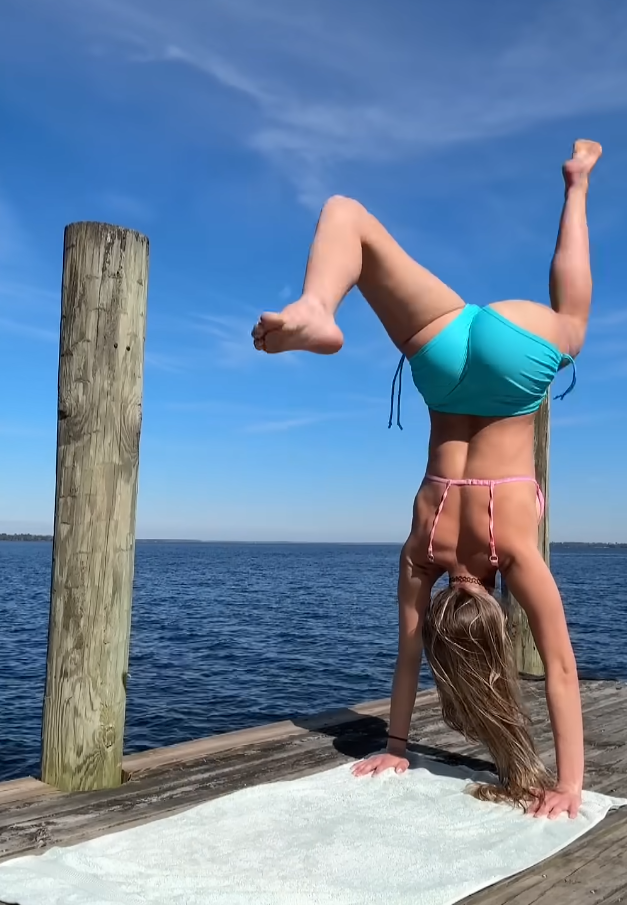
- Practice one-legged wheel pose.
- Incorporate drop-backs (coming into the pose from standing).
Tips for Building Strength and Flexibility
- Practice consistently: 3-4 times a week is ideal.
- Stretch regularly: Focus on shoulders, hip flexors, spine, and wrists.
- Strengthen your arms and legs: Push-ups, planks, and lunges help.
- Use props: Blocks, straps, and walls provide support as you build skill.
- Rest and recover: Give your muscles time to grow and heal.
Final Thoughts
Doing a backbend from the floor is a beautiful blend of strength, flexibility, and grace. It might look intimidating at first, but with patience and practice, your body will open up and reveal what it’s capable of. Always listen to your body, move with awareness, and never push through pain. Remember, every time you step on the mat or practice on the floor, you’re making progress—even if it’s invisible at first.
So take a deep breath, trust yourself, and rise into your backbend. Your spine will thank you, your chest will open, and your heart will soar.
If you’d like, I can also turn this into a PDF, add images, or create a shorter version for social media or a blog. Just let me know!