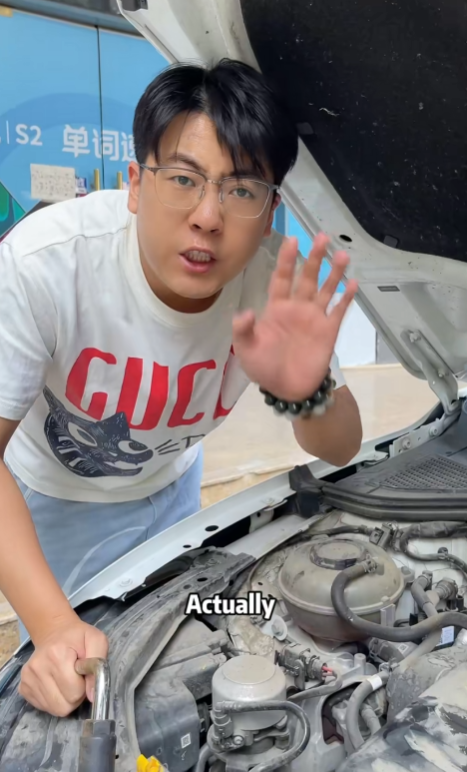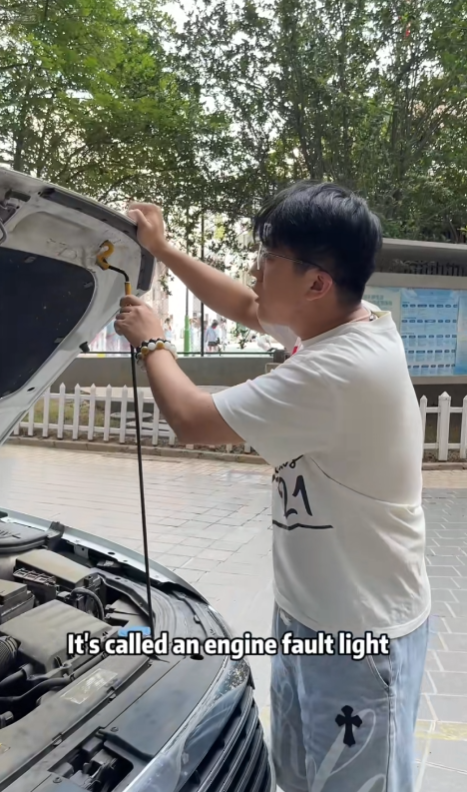
The dreaded check engine light — a small icon on your dashboard that can spark big anxiety. When it illuminates, it’s your car’s way of saying, “Hey, something isn’t quite right here.” While many drivers rush to a mechanic the moment it appears, it’s entirely possible to diagnose and even turn off the light yourself, provided the issue isn’t something serious.
In this guide, we’ll explain what the check engine light means, common causes, ways to diagnose it at home, and safe methods for resetting it yourself. We’ll also discuss when not to do it, because ignoring a serious problem can cost you far more in the long run.
1. Understanding the Check Engine Light
Your car’s check engine light (CEL) is part of the On-Board Diagnostics system (OBD-II). Since 1996, all vehicles sold in the U.S. (and most worldwide) have this system, which monitors engine and emissions performance.
When the CEL turns on, it means the computer has detected an issue — big or small — and stored an error code. This could be something as simple as a loose gas cap or as serious as engine misfiring.
The light may appear in two ways:
- Solid Light – Indicates a non-urgent but important problem. You can continue driving but should investigate soon.
- Flashing Light – Signals a serious issue (often related to misfires) that could damage the catalytic converter. Stop driving and address it immediately.

2. Common Reasons the Light Comes On
Before you reset the light, you need to know what triggered it. Some of the most common causes include:
- Loose or damaged gas cap – Surprisingly, this is one of the top causes.
- Oxygen sensor failure – A faulty sensor can hurt fuel efficiency.
- Mass airflow sensor issues – Impacts how the engine gets the right fuel-air mix.
- Faulty spark plugs or ignition coils – Can cause misfiring and rough running.
- Exhaust issues – Problems with the catalytic converter or exhaust leaks.
- Vacuum leaks – Affect engine efficiency and emissions.
While you can reset the light, if the underlying issue remains, the CEL will come back.
3. Step-by-Step: How to Remove the Check Engine Light Yourself
There are several ways to turn off the check engine light without visiting a mechanic. Let’s break them down.
Method 1: Use an OBD-II Scanner (Recommended)
This is the safest and most accurate method.
You’ll need:
- An OBD-II code reader (affordable, often under $30)
- Your car parked safely with the engine off
Steps:
- Locate the OBD-II port – Usually under the dashboard on the driver’s side.
- Plug in the scanner – Make sure it’s firmly connected.
- Turn the ignition to “On” (engine off) – This powers the scanner.
- Read the codes – The scanner will display stored error codes (e.g., P0442 for a small EVAP leak).
- Research the code – Check your car’s manual or online for meaning.
- Fix the problem – If it’s minor (like a loose gas cap), fix it now.
- Clear the codes – Most scanners have a “Clear” or “Erase” option to reset the light.
- Test drive – Drive normally to ensure the light stays off.
Why this is best: You actually see what’s wrong before erasing the light.

Method 2: Disconnect the Battery
This is a quick reset trick, but it won’t tell you the cause of the problem.
Steps:
- Turn off the ignition.
- Use a wrench to disconnect the negative (-) battery cable.
- Wait 15–30 minutes – This drains residual power from the computer.
- Reconnect the cable.
- Start the engine – The light should be off.
Note: This may also reset your radio presets, clock, and other settings. If the problem persists, the light will return.
Method 3: Drive After Fixing the Issue
If you’ve addressed the cause (like replacing a faulty sensor or tightening the gas cap), the car’s computer will often reset itself after several driving cycles.
How it works:
- A “driving cycle” means starting the engine, driving until it warms up, and shutting it off.
- It can take 20–50 miles or 3–5 cycles for the light to disappear if the problem is truly fixed.
Method 4: Pull the Fuse for the ECU
This is similar to disconnecting the battery but avoids losing some electronic settings.
Steps:
- Find your fuse box (check the owner’s manual).
- Locate the fuse labeled “ECU” or “ECM.”
- Remove it for about 10–15 minutes.
- Reinsert and start the car.
4. Important Warnings Before Resetting
It’s tempting to just erase the light, but remember:
- The CEL is your car’s early warning system. Turning it off without fixing the cause can hide dangerous problems.
- Some issues can worsen quickly — like a failing catalytic converter, which can cost thousands if ignored.
- In some regions, clearing the code without repair can cause your car to fail emissions tests.

5. When to Seek Professional Help
You should skip the DIY reset and see a mechanic if:
- The light is flashing — This often means active misfiring that can cause expensive damage.
- You hear strange noises, smell fuel, or notice reduced performance.
- The same code keeps coming back after a reset.
A professional has advanced tools and can perform more thorough diagnostics.
6. Preventing the Check Engine Light from Coming On
While you can’t prevent every issue, you can reduce the chances of seeing the CEL by:
- Tightening your gas cap after every fill-up.
- Regular maintenance — oil changes, air filter replacements, spark plugs.
- Using quality fuel to reduce carbon buildup.
- Inspecting hoses and connections for wear or leaks.
- Cleaning sensors when needed, especially the mass airflow sensor.
7. Final Thoughts
Removing the check engine light yourself is entirely possible and can save time and money — especially for minor issues. The key is diagnose first, reset second. An OBD-II scanner is a small investment that can pay for itself many times over, giving you control and peace of mind.
While disconnecting the battery or pulling the fuse will turn the light off temporarily, remember that it’s not a permanent fix unless the underlying problem is resolved. Treat the check engine light as a helpful friend rather than a nuisance — it’s your car’s way of looking out for you.


