Ceramic granite, also known as porcelain stoneware or porcelain tiles, is a popular finishing material due to its strength, water resistance, and elegant appearance. It’s widely used in both indoor and outdoor applications — from floors and walls to building facades and countertops. However, the durability and visual appeal of ceramic granite cladding largely depend on the proper preparation of the substrate, especially when applied over concrete. In this article, we’ll delve into the detailed process of preparing concrete for facing with ceramic granite, ensuring optimal adhesion, longevity, and performance.
1. Understanding the Importance of Substrate Preparation
Before any tiling or cladding begins, the concrete surface must be appropriately prepared. Ceramic granite is a dense and heavy material, so it requires a strong, stable, and level base. If the base is improperly prepared, the tiles may not adhere well, leading to cracking, shifting, or water ingress over time.
Proper preparation helps:
- Ensure long-lasting adhesion
- Prevent moisture-related issues
- Create an even surface for a professional finish
- Improve the durability of the installation
2. Evaluating the Concrete Surface
Before beginning any work, it’s essential to inspect the condition of the concrete:
- Curing: Fresh concrete must be fully cured before ceramic granite can be applied. Typically, this means waiting at least 28 days after pouring the concrete to allow all moisture to evaporate.
- Structural Soundness: The concrete must be solid and free from any structural issues like cracks, crumbling, or hollow spots. Tap areas of the surface lightly with a metal tool to detect any weak or hollow points.
- Cleanliness: The surface must be clean, dry, and free from oil, paint, dust, wax, or other contaminants. Any of these can prevent proper adhesion of tile adhesives.
3. Cleaning the Concrete Surface
Cleaning is a crucial step in surface preparation. Follow these steps:
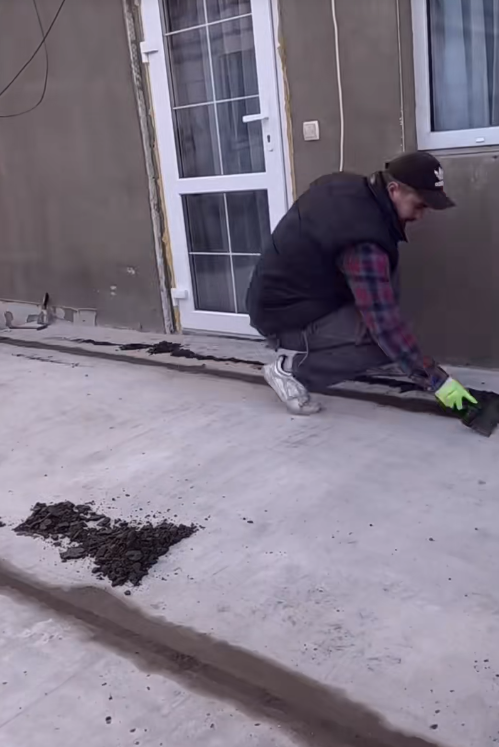
- Remove Dust and Debris: Use a vacuum cleaner, broom, or air blower to remove loose particles from the surface.
- Degrease: If there are oil stains or grease spots, use a concrete degreaser and a stiff brush to scrub the surface. Rinse thoroughly and allow it to dry.
- Etching (if necessary): For very smooth or power-troweled concrete, acid etching may be required to roughen the surface. A mild hydrochloric or phosphoric acid solution can be applied, but safety precautions are essential — wear gloves, goggles, and a mask. Rinse the surface thoroughly with water afterward and let it dry.
4. Leveling the Surface
An uneven surface can lead to installation problems and unsightly results. To address this:
- Grinding: For high spots, use a concrete grinder to bring them down.
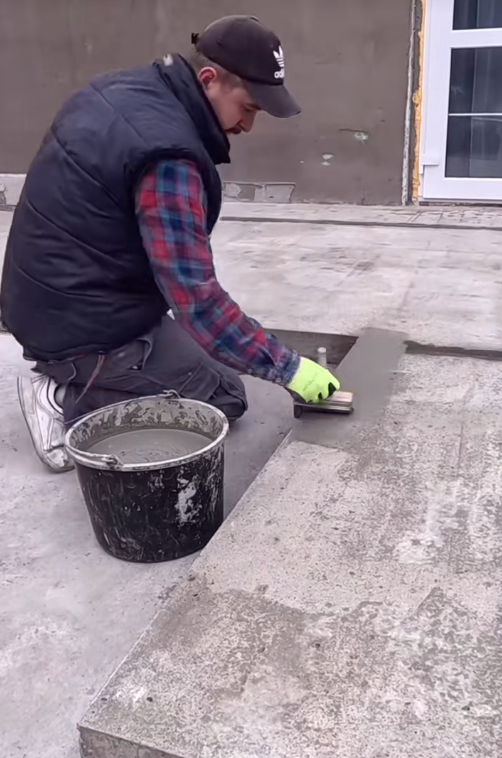
- Filling Low Spots: Use a self-leveling compound or patching mortar to fill in depressions. Let the material fully cure as recommended by the manufacturer.
- Screeding: In larger areas, a full screed layer can be applied to ensure an even surface across the entire installation area.
5. Repairing Cracks and Joints
Cracks in concrete can telegraph through the tile and lead to future damage. It’s essential to:
- Widen Cracks: Use a chisel to open narrow cracks into a V-shape to provide better adhesion for repair materials.
- Apply Crack Filler: Use a flexible, polymer-modified repair compound or epoxy to fill and seal cracks.
- Control Joints: If expansion or control joints are present, they should be honored through the tile surface by incorporating flexible joint material or movement joints in the tile layout.
6. Moisture Testing
Before proceeding with tiling, you must check for moisture in the concrete:
- Plastic Sheet Test: Tape a clear plastic sheet to the concrete and leave it for 24–48 hours. If condensation forms underneath, the slab may still be too damp for tiling.
- Moisture Meter: For a more accurate reading, use a moisture meter designed for concrete. Readings should typically be below 4–5% depending on the adhesive and tile manufacturer’s requirements.
If the moisture level is too high, consider:
- Waiting longer for the concrete to dry
- Installing a moisture barrier (such as an epoxy moisture control system)
7. Priming the Surface
Priming helps improve the bond between the concrete and the adhesive:
- Use Tile Primer: Apply a primer recommended by the adhesive manufacturer. This is especially important for porous or dusty surfaces.
- Let It Dry: Allow the primer to dry fully before proceeding with tile installation.
8. Selecting the Right Adhesive
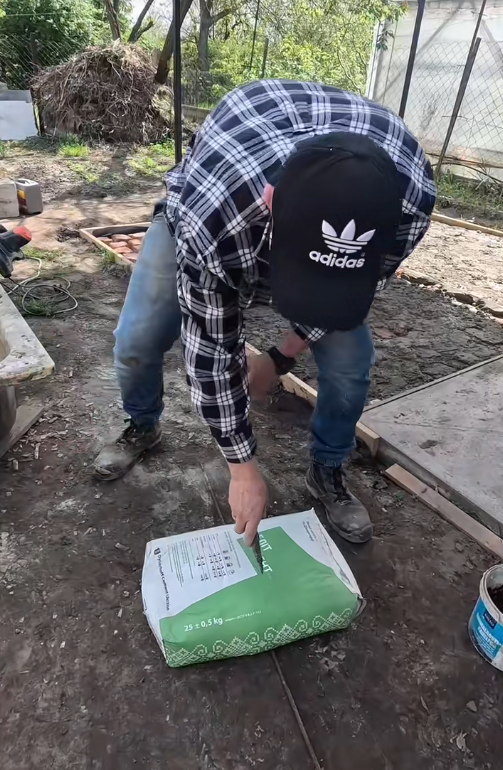
For ceramic granite, not all adhesives are suitable due to the tile’s density and low porosity:
- Use High-Performance Adhesives: Choose a flexible, polymer-modified cement-based tile adhesive suitable for porcelain and external conditions if applicable.
- Consider Application Environment: For exterior or wet environments (e.g., bathrooms, facades), choose adhesives with water-resistant and frost-proof properties.
9. Laying Out the Tile Pattern
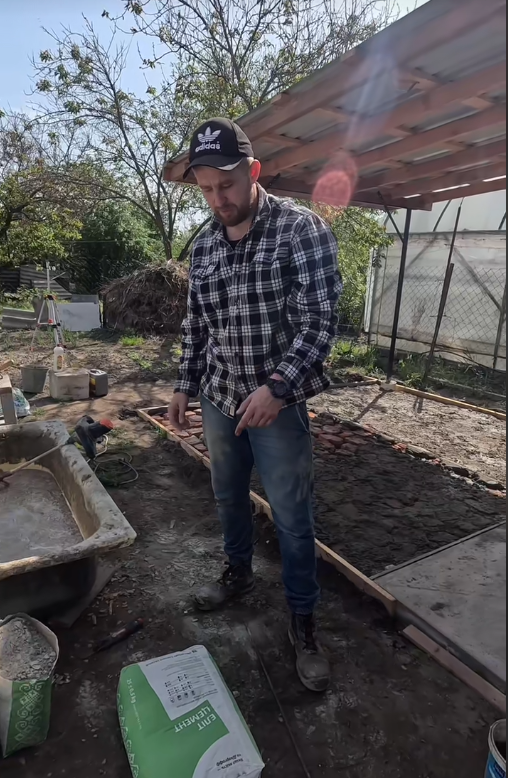
Before applying adhesive, plan the layout:
- Dry Fit: Lay out the tiles without adhesive to see how they fit and where cuts will be needed.
- Mark Reference Lines: Use chalk lines to mark straight reference lines on the concrete surface to guide tile placement and ensure consistent grout lines.
- Consider Expansion Joints: Leave appropriate gaps where tiles meet walls or structural joints to allow for movement.
10. Final Notes Before Installation
With the concrete fully prepared, you’re ready to start facing with ceramic granite. As a final checklist:
- The surface must be flat, dry, and clean.
- Cracks and holes must be properly repaired.
- Moisture levels must be acceptable.
- The correct adhesive and primer must be selected and applied.
Once everything is in place, you can begin laying ceramic granite tiles, pressing them firmly into the adhesive and using spacers for even grout lines. Allow the adhesive to set according to the manufacturer’s guidelines before grouting.
Conclusion
Preparing concrete for ceramic granite facing is a meticulous process that plays a critical role in the success of the installation. Each step — from cleaning and leveling to moisture control and priming — contributes to a durable and visually appealing surface. Skipping or rushing through any part of the preparation can compromise the entire project, leading to costly repairs down the road. By following these guidelines, you ensure that your ceramic granite finish not only looks stunning but also stands the test of time.