A fence made from profiled sheet (also known as corrugated metal or profiled steel sheeting) is a popular and practical choice for both residential and commercial properties. It provides security, privacy, durability, and a clean aesthetic. In this comprehensive guide, we will explore all the stages involved in building a fence from a profiled sheet—from planning and preparation to final installation.
1. Planning and Design Stage
Before beginning construction, proper planning is essential. You need to determine:
- Purpose of the Fence: Is it for privacy, security, decoration, or property demarcation?
- Fence Dimensions: Measure the length and desired height of the fence. Most fences range from 1.5 to 2.5 meters in height.
- Layout and Boundaries: Mark the boundary clearly using stakes and string. It’s important to ensure the fence will not cross into a neighbor’s property.
- Design Choice: Will it be a solid sheet fence or a design with spacing or decorative features? Do you need gates or entrances?
Also, check with local authorities or homeowner associations to confirm if there are any regulations or permits required.
2. Material Selection
The quality and type of materials will determine the durability and appearance of the fence.
Key Materials:
- Profiled Sheets: Choose galvanized steel sheets with a protective polymer or paint coating. They come in various colors and profiles (e.g., trapezoidal, wave).
- Metal Posts: Use square or round steel tubes, typically 60×60 mm or similar dimensions.
- Horizontal Rails: Often used between posts to attach the sheets securely.
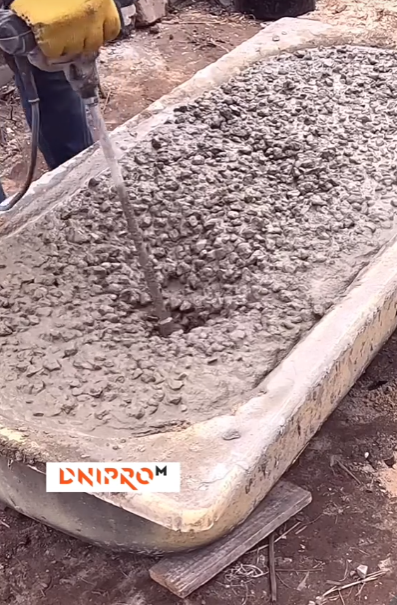
- Concrete (for foundations): Used to secure the fence posts.
- Fasteners: Self-tapping screws with rubber washers are ideal to prevent leaks or corrosion.
- Optional Add-ons: Caps for posts, anti-corrosion primer, and decorative elements.
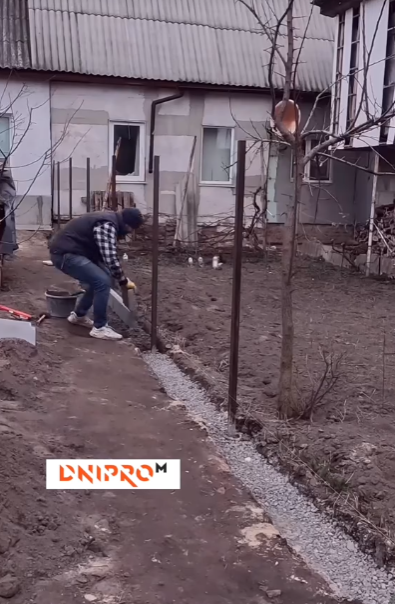
3. Site Preparation
Once materials are gathered and the design is finalized, prepare the site:
- Clear the Area: Remove any obstacles such as rocks, roots, bushes, or debris along the fence line.
- Level the Ground: Ensure the ground is even to avoid unnecessary gaps beneath the fence.
- Mark Post Locations: Use a tape measure and marking string to lay out the location of each post—usually spaced 2 to 2.5 meters apart.
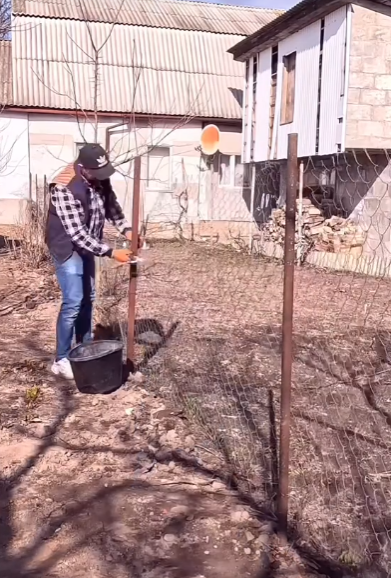
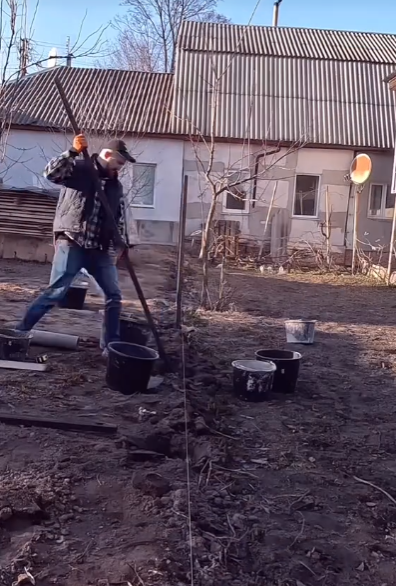
4. Installing the Fence Posts
The posts form the backbone of the fence. Here’s how to set them properly:
- Digging Holes: Use a post hole digger or auger to dig holes about 60–100 cm deep and 20–30 cm in diameter.
- Setting Posts: Place each post in the hole, ensuring it is vertical using a level. Use temporary supports or braces.
- Pouring Concrete: Fill each hole with concrete mix, tamping it down to remove air pockets. Allow 24–48 hours to cure.
- Check Alignment: Ensure all posts are aligned and level. This will directly affect how straight and stable your fence will be.
Optional: Paint the posts with anti-corrosion primer before or after installation for added protection.
5. Installing the Horizontal Rails (if used)
Some fence designs use horizontal rails between posts for additional support.
- Attach the rails at the top and bottom (and optionally middle) of the posts using welding or metal brackets.
- Ensure they are perfectly horizontal and secure.
This step is not always necessary if you’re screwing the profiled sheets directly into the posts, but it helps with sturdiness.
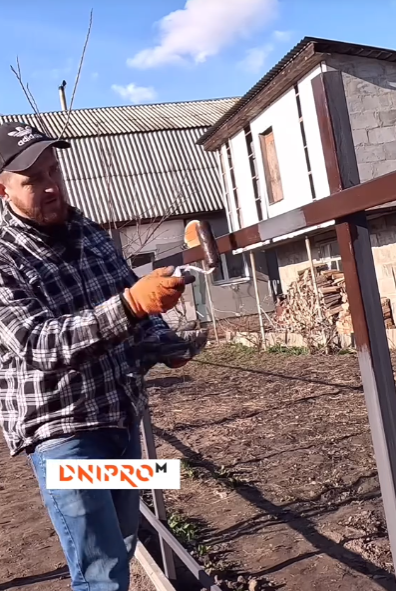
6. Mounting the Profiled Sheets
This is where your fence begins to take shape visually.
- Cut Sheets to Size: Use metal shears or an angle grinder to cut the sheets to the desired height if needed.
- Position the Sheets: Start from one corner or edge. Place the first sheet against the post, making sure it’s level.
- Secure the Sheets: Fasten the sheets to the posts or rails using self-tapping screws with rubber gaskets. Place screws along the ridges, every 30–50 cm vertically and 2–3 times across the width.
- Overlap the Sheets: Most profiled sheets are designed to overlap one or two waves to prevent water seepage. Maintain consistent overlap throughout the fence.
- Continue the Process: Move along the fence line, attaching sheets one by one.
Tip: Check the alignment every few sheets to ensure a straight line and level top edge.
7. Installing the Gate (if applicable)
If you’re including a gate:
- Gate Frame: You can weld a frame from metal tubes and cover it with the same profiled sheet material.
- Hinges and Lock: Install heavy-duty hinges on one post and a secure latch or lock system.
- Support Post: If the gate is wide or heavy, consider a reinforced or thicker gate post.
Ensure the gate opens and closes smoothly and is aligned with the rest of the fence.
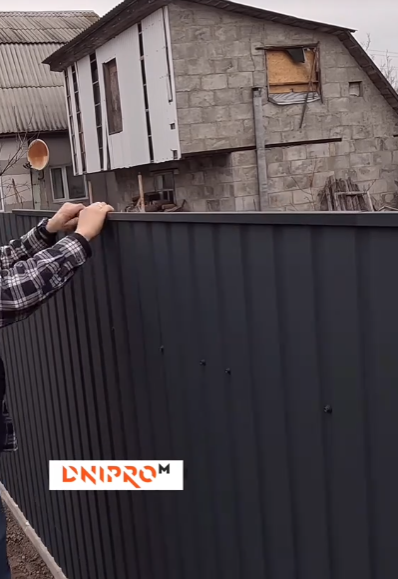
8. Finishing Touches
After the main installation, consider the following:
- Paint and Protective Coating: If any metal parts are not galvanized, apply anti-corrosion primer and paint.
- Post Caps: Add plastic or metal caps to prevent water from entering the post tubes.
- Seal Gaps: If there are small gaps under the fence due to uneven terrain, fill them with soil or gravel for a clean look.
- Clean Up: Remove all leftover debris, scrap metal, and packaging from the site.
9. Maintenance Tips
A profiled sheet fence requires minimal maintenance but lasts longer with a little care:
- Regular Cleaning: Rinse the fence with water to remove dirt and debris.
- Rust Check: Inspect for scratches, rust spots, or paint damage and touch them up promptly.
- Tighten Screws: Occasionally check that all screws are still tight and intact.
- Vegetation Control: Keep bushes or vines from growing on the fence, which can retain moisture and cause damage.
Conclusion
Building a fence from a profiled sheet is a practical, cost-effective, and stylish solution for many property owners. By following each stage carefully—from planning and purchasing materials to digging, installing, and finishing—you can construct a durable and attractive fence that serves your needs for decades.
Whether you’re looking to enhance your property’s privacy, increase security, or add curb appeal, a profiled sheet fence is a reliable and straightforward option. With a bit of preparation and effort, even a DIY enthusiast can complete the project and enjoy the results.