Foam block walls—also known as insulated concrete forms (ICF)—are becoming more popular in modern construction due to their excellent insulation, lightweight nature, and energy efficiency. However, installing shelves on them can be tricky if you don’t use the right tools and methods. Regular wall anchors or fasteners often don’t work properly, and poor installation can lead to collapsed shelves or wall damage. In this article, we’ll walk you through the complete process of securely installing shelves on a foam block wall, ensuring they’re both functional and long-lasting.
Understanding Foam Block Walls
Before getting started, it’s important to understand what foam block walls are made of. Foam block walls typically consist of polystyrene forms filled with reinforced concrete. While the outer layers feel soft and lightweight, there’s a solid concrete core inside. This makes it necessary to use anchors or fasteners that can penetrate through the foam and grip the concrete.
Tools and Materials You’ll Need
To install shelves safely on a foam block wall, gather the following tools and materials:
- Drill (preferably hammer drill for concrete)
- Long masonry drill bits
- Tape measure
- Spirit level
- Pencil or chalk for marking
- Heavy-duty wall anchors (like sleeve anchors or toggle bolts)
- Screws or bolts
- Stud finder (optional, depending on the wall design)
- Shelf brackets
- Safety goggles and dust mask
Optional: You may also need a shop vacuum to clean out dust from drilled holes and construction adhesive for extra support.
Step 1: Choose the Right Shelf and Brackets
Before making any holes in the wall, decide what kind of shelf you want to install. Floating shelves look sleek but require very secure anchoring. Bracket-mounted shelves distribute weight more evenly and are usually more suitable for foam block walls.
Make sure the shelf and brackets are rated for the weight you plan to store. If you’re putting up books, heavy kitchen items, or tools, invest in high-strength brackets.
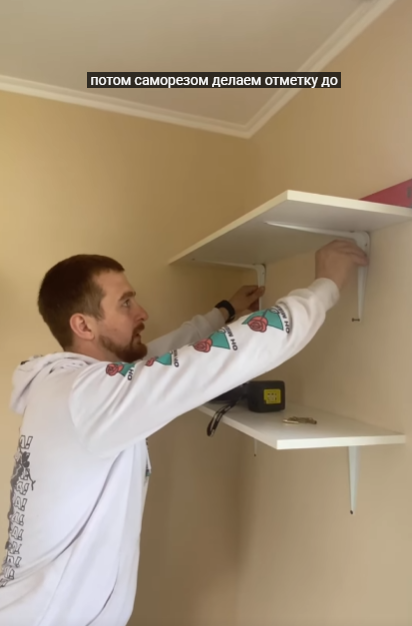
Step 2: Determine Shelf Placement
Use a tape measure and level to determine where you want the shelf to be. Mark the height and bracket positions with a pencil or chalk. It’s important to double-check alignment to ensure the shelf will be perfectly horizontal. This step is especially critical if you are installing multiple shelves.
Step 3: Locate the Concrete Core (If Applicable)
Some foam block walls have thicker foam layers with a concrete core in the middle. If you want the most secure installation, aim to drill into the concrete core behind the foam. Use a long masonry drill bit to reach it.
If you are unsure of the exact layout, you can check the wall plans or lightly drill exploratory holes to determine the depth of the foam and the location of the concrete center.
Step 4: Drill Pilot Holes
Now it’s time to drill pilot holes for your anchors. Use a hammer drill with a masonry bit if you’re drilling into concrete. Start with a small bit to reduce cracking or damage, then move up to the full size recommended by your anchor type.
Go slowly and don’t force the drill. Pull the bit out every so often to clear away dust. This will help make a cleaner, more accurate hole. Use a shop vacuum or blow away dust before proceeding.
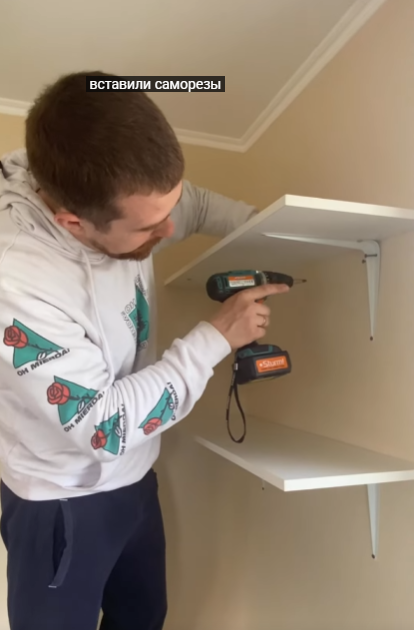
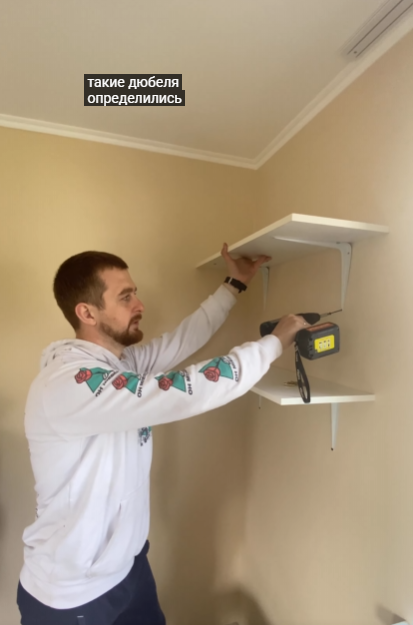
Step 5: Insert Anchors or Bolts
Once your pilot holes are drilled, insert the wall anchors. Sleeve anchors, toggle bolts, or epoxy-based anchors are ideal for foam block walls. Avoid using plastic wall plugs or basic drywall anchors—they’re not strong enough for foam surfaces.
If using epoxy anchors, inject the adhesive into the hole before inserting the bolt. Wait for the curing time (usually around 15–30 minutes) before proceeding.
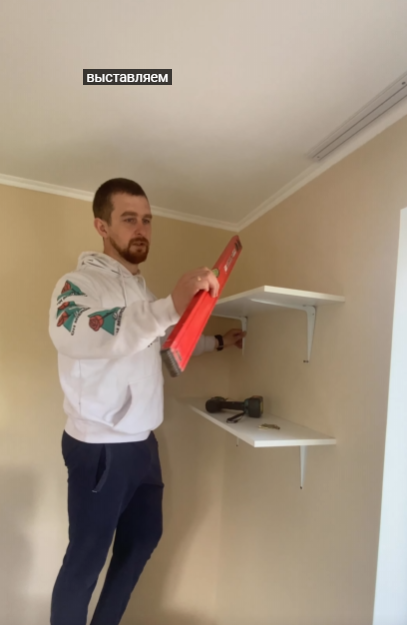
Step 6: Attach the Brackets
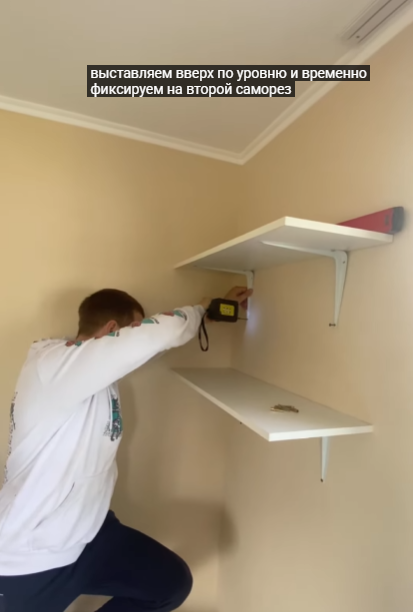
With the anchors set, you can now screw the brackets into place. Make sure they are flush with the wall and don’t wobble. Use a level to ensure the brackets are aligned properly before fully tightening the bolts.
If your shelf is long and spans several brackets, it’s especially important that all brackets are at the same height.
Step 7: Mount the Shelf
Now that your brackets are secure, place the shelf on top. Depending on the design, you may need to screw the shelf into the brackets from underneath or use fasteners on top. Some shelves sit loosely on top, but securing them adds stability and safety.
Test the shelf by applying gentle pressure or placing a few items on it to make sure it holds properly.
Extra Tips for Success
- Distribute weight evenly: Avoid placing all the weight on one side of the shelf. Spread heavier items out to prevent leaning or warping.
- Use multiple brackets: Especially for longer shelves or heavy loads, don’t rely on just two brackets. Add more to distribute weight and reduce strain.
- Consider using construction adhesive: If you’re worried about long-term strength, a bead of high-quality adhesive behind the bracket base can provide extra bonding.
- Choose corrosion-resistant hardware: If the wall is in a damp area (like a basement), use stainless steel or galvanized screws and anchors to avoid rusting over time.
Common Mistakes to Avoid
- Using weak anchors: Foam doesn’t offer much resistance, so low-grade wall plugs will eventually pull out, causing the shelf to collapse.
- Skipping the level: Even a slight tilt in the shelf can become very noticeable, especially if you place books or flat objects on it.
- Overloading the shelf: Know the limits of your installation. Don’t place excessively heavy items unless you’re confident the anchors are drilled into the concrete and not just the foam.
- Drilling too fast: This can crack the foam and damage the anchor site. Take your time.
Conclusion
Installing shelves on a foam block wall isn’t impossible—it just requires a careful and methodical approach. With the right tools, strong anchors, and precise measuring, your shelves can be both beautiful and functional. Whether you’re creating storage in a garage, displaying books in a living room, or organizing a kitchen, following this step-by-step process will help ensure your shelves stay secure and last for years to come.
So next time you’re faced with a foam block wall, don’t hesitate. With patience and preparation, you can install shelves that look great and hold up strong—just like they would on any other surface.