Building and securing an enclosure, whether for animals, tools, or storage, always requires one essential element: a good door. Without it, the enclosure remains incomplete, vulnerable to weather, animals, or unauthorized access. This article walks you through the complete process of making and installing doors on an enclosure—focusing on both functionality and durability, while maintaining a hands-on, do-it-yourself approach. Whether you’re a hobby farmer, pet owner, or backyard builder, this guide provides insights from real experience.
Why the Door is the Heart of Any Enclosure
When constructing an enclosure, the walls, roof, and floor all serve critical purposes. But the door is the part you use the most—opening and closing it daily, securing it at night, or adjusting ventilation. It’s the one component that gets constant interaction, which means it must be sturdy, reliable, and well-built. A poor-quality door can lead to security issues, drafts, or even safety concerns for people or animals.
That’s why I made the decision to build the door myself, ensuring it would meet all my needs instead of settling for a mass-produced product that might not fit perfectly.
Step 1: Measuring and Planning
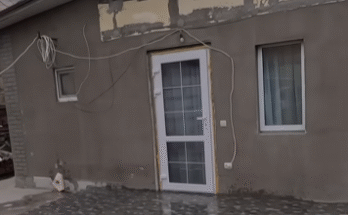
Before touching any tools or materials, accurate measurements are essential. I started by measuring the opening where the door would go. Height and width were noted with precision, and I left a ¼ inch margin on each side to allow for easy opening and closing, even if the enclosure settles over time or if moisture causes slight material expansion.
Next came the planning. I wanted a simple, functional design—nothing overly fancy, but strong and built to last. I decided on a rectangular frame, reinforced with crossbars, and a solid panel in the center to block wind and protect what’s inside.
Step 2: Choosing the Right Materials
Since the enclosure is outdoors, weather resistance was key. I chose pressure-treated wood for the frame and plywood for the panel. For hardware, I selected galvanized steel hinges and a latch system to prevent rusting. Every screw and bolt was chosen with long-term durability in mind.
Tools used included:
- Circular saw
- Power drill
- Level
- Clamps
- Measuring tape
- Screwdriver set
- Wood glue (for added bonding strength)
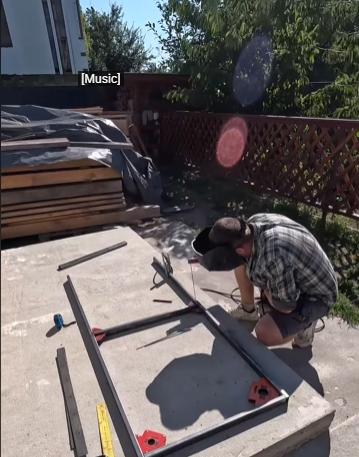
Step 3: Building the Door Frame
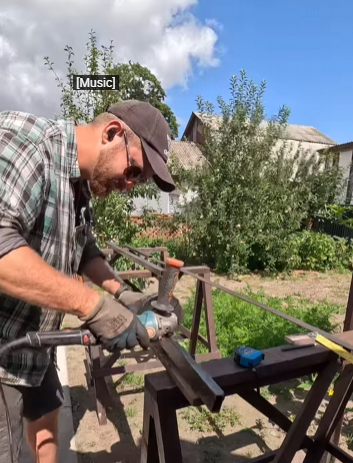
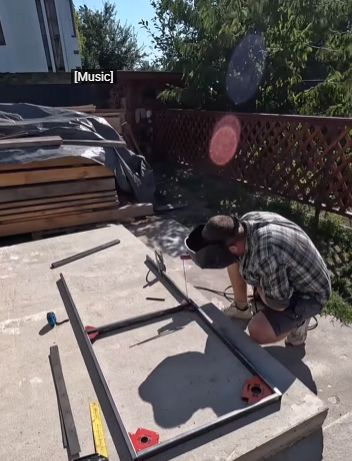
Construction began with cutting the wooden boards to size based on my earlier measurements. I cut four pieces for the rectangular outer frame and two cross supports to reinforce the structure. I then laid everything out on a flat surface to make sure the corners were square.
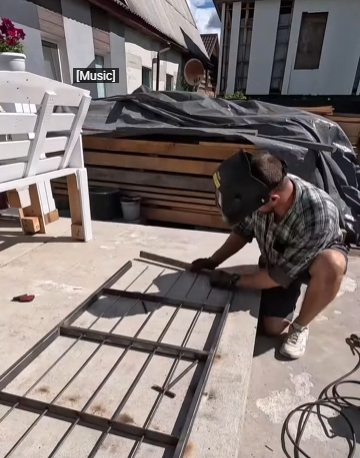
Using wood glue and screws, I assembled the frame, starting with the outer edges and then installing the horizontal support bars across the back of the door. The result was a solid, square base that felt strong and had minimal flex.
After confirming that everything was even and level, I attached the plywood panel on one side. I used wood screws spaced evenly to avoid warping and made sure the edges were flush with the frame.
Step 4: Sanding and Finishing
Once the door was assembled, I sanded the entire surface, rounding the edges slightly to prevent splinters or injuries during use. Afterward, I applied a weather-resistant sealant to protect the wood from rain, sun, and moisture. It took a few hours to dry, but the results were worth the wait. The sealant gave the wood a slight sheen and brought out the natural grain, which added a nice rustic appearance.
Step 5: Installing the Hinges
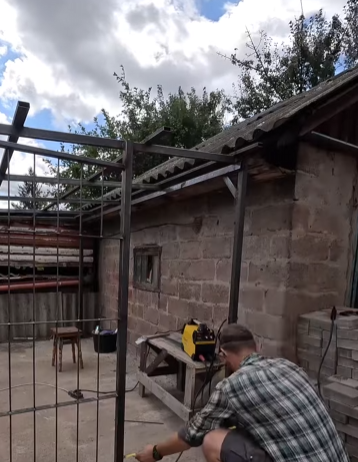
Attaching the hinges required precision. I marked the hinge locations on both the door and the enclosure frame. Using a drill, I pre-drilled holes to avoid splitting the wood. Then I installed the hinges—two for a small door or three for a taller one.
With help from a friend, I held the door in place and screwed the hinges into the enclosure. It swung smoothly and lined up perfectly. I double-checked everything using a level to ensure the door wasn’t sagging or crooked.
Step 6: Latch and Lock Installation
A secure latch is just as important as the door itself. I installed a galvanized latch at a convenient height and made sure it aligned properly. For added security, I included a padlock loop, especially since this enclosure holds valuable equipment.
I also installed a stop block on the inside edge of the enclosure so that when the door is shut, it sits firmly and doesn’t swing inward due to wind or pressure.
Step 7: Final Adjustments and Testing
Once everything was installed, I tested the door several times. It opened and closed easily, the latch clicked smoothly, and nothing rubbed or caught. The hinges were quiet and sturdy, and the overall fit was snug but not too tight.
I also checked how the door performed under different weather conditions—after rain and during sunny afternoons. Thanks to the weatherproof materials and careful construction, it held up excellently.
Benefits of a DIY Enclosure Door
Making and installing the door myself saved me money, gave me complete control over quality, and allowed me to customize it for my exact needs. Beyond that, the satisfaction of completing a project with my own hands is unmatched. The door not only serves its function well but also adds a handcrafted, personal touch to the entire enclosure.
Tips for Others Taking On This Project
- Measure twice, cut once: Precision is everything. One small mistake in measurement can make installation much harder.
- Use treated wood: Weatherproofing is a must for outdoor enclosures.
- Invest in good hardware: Hinges and latches make all the difference in long-term durability.
- Don’t rush the finishing: Sanding, sealing, and painting might seem tedious but make your door last much longer.
- Ask for help during installation: Even if you’re skilled, holding a heavy door in place while installing hinges is easier with assistance.

Conclusion
The process of making and installing doors on an enclosure might seem intimidating at first, but with a clear plan and the right tools, it becomes a highly rewarding DIY task. Whether you’re securing a chicken coop, garden shed, or backyard storage area, a solidly built door brings both peace of mind and a touch of craftsmanship to your space. If you’re thinking about taking on a similar project—go for it. There’s no better feeling than swinging open a door you built with your own two hands.