Mixing concrete might not sound glamorous, but it’s the heart of many home improvement and construction projects. Whether you’re pouring a slab for a shed, making a path in the garden, or building a foundation, you need good concrete. Some people buy it ready-mixed and delivered, while others mix it completely by hand with a shovel. But me? I use a middle path—I mix concrete manually, but with a mixer.
Let me take you through what this means, how I do it, why I prefer this method, and what tips I’ve learned along the way.
Why I Mix My Own Concrete
The decision to mix concrete manually comes down to a few things: cost, control, and convenience.
First, buying ready-mix concrete can be expensive. You usually have to order a minimum amount—more than you might need—and delivery can be costly or even unavailable if you’re far from a batching plant. Plus, once it arrives, the clock is ticking. You’ve got to work fast, and if you’re not ready, it can be a disaster.
On the other hand, mixing by hand using a shovel and wheelbarrow is cheap but exhausting, especially for big jobs. That’s where the concrete mixer comes in. It gives you the best of both worlds: you control the mix, pace, and quantity, while saving your back and getting a more consistent blend.
What Kind of Mixer I Use
I use a portable electric drum mixer. It’s not industrial-sized, but it’s big enough for home jobs. The drum rotates, tumbling the mix inside, and it runs off a standard power outlet. It can handle small to medium batches with ease—perfect for patios, fence posts, and even driveways if you break the job into sections.
The machine is light enough to move around the yard, and I can set it up close to where the concrete’s needed, saving time and effort.
My Basic Concrete Recipe
Concrete isn’t just one material. It’s a mix of cement, sand, gravel (or crushed stone), and water. I use the classic 1-2-3 mix:
- 1 part cement
- 2 parts sand
- 3 parts gravel
- Plus water
This ratio works well for most general projects. If I need stronger concrete—say, for a load-bearing wall—I might adjust the ratios or use additives, like plasticizers or fibers, but for the average job, this mix is reliable.
I usually use standard Portland cement and clean builders’ sand. For gravel, I make sure it’s well-graded (different sizes of stones) for better bonding.
Step-by-Step: How I Mix It
Here’s how I go about it, batch after batch:
- Set Up the Mixer
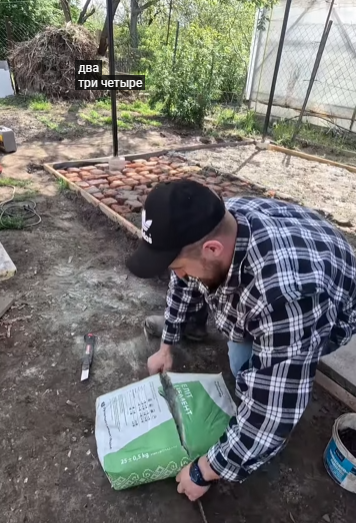
First, I position the mixer on level ground and plug it in. I tilt the drum so it’s ready to receive the materials. It’s important to have everything laid out—bags of cement, piles of sand and gravel, buckets for water—so I don’t waste time during the process. - Add Water First (Some of It)
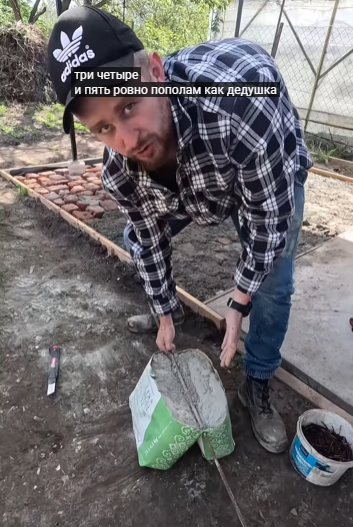
I pour in about half the water I plan to use. Starting with water helps prevent dry material from sticking to the drum. I use a measuring bucket for accuracy. - Add Cement
I pour in the required amount of cement. Since cement is the binding agent, I measure it carefully. - Add Sand, Then Gravel
Next, I add the sand and then the gravel. Some people add gravel first, but I find that this sequence gives a smoother mix. - Let It Turn
I let the drum rotate for several minutes. It’s fascinating to watch the mix transform from dry clumps into a smooth, workable material. - Adjust Water
I slowly add the rest of the water while watching the consistency. You don’t want it too soupy or too dry. The right mix should resemble thick porridge—wet enough to flow, dry enough to hold shape when formed. - Empty It Out
When the mix is ready, I tilt the drum and dump the concrete into a wheelbarrow or directly into the formwork. Then it’s back to step one for the next batch.
Benefits of This Method
Consistency:
Using a mixer gives me more consistent results than hand-mixing. Each batch has the same texture, strength, and curing time.
Efficiency:
With a bit of practice, I can produce a new batch every 5-10 minutes. For medium-sized jobs, I’m in complete control of the pace—no pressure from a ticking delivery schedule.
Cost-Effective:
It’s far cheaper than ordering ready-mix. I only buy what I need. No waste. No delivery fees.
Portability and Flexibility:
I can work anywhere. The mixer runs on regular power and can be moved to different job sites with ease. I can stop when I’m tired and resume the next day—no concrete going to waste.
Challenges and Tips
Of course, this method isn’t perfect.
- Batch Size is Limited:
You’re mixing one small load at a time. For big pours, this gets tiring and time-consuming. But for DIY projects, it’s manageable. - Keep It Clean:
You have to clean the mixer after every use. Dried concrete is nearly impossible to remove, so I always rinse it thoroughly as soon as I’m done. - Watch the Weather:
Mixing in hot weather can dry the mix too fast. On rainy days, materials can get wet, messing with ratios. I store materials under cover and work early mornings when it’s hot. - Protect Yourself:
Always wear gloves, goggles, and a mask. Cement is caustic and dust can be dangerous to breathe. Safety first.
Final Thoughts
Mixing concrete manually with a mixer has become a satisfying part of my DIY journey. There’s something empowering about creating such a foundational material with your own hands—well, with a little help from an electric mixer. I control the recipe, the process, the pace, and the result. And after all the pouring and troweling, I look back at the path, patio, or wall I built and say, “I did that.”
If you’re a homeowner, builder, or weekend warrior, I highly recommend investing in a small mixer. It pays for itself quickly, saves your arms and back, and gives you consistent, high-quality concrete every time.