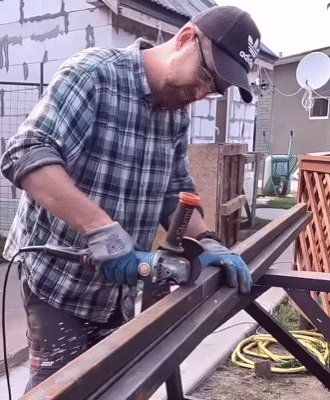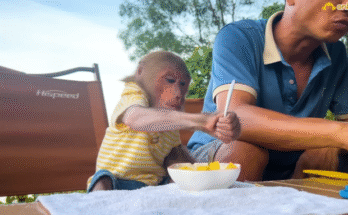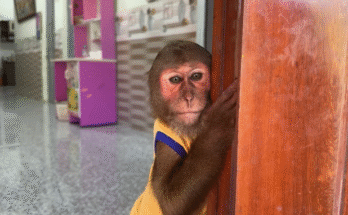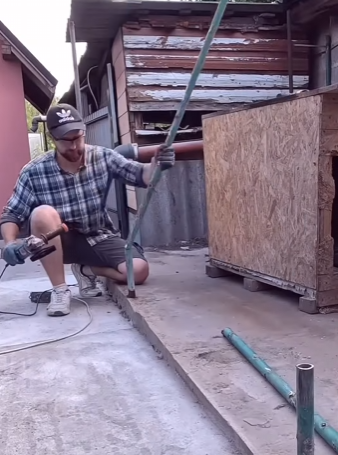
There comes a time when even the most well-loved spaces need a little refresh. Whether it’s to improve comfort, increase safety, or simply bring in a fresh aesthetic, updating an old enclosure is an exciting and rewarding process. For animal lovers, caregivers, or anyone maintaining a sanctuary, the transformation of an enclosure can have a profound impact—not just on the animals, but on those who care for them.
In this article, we’ll take you through the journey of updating an old enclosure—why it matters, what to consider, and the joyful results it can bring. 🐾
Why Update the Enclosure?
Every enclosure has a story. Over time, it may become worn down by weather, age, or the natural activities of the animals it houses. Cracked wood, rusty metal, sagging fencing, or outdated features can affect the safety and well-being of animals. Moreover, as we learn more about the physical and emotional needs of animals, it becomes clear that many older setups no longer meet modern standards of enrichment or safety.
Updating the enclosure shows a commitment to animal welfare. It can significantly improve quality of life by:
- Providing better shelter from the elements
- Enhancing physical and mental stimulation
- Increasing safety for both animals and caregivers
- Creating a more natural or interactive environment
- Making cleaning and maintenance easier and more efficient
Assessing the Old Space
Before picking up a hammer or sketching out designs, the first step is a thorough evaluation. Walk through the enclosure with a critical eye. Look for:
- Structural damage: Cracks, splinters, rust, or unstable areas
- Security risks: Gaps, broken latches, or climbing hazards
- Drainage issues: Standing water, mud, or bad odor
- Space utilization: Are animals making use of the entire area? Is it too cramped?
- Enrichment: Is there enough to keep the animals physically and mentally engaged?
Document the problems, take photos, and make a list of what needs to be fixed or upgraded. This will be your roadmap as you begin the update.
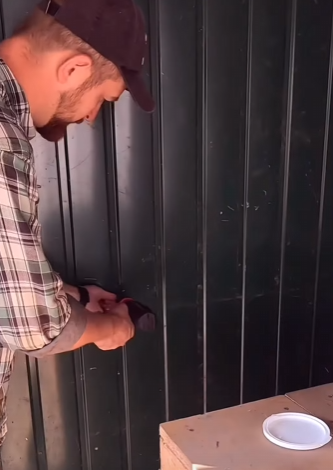
Planning the Update
With your assessment in hand, the planning phase can begin. This stage can be fun and creative!
Define Your Goals
Ask yourself:
- Do I want to expand the space?
- Am I focusing on safety or enrichment—or both?
- What new features would benefit the animals the most?
Budget and Materials
Updating doesn’t always mean a massive expense. Sometimes a simple rearrangement or the addition of inexpensive items like logs, branches, or hanging toys can make a world of difference. However, for bigger upgrades—like new fencing, roofing, or flooring—it’s essential to budget carefully.
Choose durable, animal-safe materials that can withstand the elements and regular cleaning. Prioritize non-toxic, chew-resistant, and escape-proof solutions.
Design with the Animals in Mind
Remember that every species—and even individual animals—have unique needs. For example:
- Primates benefit from climbing ropes, elevated platforms, and puzzles
- Reptiles may need temperature-controlled areas and basking spots
- Birds love vertical space, hiding areas, and varied perches
- Dogs thrive with running space and shaded rest zones
- Cats need vertical spaces, tunnels, and quiet corners
Consider the natural habitat and behaviors of the animals to inspire the best enclosure design possible.
The Transformation Process
With a clear plan in place, it’s time to bring the vision to life. This step might take a few hours or several days, depending on the scope of the project.
Step 1: Clear and Clean
Begin by removing all debris, old structures, and worn-out features. Deep clean the area to create a fresh slate.
Step 2: Make Structural Repairs
Replace any broken beams, fix the fencing, level uneven ground, and check for escape routes. This ensures the new enclosure is strong, secure, and built to last.
Step 3: Install New Features
Add perches, swings, ramps, or platforms—whatever best suits your animals. Think vertically and horizontally to maximize the usable space.
Step 4: Add Enrichment Elements
Rotate toys, natural elements like tree branches, digging boxes, scent trails, or climbing structures. Use materials that can be swapped out regularly to keep the space engaging.
Step 5: Final Inspection
Double-check everything. Look from the perspective of both the animal and the caregiver. Are there any pinch points, gaps, or sharp edges? Is it easy to clean and maintain?
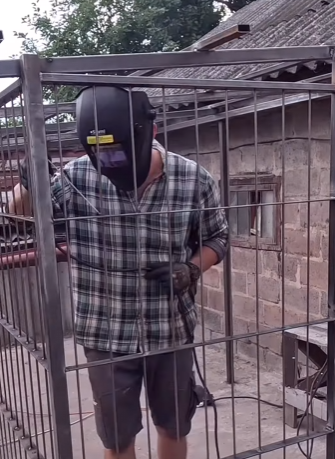
Reintroducing the Animals
Now comes the most heartwarming part—letting the animals back into their upgraded home. For some, it might be immediate joy as they run, jump, or explore. For others, it might take time to adjust to the new layout. Be patient and allow them to rediscover their space at their own pace.
Watch their reactions closely:
- Are they curious or cautious?
- Do they engage with new features?
- Do they seem more active or relaxed?
Often, animals show their appreciation in subtle ways—resting more comfortably, engaging in new behaviors, or interacting more positively with caregivers.
The Joy of Updating
Beyond the technical steps and practical improvements, updating an old enclosure is about something deeper: showing care, love, and respect for the animals in our lives.
Every new perch, hiding spot, or open space tells them, “You matter. Your comfort matters. Your happiness matters.”
It’s a moment of bonding, a chance to reconnect with the reason we built the enclosure in the first place.
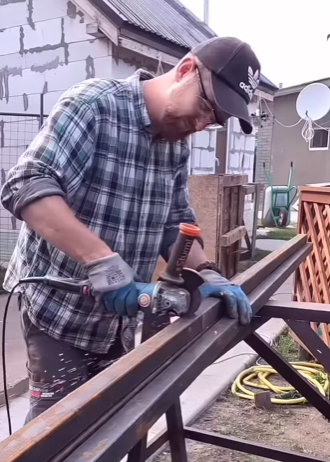
Final Thoughts
Updating an old enclosure doesn’t just enhance the physical space—it renews the energy and emotion within it. Whether you’re working with a backyard coop, a pet playpen, or a large sanctuary habitat, the effort you invest is always worth it.
So roll up your sleeves, get a little messy, and enjoy the process. 🤗🤗🤗
Your animals will thank you—with wagging tails, joyful calls, or simply by resting peacefully in their newly updated haven.
