A potbelly stove is a classic and charming way to heat a room, cabin, or workshop. Known for its round belly shape and durable cast-iron construction, this type of wood-burning stove has been a staple of warmth and simplicity for generations. But to enjoy its benefits safely and efficiently, correct installation is absolutely essential. Whether you’re restoring an old unit or installing a brand-new one, here’s everything you need to know about installing a potbelly stove the right way.
1. Choose the Right Location
Before any installation begins, you need to pick the best location for your potbelly stove. This decision should be based on both safety and functionality.
- Ventilation: Choose a spot with easy access to an exterior wall or ceiling for proper venting.
- Central Heating: Placing the stove centrally in your space allows for more even heat distribution.
- Clearances: The stove should be installed a safe distance from walls, furniture, and combustible materials. Check the manufacturer’s recommendations for minimum clearances—usually at least 36 inches from combustibles.
Also, make sure the area has enough space to load wood and clean the stove easily.

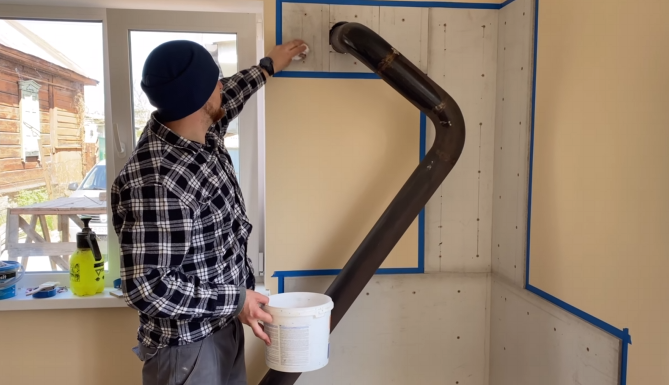
2. Prepare the Floor and Wall Protection
Potbelly stoves get very hot, and safety should always come first. If you’re installing on a combustible floor (like wood or vinyl), you must place a non-combustible hearth pad beneath the stove. Common materials include ceramic tile, concrete board, or stone. This pad should extend at least 18 inches in front of the stove and 8 inches on the sides and rear.
For wall protection, if the stove is near a wall, install a heat shield made of metal or tile to reduce the risk of fire. These shields should be spaced at least 1 inch from the wall to allow air circulation behind them. This can reduce clearance requirements by as much as 66%, depending on local building codes.
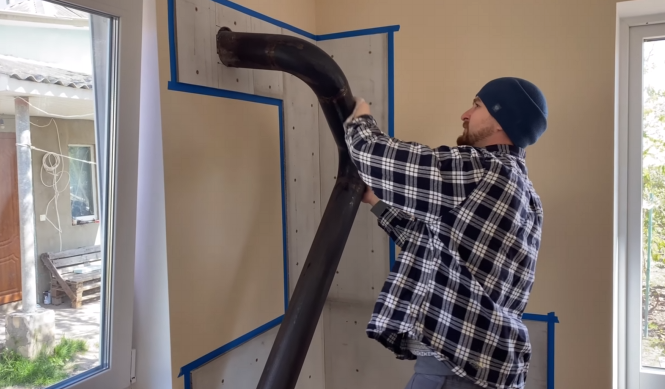
3. Install the Chimney and Flue Pipe
The chimney is critical for safely venting smoke and gases out of your home. You’ll need to connect the stove to a chimney using a flue pipe (stovepipe), typically made of black steel.
Steps:
- Flue Pipe Connection: Connect the flue pipe from the stove’s exhaust outlet to the chimney. Use a single-wall stovepipe indoors, and double- or triple-wall pipe for sections that pass through walls or ceilings.
- Maintain Rise: The stovepipe should rise at least 1/4 inch per foot of horizontal run to encourage proper draft.
- Minimize Bends: Keep the number of elbows to a minimum—no more than two 90-degree turns if possible—to avoid restricting the draft.
- Chimney Height: The chimney must extend at least 3 feet above the roof and 2 feet higher than any point of the roof within 10 feet to ensure proper drafting and reduce smoke backflow.
You can install the chimney through an exterior wall (horizontal run with a vertical chimney outside) or through the ceiling and roof (vertical run), which is often more efficient for drafting.
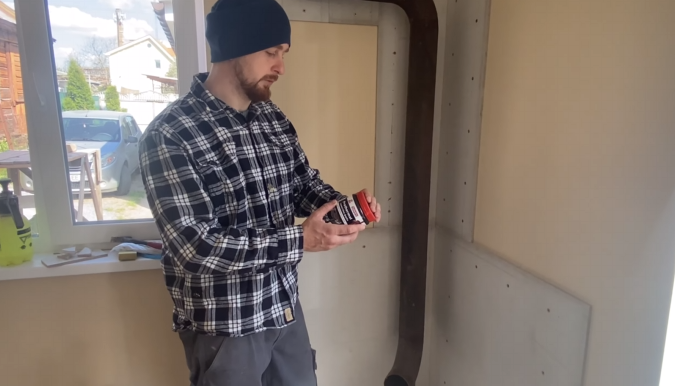
4. Seal All Joints and Connections
Once the chimney system is in place, make sure every joint is sealed tightly to prevent smoke leaks. Use high-temperature stove cement or furnace cement to seal connections. Screw each section of stovepipe together using at least three sheet metal screws.
Check that the stovepipe fits snugly over the flue collar and that the damper (if present) operates smoothly.
5. Install a Damper (Optional but Recommended)
A damper is a metal plate inside the flue pipe that can be adjusted to regulate airflow. Installing a manual flue damper allows you to control the burn rate and efficiency of your potbelly stove.
- Too Much Air: The fire burns too fast, wasting fuel and producing less heat.
- Too Little Air: Incomplete combustion, more creosote buildup, and smoke problems.
A properly adjusted damper helps you get the most heat from your firewood while reducing chimney maintenance.
6. Perform a Safety Inspection
Before lighting your first fire, do a full inspection:
- Check all clearances again.
- Confirm that the flue and chimney are unobstructed.
- Test the damper’s operation.
- Ensure that the hearth pad and wall shields are properly secured.
You should also install carbon monoxide detectors and smoke alarms in the same room and nearby sleeping areas. These are life-saving devices that provide early warning in case of smoke leaks or backdrafts.
7. First Firing and Break-In
Light a small, low-burning fire the first time you use the stove. This helps to:
- Cure the paint or enamel finish (which may smoke slightly).
- Test the drafting and airflow.
- Identify any leaks or installation flaws before heavy use.
Keep windows slightly open during the break-in to help ventilate any fumes from the curing process.
8. Maintenance Tips for Long-Term Use
Installing your potbelly stove is just the beginning. To ensure safe and efficient operation, regular maintenance is essential:
- Clean the flue regularly: Creosote buildup in the chimney can cause dangerous chimney fires. Clean your flue at least once per season, or more if you use the stove heavily.
- Check gaskets and seals: Over time, door gaskets and seals can wear down. Replace them if they are cracked or no longer provide a tight seal.
- Empty the ash pan frequently: Allowing ash to accumulate can block airflow and reduce efficiency.
- Inspect for rust and corrosion: Keep the stove dry and apply stove polish or high-temperature paint as needed to maintain its appearance and function.
9. Follow Local Codes and Permits
Most importantly, always check your local building codes and fire regulations before installing any wood stove. You may need a permit, inspection, or specific materials approved for your area.
Hiring a professional installer or certified chimney sweep is strongly recommended if you’re unsure about any part of the process. They can ensure compliance with regulations and provide peace of mind.
Final Thoughts
Installing a potbelly stove correctly takes planning, preparation, and attention to detail—but the reward is worth it. A well-installed stove offers reliable heat, rustic charm, and years of cozy fires. Whether you’re using it in a workshop, cabin, or home, following these steps ensures you enjoy your stove safely and efficiently.
By respecting clearances, using proper materials, and maintaining your system regularly, you’ll get the best performance from your potbelly stove and keep your home warm all winter long.