Achieving the middle splits is a goal for many athletes, dancers, martial artists, and yoga practitioners. While it looks impressive, it’s far more than a vanity move — middle splits improve hip flexibility, lower body mobility, balance, and overall posture. The challenge is that the muscles involved, particularly the hip adductors, hamstrings, and hip flexors, are often tight, making middle splits seem unattainable for beginners. Fortunately, with yoga-based flexibility and mobility training, you can make the middle splits easier, safer, and more sustainable.
This guide will show you step-by-step yoga techniques and mobility strategies to gradually open your hips and strengthen your legs so you can achieve middle splits without strain.
Why Middle Splits Are Beneficial
Middle splits, also called straddle splits, are not just about getting your legs flat on the floor. They offer numerous functional benefits:
- Enhanced Hip Flexibility – Regular practice stretches the adductors, hamstrings, and hip flexors, allowing for freer, more efficient movement.
- Stronger Legs and Core – Engaging muscles during stretching helps build strength while increasing range of motion.
- Improved Mobility – Flexible hips reduce stiffness, which is essential for martial arts, dance, gymnastics, and even everyday activities.
- Posture Improvement – Stretching and strengthening the lower body helps stabilize the pelvis and spine.
- Injury Prevention – Flexible muscles and joints are less prone to strains, sprains, and overuse injuries.
Yoga, in particular, is ideal because it combines dynamic movement, controlled breathing, and deep stretches, making it easier to progress safely toward middle splits.
Step 1: Warm-Up Your Body
Before attempting middle splits, warming up your muscles is crucial. Cold muscles are prone to injury, and warming up improves blood flow, reduces stiffness, and prepares the body for deep stretches.
Yoga Warm-Up Routine (5–10 minutes):
- Cat-Cow Stretch – On all fours, inhale as you drop your belly and lift your chest (Cow), exhale as you round your back (Cat). Repeat 10–12 times.
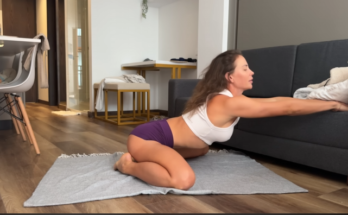
- Low Lunge (Anjaneyasana) – Step one foot forward into a lunge, lower the back knee, and stretch the hip flexor. Hold 20–30 seconds per side.
- Seated Forward Fold (Paschimottanasana) – Sit with legs extended, hinge at the hips, and reach toward your feet. Hold for 15–20 seconds.
- Standing Side Stretch – Stand with feet wide, extend arms overhead, and lean gently from side to side. 8–10 repetitions.
Warming up should target the hips, hamstrings, and groin, the key areas for middle splits.
Step 2: Foundational Yoga Poses for Middle Splits
These poses focus on hip opening, hamstring lengthening, and adductor flexibility, forming the foundation for safe middle splits practice.
- Butterfly Pose (Baddha Konasana)
- Sit with the soles of your feet together and knees bent outward.
- Pull your heels toward your pelvis and gently press your knees toward the floor.
- Lengthen your spine and hold for 20–30 seconds.
- Benefits: Opens the inner thighs and groin.
- Wide-Legged Forward Fold (Prasarita Padottanasana)
- Stand with feet wide apart, hinge at the hips, and fold forward.
- Place hands on the floor or blocks, keeping your back long.
- Hold for 20–30 seconds.
- Benefits: Stretches hamstrings, inner thighs, and lower back.
- Frog Pose (Mandukasana)
- Start on all fours, spread knees wide while keeping feet in line with knees.
- Slowly lower your hips toward the ground.
- Hold for 20–40 seconds.
- Benefits: Deep groin and hip opening.
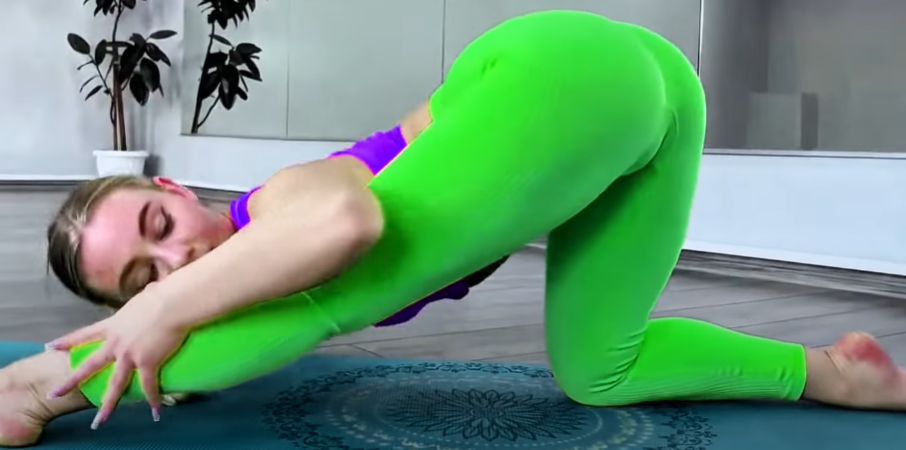
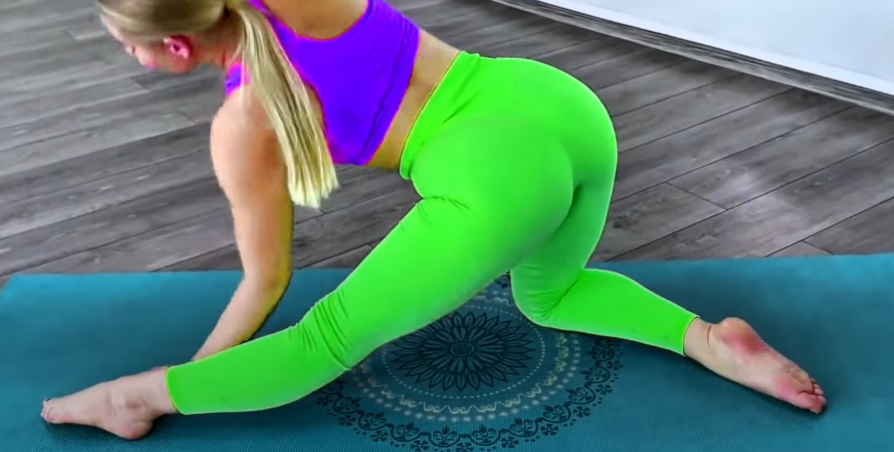
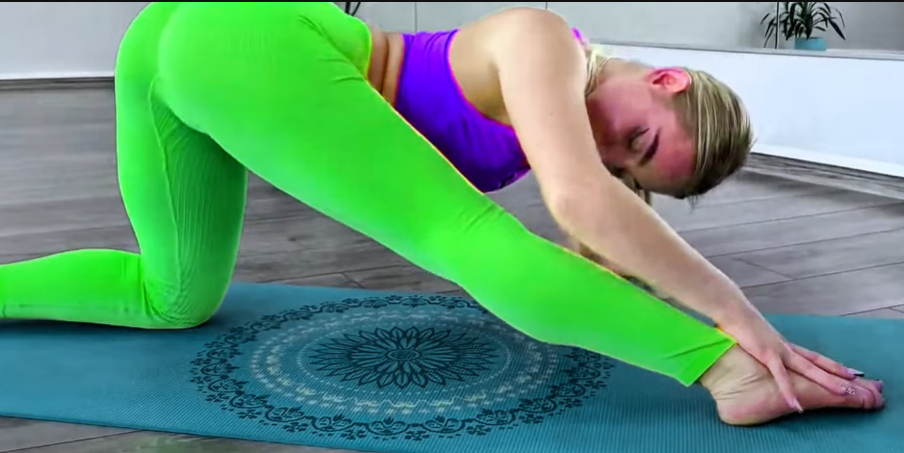
- Side Lunges (Skandasana)
- Step one leg to the side, bend the knee, and shift your weight toward it.
- Keep the other leg straight and toes pointing upward.
- Repeat 8–10 times per side.
- Benefits: Strengthens adductors and increases side-to-side hip mobility.
Step 3: Progressive Middle Splits Practice
After warming up and performing foundational poses, you can start progressive middle splits exercises. The key is gradual stretching with consistent engagement.
1. Supported Middle Splits
- Sit on the floor, legs wide, and place yoga blocks under each thigh.
- Slide legs apart slowly until comfortable, keeping spine upright.
- Hold for 20–40 seconds.
- Benefits: Reduces strain while teaching your hips to open.
2. Dynamic Sliding Splits
- Place socks on a smooth surface or use sliders.
- Start in a narrow straddle, slowly slide legs outward, then back together.
- Repeat 8–10 times.
- Benefits: Builds strength while gradually increasing range of motion.
3. Forward Fold in Straddle (Pancake Stretch)
- Sit in a wide straddle, hinge at the hips, and fold forward slowly.
- Keep spine long and avoid rounding the back.
- Hold for 20–30 seconds, breathe deeply.
- Benefits: Lengthens hamstrings and adductors safely.
Step 4: Incorporate Strength Training
Flexibility alone won’t make middle splits stable. Strength in the legs, glutes, and core ensures that your splits are controlled and sustainable.
Yoga-Inspired Strength Exercises:
- Bridge Pose (Setu Bandhasana) – Strengthens glutes and hamstrings.
- Side-Lying Leg Lifts – Strengthens abductors for hip stability.
- Low Lunge with Lifted Arm Reach – Engages core and hip flexors.
- Warrior II (Virabhadrasana II) – Builds leg strength and stability.
Strong muscles support the joints and allow you to hold the middle splits without collapsing or over-stretching.
Step 5: Recovery and Maintenance
Recovery is just as important as stretching. Overstretching without recovery can lead to injuries.
Recovery Techniques:
- Foam Rolling – Roll hamstrings, quads, and adductors to release tension.
- Rest Days – Allow muscles to recover at least 1–2 days per week.
- Hydration and Nutrition – Flexible muscles require proper hydration and protein for repair.
- Gentle Yoga Flow – End practice with relaxing poses like Child’s Pose and Supine Twist.
Step 6: Tips for Faster Progress
- Consistency – Practice 10–15 minutes daily for best results.
- Deep Breathing – Inhale to lengthen muscles, exhale to release tension.
- Listen to Your Body – Discomfort is okay, sharp pain is not.
- Gradual Progression – Increase split depth slowly, use props if needed.
- Combine Strength and Flexibility – Flexibility without strength can lead to unstable splits.
Step 7: Common Mistakes to Avoid
- Forcing the Split – Never push beyond your range; it can damage ligaments.
- Neglecting Hips – Tight hip flexors block progress; prioritize hip-opening exercises.
- Skipping Warm-Up – Cold muscles are more prone to injury.
- Ignoring Core Engagement – Core stabilizes the pelvis and spine.
- Poor Alignment – Keep hips square to avoid twisting the lower back.
Step 8: Patience and Mindset
Middle splits are as much mental as physical. Patience and persistence are key. Celebrate small gains — even a few centimeters wider is progress. Visualize your goal daily and approach each practice with a positive mindset. Over time, your body will respond, and the splits will feel more natural.
Sample Yoga Routine for Middle Splits (15 Minutes)
- Warm-up (5 minutes): Cat-Cow, Low Lunge, Side Stretch
- Foundational poses (5 minutes): Butterfly, Wide-Legged Forward Fold, Frog Pose
- Progressive splits (3 minutes): Supported Middle Splits, Dynamic Sliding Splits
- Strength & Stability (2 minutes): Bridge Pose, Side-Lying Leg Lifts
- Cool Down (optional): Child’s Pose, Supine Twist
Conclusion
Middle splits are achievable with yoga-based flexibility and mobility training, consistent practice, and strength work. By warming up properly, targeting hip-opening poses, incorporating supportive strength exercises, and progressing gradually, you can safely and effectively make the middle splits easier.
Remember: flexibility isn’t just about how far you can stretch, it’s about building strength, control, and awareness in your body. With patience, dedication, and the right approach, middle splits are not just a goal — they become a reflection of your discipline, resilience, and body mastery.
Start today, follow this routine, and watch your hips open, your legs grow stronger, and your body gain the mobility it deserves. 🧘♀️🦵