A rotten basement is every homeowner’s nightmare. When ventilation issues combine with persistent dampness and fungal growth, the damage can escalate quickly, threatening the structural integrity of the entire building. Fortunately, with proper diagnosis and methodical repair, even the most decayed basement can be restored. In this article, we’ll walk you through every stage of a complete basement repair project – all documented in one compelling video that captures the transformation from a damp, moldy mess to a clean, dry, and usable space.
Stage 1: Diagnosis and Inspection
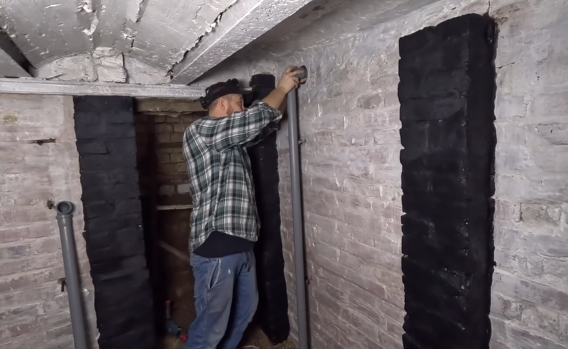
The first step in any repair project is understanding the scope of the problem. Our video begins with a detailed inspection of the basement, highlighting the tell-tale signs of poor ventilation: musty odors, condensation on walls, and stagnant air. The camera reveals rotting wood, peeling paint, and black fungal stains creeping across the ceiling beams.
Moisture meters are used to check the saturation levels of the walls and flooring, while thermal imaging reveals hidden cold spots where condensation is likely forming. A proper inspection also includes checking outside drainage systems and grading to determine if water is seeping in from above ground.
Stage 2: Ventilation Assessment and Upgrade
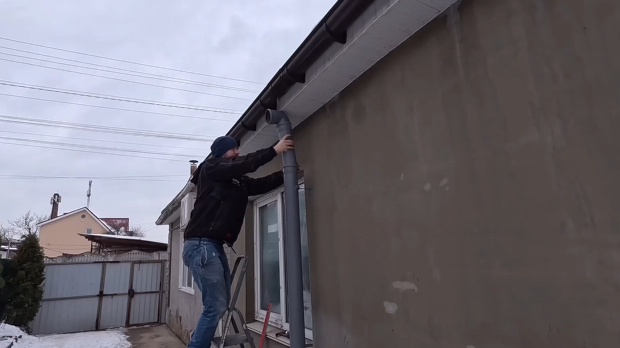
One of the biggest culprits in basement rot is inadequate airflow. In this basement, there were no mechanical ventilation systems installed – only a couple of small, blocked vents. To address this, the team removes debris from the existing vents and installs a new exhaust fan with a humidity sensor. This allows the system to automatically activate when moisture levels rise above a certain threshold.
We show the entire installation in the video, including how ducts are routed to maximize air movement. Proper ventilation is the foundation for all future repairs – without it, any further fixes would be temporary at best.
Stage 3: Clearing Out the Damage
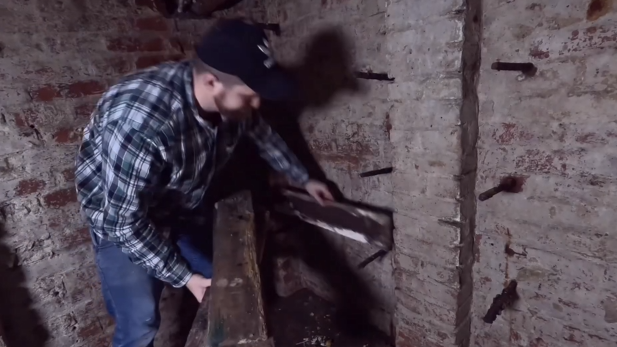
Next comes the hard part: removing everything that’s been damaged beyond repair. Moldy insulation, waterlogged drywall, and rotting wooden frames are all carefully pulled out. The team wears full protective gear, including respirators, as the space is filled with airborne spores and dust.
Our video captures this process with time-lapse footage, making it both satisfying and shocking to watch the transformation. A dumpster is filled with the remains of a space that once served as a storage room, laundry area, and workshop. Every surface is scrubbed down with antifungal treatments, and commercial dehumidifiers are brought in to dry out the space completely before repairs begin.
Stage 4: Waterproofing the Walls and Floor
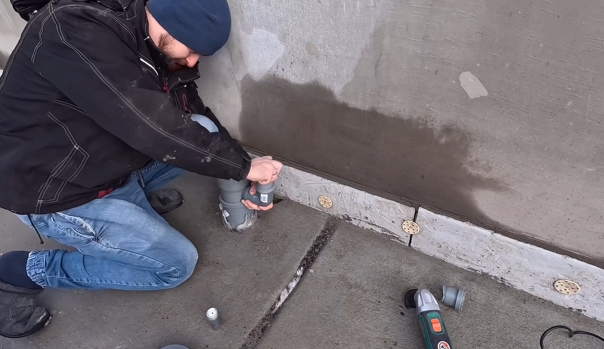
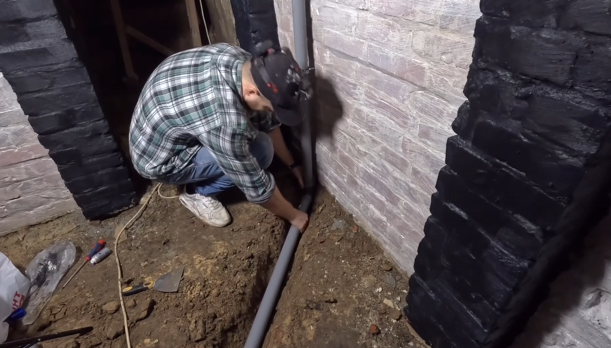
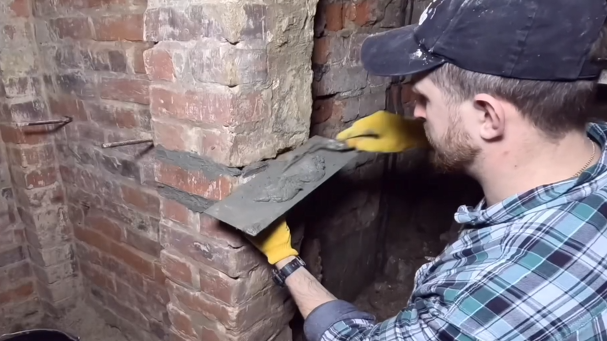
After cleaning and drying, the basement is ready for waterproofing. This step is crucial to prevent future moisture problems. We show how professionals apply waterproof membrane coatings to the interior walls, paying close attention to corners and joint areas where water tends to accumulate. A trench is dug around the perimeter of the floor, and a new French drain system is installed, connected to a sump pump to divert water away from the foundation.
In the video, viewers get a clear view of each layer – from the primer coat to the application of waterproof cement, and finally the installation of a vapor barrier. The floor is treated with a concrete sealer, and every crack is filled to prevent seepage.
Stage 5: Mold Remediation and Air Scrubbing
Although the visible mold has been removed, the air itself needs to be purified to eliminate any lingering spores. Industrial air scrubbers with HEPA filters are set up and run for 48 hours to clean the basement air. During this time, humidity levels are closely monitored, and dehumidifiers continue to run.
The video offers useful information on how to select the right air scrubber and the importance of changing filters regularly. This stage is vital for creating a healthy space and avoiding respiratory issues down the line.
Stage 6: Structural Repairs and Rebuilding
With a dry and clean basement, it’s time to rebuild. Rotting wooden beams and joists are replaced with pressure-treated lumber. Insulation is updated with closed-cell spray foam, which not only resists moisture but also adds structural integrity and thermal insulation.
Viewers watch as new drywall goes up, this time using moisture-resistant green board. The floor is rebuilt with treated plywood subflooring and vapor barrier sheeting underneath. We highlight every detail, including the importance of leaving a small gap between the wall and floor to prevent moisture wicking.
Stage 7: Installing a Permanent Ventilation System
While the temporary fan setup was useful during the cleanup, a permanent ventilation and dehumidification system is needed for long-term health. A whole-house ventilation unit with a heat recovery ventilator (HRV) is installed to ensure a steady exchange of fresh, dry air throughout the basement.
Our video explains the benefits of HRVs and shows exactly how the ductwork is laid out to optimize airflow in all corners of the room. This final touch ensures the basement will stay dry and fresh year-round.
Stage 8: Finishing Touches and Restoration
Finally, it’s time to restore the space. Paint with mold-resistant properties is applied to the walls and ceiling. Durable vinyl flooring that mimics wood is installed – a much better alternative to carpet or laminate in a basement environment. The video ends with before-and-after shots that show just how dramatic the transformation has been.
Shelves and storage systems are reinstalled, now mounted slightly off the ground to prevent contact with any future floor moisture. Furniture and equipment return, but everything is elevated or sealed in waterproof bins.
Conclusion: A Healthy Basement is a Happy Basement
What started as a damp, musty, fungus-ridden basement is now a dry, healthy, and functional space – all thanks to methodical work and smart choices. The key to success was tackling the root cause – poor ventilation – before attempting cosmetic repairs. Waterproofing, air purification, and structural restoration all played a role in the complete transformation.
Whether you’re dealing with a similar problem or just want to learn more about basement maintenance, our full video walks you through every step with clear visuals and professional tips. Don’t wait for mold and rot to spread – take action, and reclaim your basement!