There’s something magical about stepping onto a beautifully designed terrace — the breeze, the open sky, the feeling of an outdoor room that expands your living space. But what makes a terrace truly inviting isn’t just the view or the furniture. It’s the floor beneath your feet. And today, we’re talking about one of the best choices out there: porcelain stoneware.
🎥 In the full video, we show you the entire process — from selecting the tile to the final grout wipe-down. But in this article, we’re diving deep into why porcelain stoneware is a game-changer for your terrace and how to make the most of it. 🤔🧐
🌟 Why Choose Porcelain Stoneware for Your Terrace?
Porcelain stoneware, also known as porcelain tiles, is a type of ceramic tile made from extremely fine, dense clay and fired at very high temperatures. This process makes it highly durable, water-resistant, and perfect for outdoor use.
Here’s what sets porcelain stoneware apart:
- Weather Resistant: It doesn’t warp in the heat or crack in the cold.
- Slip Resistant: Special outdoor finishes provide grip even when wet.
- Low Maintenance: It resists stains, mold, and algae — perfect for rainy or humid climates.
- Endless Style Options: From wood looks to natural stone and even concrete effects, there’s a style for every taste.
Whether your terrace overlooks a peaceful garden, a buzzing street, or the rolling sea, the flooring sets the tone.
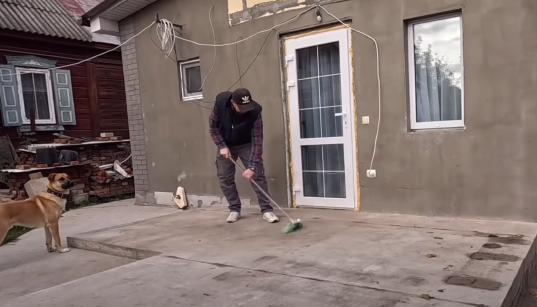
📏 Planning and Preparing Your Terrace
Before you even think about laying the tile, planning is key. You want to consider:
- Load-bearing capacity: Especially for rooftop terraces. Porcelain stoneware is heavy, so check with an engineer if needed.
- Drainage: You’ll need a slope of about 1-2% to ensure water runs off efficiently.
- Surface leveling: An uneven subfloor can cause cracked tiles or pooled water.
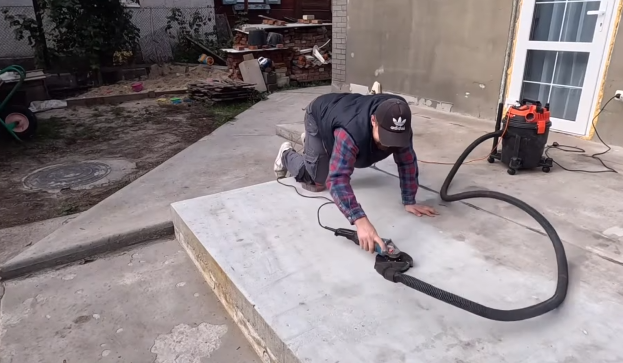
In our full video, we walk through the prep phase — cleaning the base, laying down waterproofing membranes, and checking levels with a laser. It might not be glamorous, but this step is what makes the end result flawless.
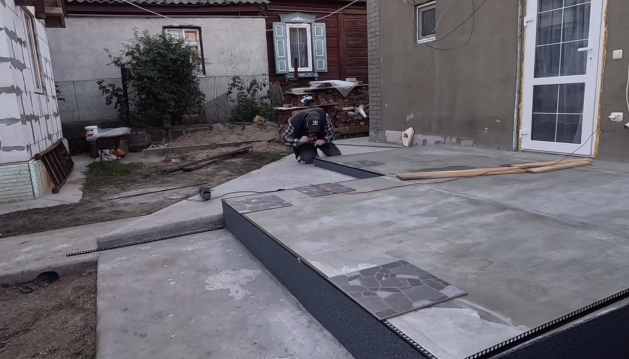
🧱 Installation: Getting Hands-On
The actual installation starts with layout planning. Most homeowners and professionals use a dry layout first — laying the tiles without adhesive — to get the perfect pattern.
Common layout options include:
- Straight lay: Clean and modern.
- Staggered: Adds a bit of movement.
- Diagonal: Makes small terraces appear larger.
Once the layout is locked in:
- Adhesive is spread using a notched trowel.
- Tiles are laid with spacers to ensure even gaps.
- A level is used after every few tiles to keep the floor perfectly flat.
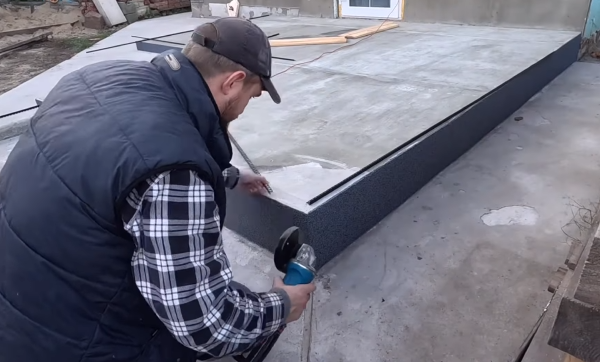
Porcelain stoneware can be cut with a wet saw to fit edges and corners. And don’t worry — in the full video, we show how to make those satisfying, clean cuts. 🔪🎬
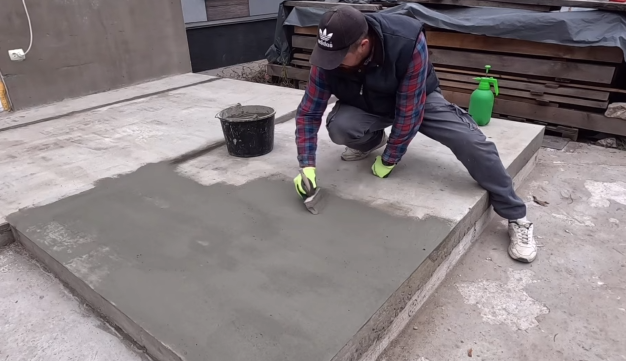
⚒️ Grouting and Finishing Touches
After 24 hours of drying time, it’s grout time! This is when your terrace really starts to come together.
Choose a grout color that complements your tile. For a seamless look, go with a matching tone. For contrast, pick something darker or lighter.
Grouting steps:
- Grout is applied with a rubber float.
- Excess is wiped off diagonally with a damp sponge.
- After drying, a haze might remain — polish with a microfiber cloth.
We also recommend sealing the grout for extra protection, especially in humid or rainy areas.
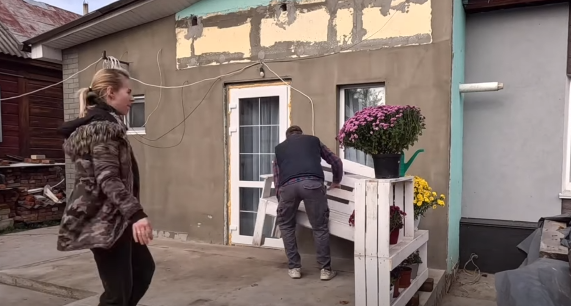
🪴 Styling the Finished Terrace
With your gorgeous porcelain stoneware floor complete, it’s time to furnish and style your terrace! This part is where your personality shines through.
Some ideas:
- Outdoor lounge furniture with weather-resistant cushions.
- Planters with greenery or flowering plants.
- A pergola or umbrella for shade.
- Ambient lighting with solar lanterns or LED strips.
The best part about porcelain tiles? They’re neutral and stylish enough to adapt to any theme — from boho-chic to ultra-modern.
📸 Capturing the Process — Why the Full Video is Worth Watching
Photos can only show so much. In the full video, we’ve captured every angle, every satisfying trowel stroke, and every clever little tip you might miss reading an article.
What you’ll see:
- The exact adhesive we used and why.
- How we handled tile expansion gaps.
- Solutions for uneven terrace edges.
- Time-lapses of before and after transformations.
Whether you’re a DIY warrior or hiring professionals, watching the full video gives you a true understanding of what’s involved and how to avoid costly mistakes.
💡 Pro Tips for Long-Lasting Beauty
To wrap it up, here are some expert tips to ensure your porcelain stoneware terrace stays stunning for years:
- Clean regularly with a soft broom and mild soap. No need for harsh chemicals.
- Inspect grout lines annually and re-seal if needed.
- Avoid metal furniture legs that could scratch — use rubber feet instead.
- Add a rug or mat in high-traffic areas for comfort and style.
And remember, this kind of tile isn’t just about looks. It’s a smart investment in durability, safety, and value for your home.
✅ Final Thoughts
A terrace with a porcelain stoneware floor is more than just an outdoor area — it’s a destination. Whether you use it for quiet morning coffees, sunset wine nights, or weekend gatherings, it deserves a floor that’s as strong as it is beautiful.
So if you’re dreaming of a space that looks like a magazine cover and lasts like a fortress — porcelain stoneware might just be your perfect match.
🎥 And don’t forget to check out the full video for the step-by-step visuals, expert hacks, and satisfying transformation shots. Like, comment, and subscribe if you found it helpful! 🧱🏡✨