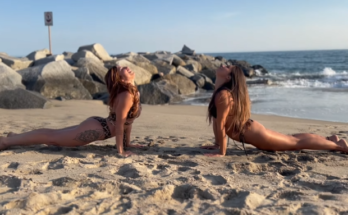
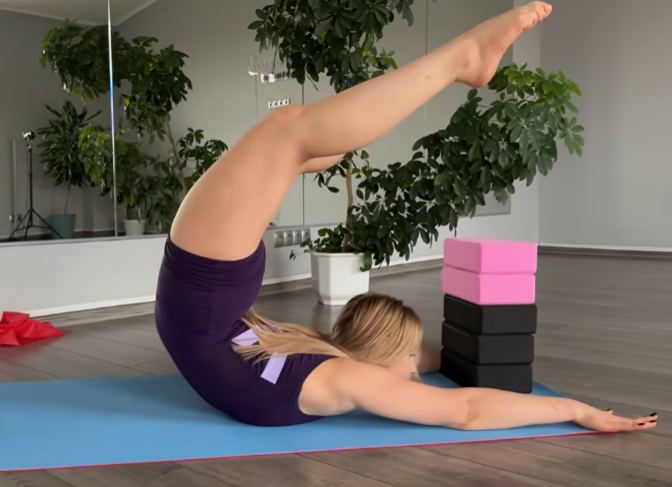
At first glance, it looks simple. A smooth arch of the spine. Open shoulders. A calm face. No shaking, no strain. The backbend looks effortless—almost casual. But anyone who has tried one knows the truth: backbends don’t test how flexible you are. They test how controlled your flexibility really is.
This backbend challenge isn’t about collapsing into your lower back or forcing your body into a shape it isn’t ready for. It’s about awareness, strength, breath, and precision. It asks one important question: Can you control this flexibility?
In high definition, every detail is visible. Every tremble. Every compensation. Every moment where strength replaces force. Backbends reveal the truth of your practice—and that’s why they are so powerful.
Why Backbends Are Deceptively Hard
Backbends feel good to many people because the spine naturally wants to extend after long periods of sitting. But “feeling good” doesn’t always mean “done well.” Many people dump into their lower back, ignore shoulder mobility, and bypass core engagement. The pose still happens—but control is lost.
True backbend mastery requires:
- Open shoulders
- Active glutes
- Engaged core
- Mobile thoracic spine
- Calm, steady breath
Without these elements, flexibility becomes unstable—and unstable flexibility leads to pain, not progress.
This challenge is designed to expose imbalance and teach control.
Before You Begin: Warm-Up Is Non-Negotiable
Never attempt deep backbends cold. Warm muscles protect your joints and allow your nervous system to relax into the shape.
Spend at least 8–10 minutes warming up with:
- Cat–Cow
- Shoulder circles
- Gentle lunges
- Light core activation
Your body must feel warm, alert, and present before moving on.
The Challenge Structure
This backbend challenge is built in layers. Each stage may look easy—but each one demands increasing levels of control. Don’t rush. Master each level before moving on.
Level 1: Controlled Spinal Extension (Foundation)
Sphinx Pose with Engagement
Lie on your stomach, elbows under shoulders.
Press forearms down.
Lift chest forward—not up.
Engage:
- Glutes lightly
- Lower abdominals
- Inner thighs
Hold for 5 slow breaths.
Challenge: Can you lift without compressing your lower back?
This pose reveals whether your extension comes from the spine evenly—or only from the lumbar region.
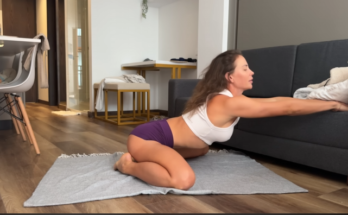
Level 2: Low Cobra with No Hands
From Sphinx, slide elbows forward slightly.
Lift chest using back muscles—not arms.
Hands hover lightly or rest fingertips on mat.
Hold 3–5 breaths.
Challenge: Can you stay lifted without pushing?
Shaking is normal. That’s control being built.
Level 3: Baby Bridge with Alignment
Lie on your back.
Feet hip-width, heels close to sit bones.
Lift hips slowly.
Engage glutes and hamstrings.
Press arms into floor.
Hold 5 breaths.
Challenge: Can you keep ribs from flaring?
If your ribs pop upward, your core has disengaged. Control means containment.
Level 4: Bridge Pose with Shoulder Control
From Bridge, interlace fingers beneath you.
Roll shoulders under.
Lift chest toward chin—not chin toward chest.
Even weight in feet.
Knees track forward.
Hold 5–8 breaths.
Challenge: Can you breathe calmly while staying lifted?
Breath control reflects nervous system control.
Level 5: Tabletop Backbend (The First Test)

Sit with knees bent, feet flat.
Hands behind you, fingers forward.
Press through hands and feet.
Lift hips until torso is parallel to floor.
Neck neutral.
Core engaged.
Hold 20–30 seconds.
Challenge: Can you lift smoothly without collapsing?
This pose exposes shoulder weakness and core instability quickly.
Level 6: Camel Pose – The Illusion Breaker
Camel looks open and dramatic—but control matters more than depth.
Kneel with hips stacked over knees.
Hands on hips.
Lift chest before leaning back.
Option to reach heels.
Key cues:
- Squeeze glutes
- Engage lower belly
- Lift sternum upward, not backward
Hold 3–5 breaths.
Challenge: Can you exit slowly without dizziness?
The way you come out matters as much as the pose itself.
Level 7: Dropback Preparation (Advanced Control)
Stand tall.
Hands on hips.
Lean back slowly.
Only go as far as you can return without help.
Challenge: Can you stop halfway?
Stopping mid-movement proves true control. Most people can’t.
Level 8: Wheel Pose (Urdhva Dhanurasana)
Lie on your back.
Hands by ears, fingers forward.
Press evenly into hands and feet.
Lift chest first, then hips.
Arms straight if possible.
Weight centered.
Hold 3–8 breaths.
Challenge: Can you distribute the curve evenly?
If pressure lives only in the lower back, control is missing.
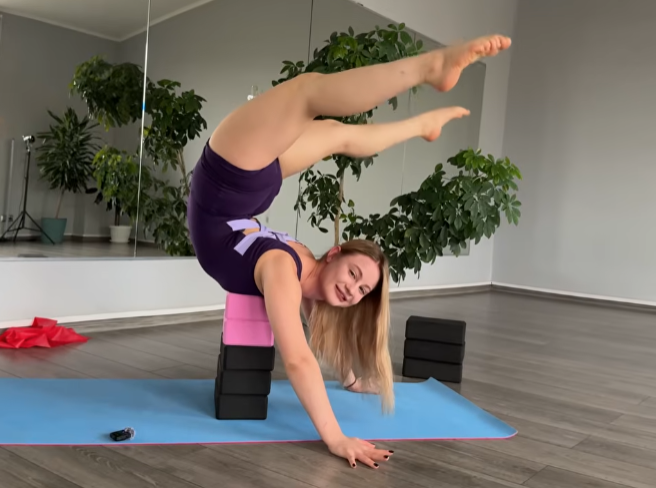
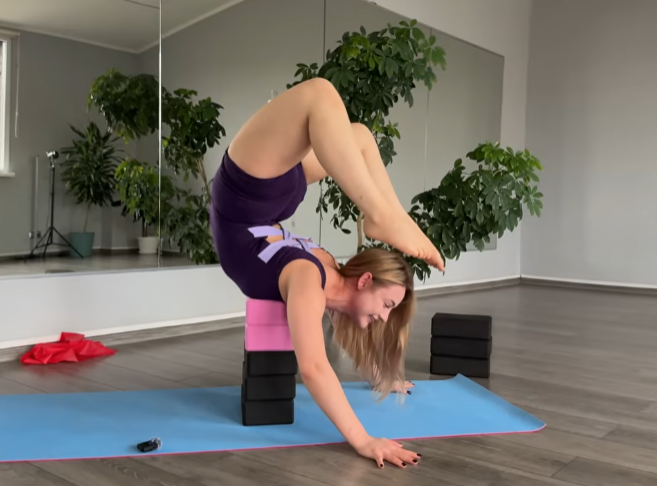
Level 9: One-Leg Wheel (Elite Control)
From Wheel:
Shift weight carefully.
Lift one leg.
Hold 3–5 breaths.
Switch sides.
Challenge: Can you stabilize while asymmetrical?
This reveals whether your backbend is strength-based or collapse-based.
Level 10: Soft Landing & Recovery
Lower down slowly.
Hug knees to chest.
Twist gently side to side.
Then rest.
Backbends require intentional recovery to protect the spine.
Common Mistakes That Look “Flexible” but Aren’t
- Dumping into lumbar spine
- Letting knees splay outward
- Holding breath
- Overusing arms instead of back muscles
- Rushing depth without control
If it looks deep but feels unstable, it’s not mastery.
How Often Should You Train Backbends?
- Light backbends: daily
- Deep backbends: 2–4 times per week
- Always balance with forward folds and core work
Backbends are powerful—but only when integrated intelligently.
Why Control Matters More Than Depth
Anyone can push into flexibility with momentum and force. Very few can move slowly, stop midway, breathe steadily, and exit with ease. That’s the difference between performance and practice.
Control protects your spine.
Control builds longevity.
Control creates beauty in movement.
Final Challenge Question
It looks easy.
But when the camera zooms in—
When movement slows—
When breath becomes the focus—
Can you control this flexibility?
Because real strength isn’t loud.
It doesn’t rush.
And it doesn’t force.
It moves with awareness.
And that’s the true challenge.