
A back bend is one of the most visually impressive moves in fitness, yoga, gymnastics, and dance. It requires a combination of flexibility, strength, and balance. Whether you’re a beginner looking to improve your posture or an athlete aiming to perform advanced poses, learning how to safely execute a back bend is crucial. This guide will break down everything you need to know — from preparation to progression, and tips to avoid injury.
Understanding the Back Bend
A back bend is a movement that arches your spine backward, opening your chest, shoulders, and hip flexors. It improves spinal flexibility, strengthens your core, glutes, and back muscles, and enhances your body awareness. Common forms include:
- Bridge (Wheel Pose in yoga): Hands and feet on the floor, arching the back fully.
- Standing back bend: Arching the back while standing upright.
- Cobra or Upward Dog: Gentle beginner-friendly back bends in yoga.
Before attempting a full back bend, it’s essential to understand your body’s limits. Forcing the spine into extreme positions too quickly can lead to injury.
Step 1: Warm-Up Properly
Warming up is crucial. Your spine, shoulders, and hips must be prepared to handle the pressure of a back bend.
Recommended warm-up exercises:
- Cat-Cow Stretch: On all fours, inhale as you drop your belly and lift your chest (Cow), exhale as you round your back (Cat). Repeat 10 times.
- Chest Opener Stretch: Clasp your hands behind your back and gently lift your arms to open the chest. Hold 20–30 seconds.
- Hip Flexor Stretch: Lunge forward with one leg while keeping your torso upright. Hold 20–30 seconds per side.
- Shoulder Rolls: Rotate shoulders forward and backward 10 times each to loosen tight muscles.
A proper warm-up ensures your muscles are ready and reduces the risk of strain.
Step 2: Strengthen the Necessary Muscles

Strength is just as important as flexibility. Without strong supporting muscles, your back bend will feel unstable and risky. Key muscle groups include:
- Core muscles: Engaging your core protects your spine.
- Glutes: Strong glutes lift the hips safely.
- Shoulders and arms: Necessary for pushing in poses like the bridge.
- Back extensors: Muscles along the spine help control the arch.
Exercises to build strength:
- Plank Hold: 30–60 seconds to engage the core.
- Glute Bridges: Lie on your back, lift hips toward the ceiling, squeeze glutes. Repeat 12–15 times.
- Superman Pose: Lie on your stomach, lift arms and legs off the ground, hold 10 seconds. Repeat 10 times.
- Push-Ups: Strengthens shoulders and chest for better support.
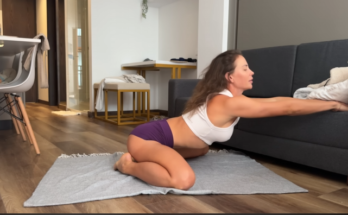
Step 3: Practice Beginner-Friendly Back Bends
Before attempting a full back bend, start with gentle variations:
- Cobra Pose (Bhujangasana):
- Lie on your stomach, hands under shoulders.
- Press into your palms and lift your chest, keeping elbows slightly bent.
- Keep shoulders relaxed and away from ears.
- Hold for 15–30 seconds.
- Bridge Pose (Setu Bandhasana):
- Lie on your back, knees bent, feet hip-width apart.
- Press into your heels and lift your hips.
- Clasp hands under your back for a deeper lift if comfortable.
- Hold 15–30 seconds.
- Camel Pose (Ustrasana):
- Kneel with knees hip-width apart.
- Place hands on your lower back for support.
- Lean backward gently, lifting your chest toward the ceiling.
- Keep neck long and avoid dropping the head completely.
These beginner poses strengthen and open the body gradually, reducing the risk of injury when progressing to full back bends.
Step 4: Progress to Full Back Bends

Once comfortable with beginner poses, you can attempt more advanced back bends:
Wheel Pose (Full Bridge):
- Lie on your back with knees bent and feet flat on the floor.
- Place your hands beside your head, fingers pointing toward shoulders.
- Press through your hands and feet, lifting your hips and chest toward the ceiling.
- Straighten arms and legs as much as comfortable.
- Hold for 10–30 seconds, then slowly lower down.
Tips for beginners:
- Keep feet and hands shoulder-width apart for stability.
- Engage core and glutes before pushing up.
- Breathe deeply to relax your body.
- Have a spotter or wall nearby for support if necessary.
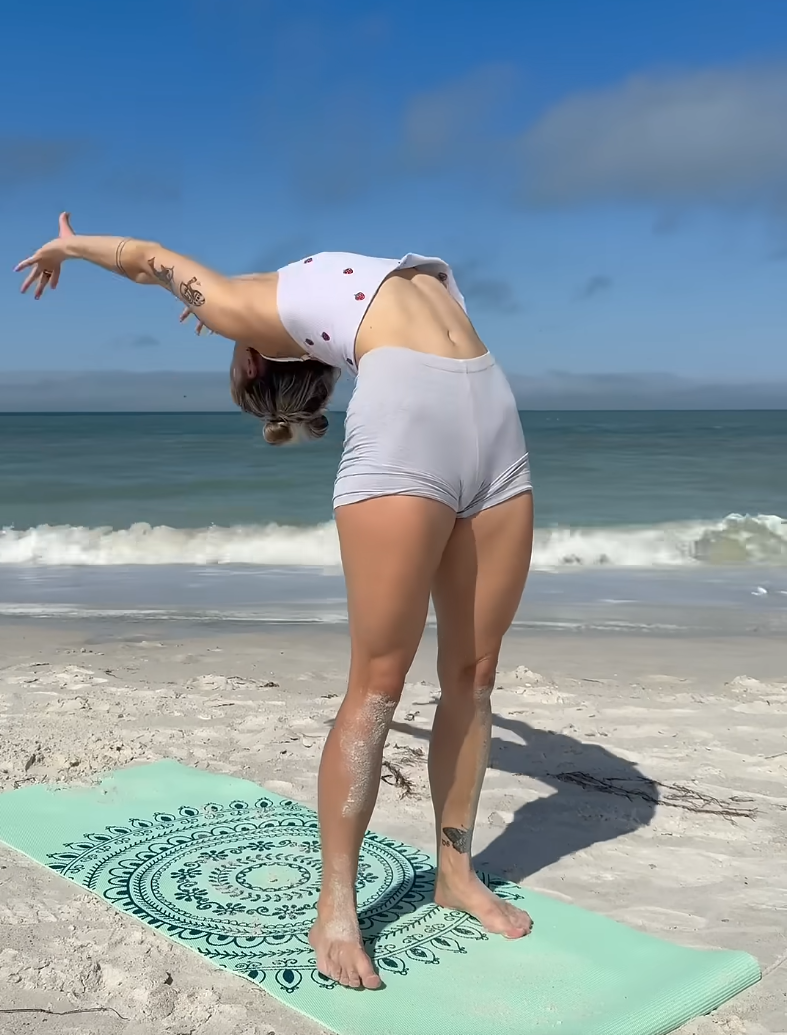
Standing Back Bend:
- Stand with feet hip-width apart.
- Place hands on your lower back for support.
- Slowly lean back, keeping knees soft and chest lifted.
- Only go as far as comfortable; stop if you feel sharp pain.
- Return to standing by engaging your core and pressing feet firmly into the ground.
Step 5: Cool Down
After performing back bends, cooling down is essential to prevent soreness and stiffness. Gentle forward folds and stretches help release tension:
- Child’s Pose: Kneel, sit on your heels, and fold forward, arms extended.
- Seated Forward Fold: Sit with legs straight, hinge at the hips, and reach toward your feet.
- Spinal Twists: Lie on your back, knees bent, and gently drop them to one side.
Hold each stretch 20–30 seconds, breathing deeply.
Safety Tips for a Back Bend
- Listen to Your Body: Never force the back into a deeper arch than feels safe.
- Warm-Up First: Cold muscles are more prone to injury.
- Strength Matters: Support your spine with strong core, glutes, and back muscles.
- Use Props: Yoga blocks or cushions can help beginners ease into the pose.
- Avoid Neck Strain: Keep your neck long and aligned with the spine.
- Practice Gradually: Increase intensity slowly over time.
Common Mistakes to Avoid
- Collapsing the Lower Back: Engage glutes and core to protect the lumbar spine.
- Locked Knees or Elbows: Keep joints slightly bent for safety.
- Holding Breath: Deep breathing relaxes muscles and improves flexibility.
- Skipping Warm-Up: Increases the risk of strain or injury.
Benefits of Back Bends
- Improved Flexibility: Opens spine, shoulders, and hip flexors.
- Strengthens Muscles: Engages back, glutes, and core.
- Enhances Posture: Counteracts hunching from sitting or desk work.
- Boosts Energy and Mood: Expands chest and lungs, stimulating circulation.
- Relieves Stress: Gentle backbends release tension stored in the body.
Conclusion
Back bends are a beautiful combination of strength, flexibility, and grace. With proper preparation, consistent practice, and respect for your body’s limits, anyone can learn to perform them safely. Start slowly, progress gradually, and celebrate small improvements. Over time, you’ll notice not just physical benefits but also increased confidence, energy, and mindfulness.
Remember: a back bend is more than just a pose — it’s a journey toward self-awareness and resilience. Take your time, stay patient, and let your body guide you.
With dedication and care, the arch of your back can become a symbol of strength, flexibility, and the amazing things your body is capable of.