Yoga is a wonderful practice that promotes physical health, mental clarity, and emotional well-being. Among the many benefits it offers, stretching plays a crucial role in increasing flexibility, improving posture, and relieving tension in the body. One of the most common areas that many people experience tightness is the hamstrings. The hamstrings are a group of three muscles at the back of the thighs that play an important role in activities such as walking, running, and bending.
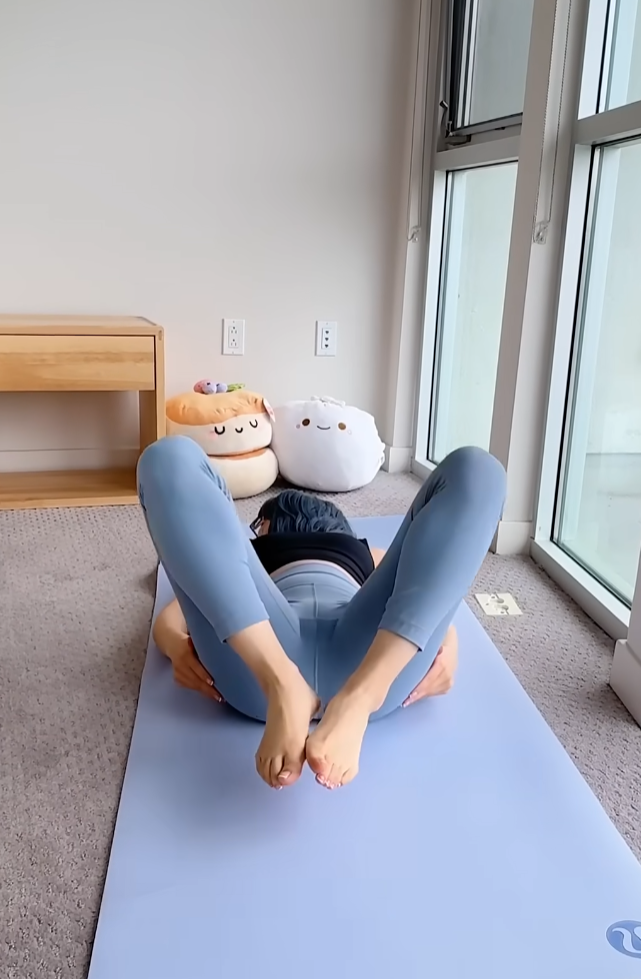
Incorporating gentle hamstring stretches into your yoga practice can help increase flexibility, reduce discomfort, and prevent injury. For beginners, it’s important to approach these stretches with care and mindfulness to ensure safety and effectiveness. In this guide, we’ll explore a relaxing hamstring stretch, perfect for those new to yoga, helping you ease into the practice and improve your flexibility at your own pace.
Why Stretching the Hamstrings is Important
Before diving into the specifics of a hamstring stretch, it’s helpful to understand why this area of the body needs attention. The hamstrings can become tight due to factors such as prolonged sitting, inadequate stretching, or intense physical activity without proper warm-up. Tight hamstrings can lead to discomfort in the lower back, limited mobility, and increased risk of injury during physical activities.
By regularly stretching your hamstrings, you can alleviate these symptoms and help keep the muscles long and flexible. Stretching also encourages blood flow to the muscles, aids in muscle recovery, and improves overall mobility in the hips and legs.
A Relaxing Hamstring Stretch for Beginners
Now that we understand the importance of hamstring stretching, let’s dive into a simple and relaxing yoga stretch specifically designed for beginners. This stretch will help you gently release tightness in your hamstrings and promote relaxation throughout your body.
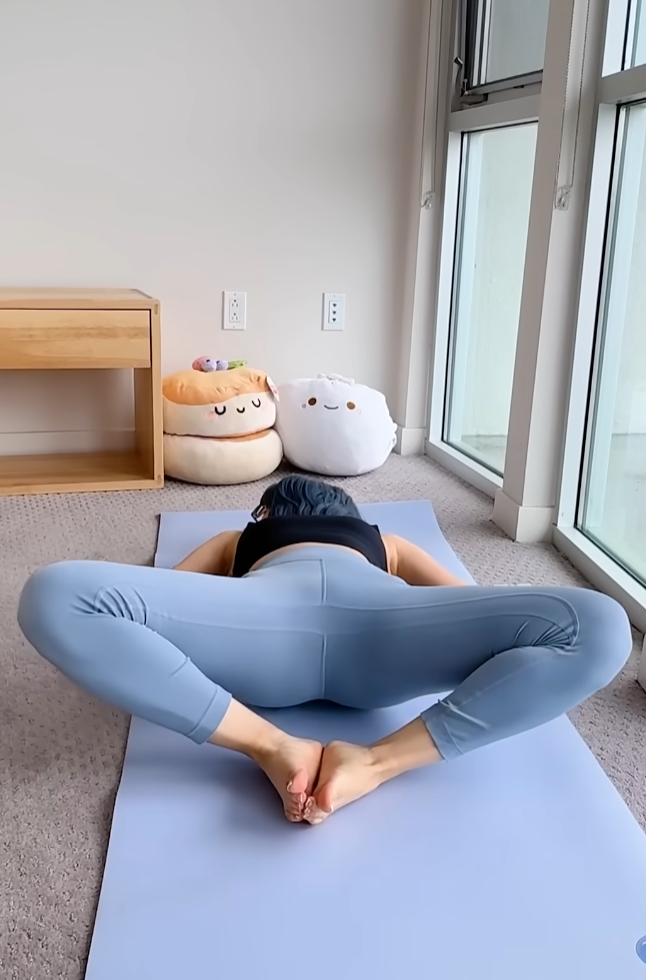
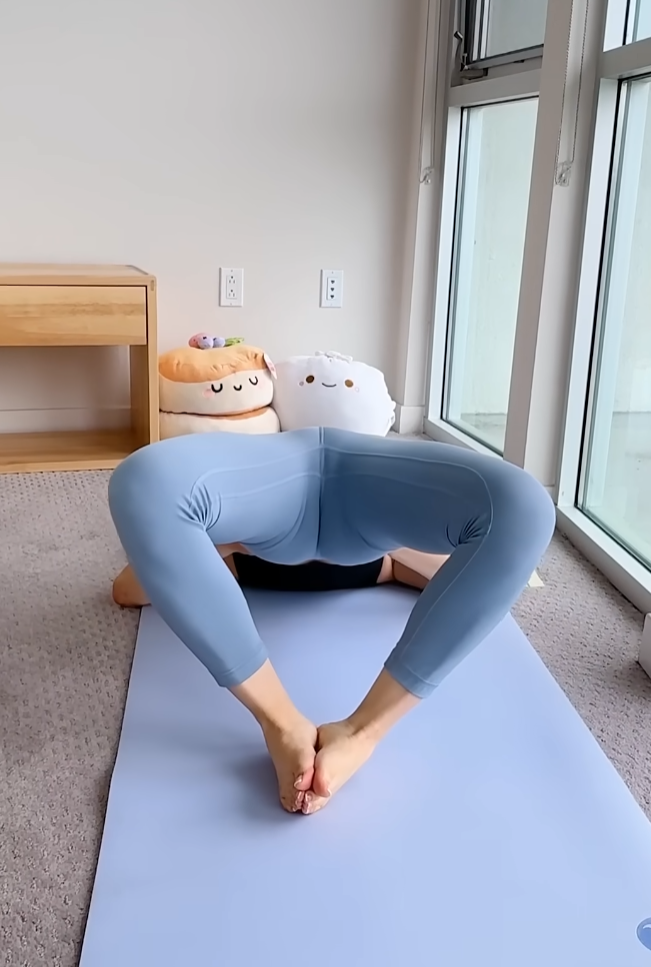
Step 1: Begin with a Comfortable Seated Position
Start by finding a comfortable seated position on the mat. You can sit cross-legged or with your legs extended in front of you—whatever feels most comfortable. Keep your spine tall and your shoulders relaxed. Take a few deep breaths to center yourself and prepare for the stretch.
If you’re new to yoga, it’s helpful to sit on a folded blanket or cushion to elevate your hips slightly, which can make the pose more accessible.
Step 2: Extend One Leg Out
From your seated position, extend your right leg straight out in front of you. Keep your left leg bent, with the sole of your left foot resting against your inner right thigh. This creates a “V” shape with your legs, with your right leg extended and your left leg bent at the knee.
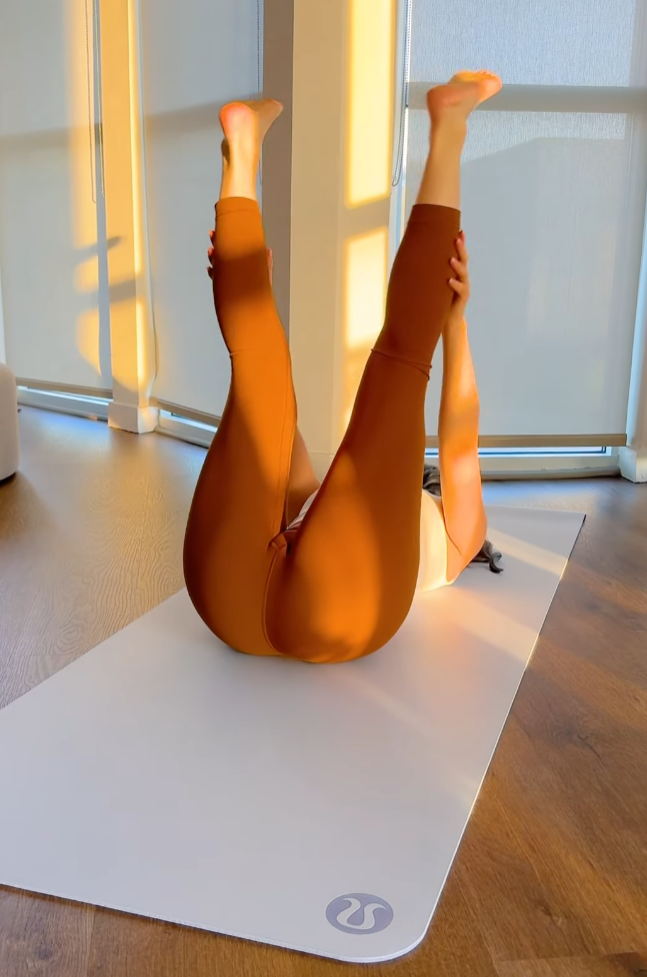
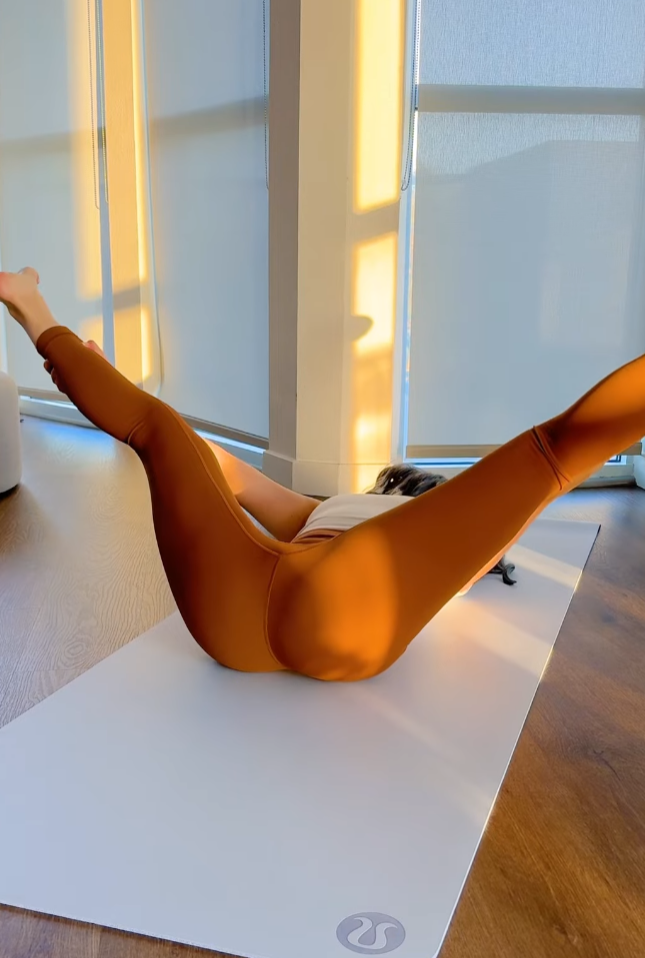
Flex the toes of your extended leg (the right leg) toward your body, engaging the muscles in your calf. This helps activate the muscles in your leg, giving you more control and stability during the stretch.
Step 3: Reach Forward with a Long Spine
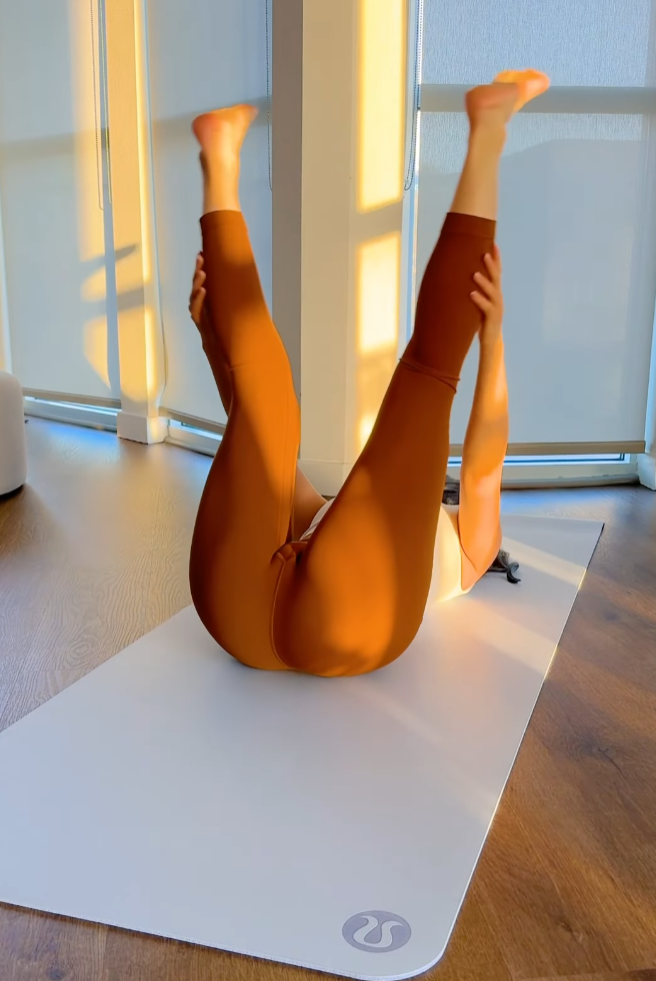
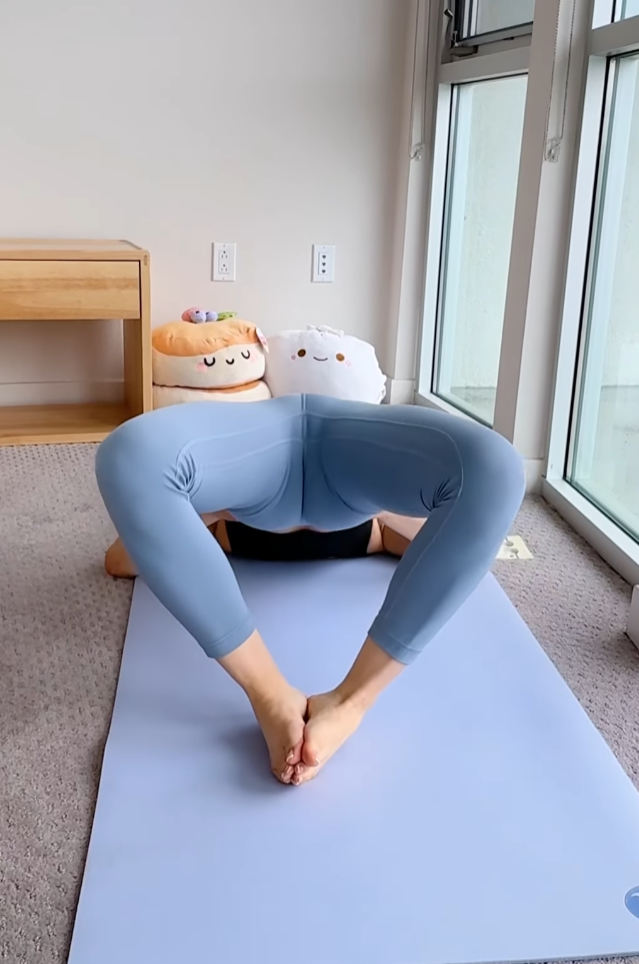
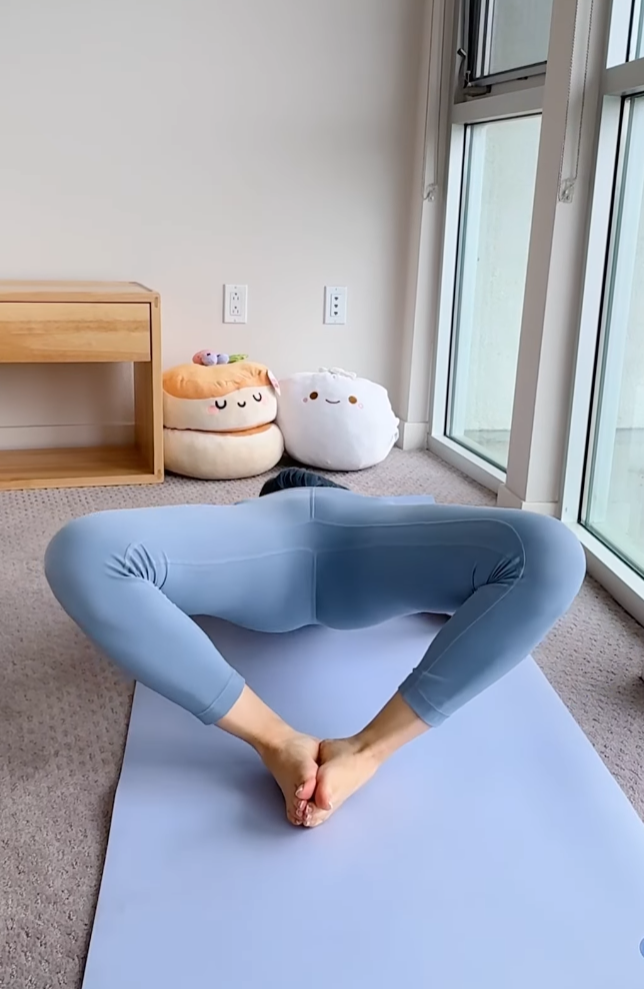
Inhale deeply, and as you exhale, gently hinge forward from your hips. Keep your spine long as you reach your hands toward your right foot. You don’t need to touch your toes right away—simply reach as far as your body allows without forcing the movement. The goal is to feel a gentle stretch along the back of your right leg.
Focus on maintaining a long spine throughout the stretch, rather than rounding your back. Imagine reaching your chest forward, not just your head, as you fold. This will help deepen the stretch in a safe and effective way.
Step 4: Engage the Stretch
Once you’ve reached a comfortable position, allow your body to relax into the stretch. Take a few deep breaths here, letting go of any tension with each exhale. You should feel a gentle pull along the back of your right thigh, but you shouldn’t feel any sharp pain or discomfort. If you do, back off slightly from the stretch.
You can keep your hands on your right leg, either resting on your shin, ankle, or foot, depending on your flexibility level. If you can comfortably reach your foot, gently hold onto it. If not, simply resting your hands on your leg will still provide a beneficial stretch.
Step 5: Hold and Breathe
Hold the stretch for about 30 seconds to 1 minute, breathing deeply and calmly. As you inhale, imagine lengthening your spine, and as you exhale, allow your body to relax deeper into the stretch. Use your breath to deepen the stretch gradually over time, rather than forcing the movement.
Remember, the focus is not on achieving a perfect stretch, but on cultivating a sense of relaxation and awareness in your body. Yoga is about progress, not perfection.
Step 6: Slowly Come Out of the Stretch
When you’re ready to come out of the stretch, slowly lift your torso back up, stacking your spine one vertebra at a time. Draw your right leg back in and return to your starting position. Take a few breaths here to relax before switching to the other side.
Step 7: Repeat on the Other Side
Now, repeat the same sequence on the other side. Extend your left leg, bend your right leg, and hinge forward from your hips, keeping your spine long. Breathe deeply and relax into the stretch, feeling the gentle opening of your left hamstring. Hold for 30 seconds to 1 minute, and then slowly release the stretch.
Tips for a Safe and Effective Hamstring Stretch
As you practice this hamstring stretch, keep the following tips in mind to ensure that you’re stretching safely and effectively:
- Avoid Bouncing: Do not bounce or jerk your body while stretching. Instead, focus on gentle, controlled movements. Bouncing can overstretch the muscles and may lead to injury.
- Use Props if Needed: If you have difficulty reaching your foot or maintaining a long spine, consider using yoga blocks or a strap. You can loop a strap around the ball of your foot to help you deepen the stretch without straining.
- Focus on the Breath: Breathe deeply and steadily throughout the stretch. Inhale to lengthen your spine, and exhale to relax deeper into the stretch. This will help calm your nervous system and enhance the stretch.
- Move Slowly: Take your time to ease into each stretch, especially if you’re new to yoga. Never rush into a stretch or push yourself too hard.
- Listen to Your Body: Pay attention to your body’s signals. If you experience any sharp pain or discomfort, ease out of the stretch and consult a healthcare professional if needed.
Benefits of Hamstring Stretching
Incorporating this relaxing hamstring stretch into your yoga routine can provide several benefits:
- Improved Flexibility: Regularly stretching your hamstrings helps to increase the flexibility and length of the muscles, reducing tightness and discomfort.
- Reduced Tension: Stretching the hamstrings can relieve tension in the lower back and hips, areas often affected by tight hamstrings.
- Better Posture: Tight hamstrings can pull the pelvis out of alignment, contributing to poor posture. Stretching can help restore balance and improve posture.
- Enhanced Mobility: Flexibility in the hamstrings allows for greater range of motion in the legs, making daily activities like bending and walking easier.
Conclusion
The relaxing hamstring stretch is an excellent practice for beginners, offering a gentle way to release tightness and improve flexibility. By incorporating this simple stretch into your yoga practice, you’ll experience the benefits of greater mobility, reduced discomfort, and a deeper sense of relaxation. With patience, consistency, and mindfulness, you can work toward a more flexible and balanced body, one stretch at a time.
