
Few things are more frustrating for car owners than seeing the dreaded check engine light suddenly appear on the dashboard. It’s a small symbol, but it can cause a big headache. Many people immediately think it means an expensive repair or a trip to the mechanic. While sometimes the light does point to serious issues, in many cases it’s something minor that you can handle yourself. With the right knowledge and tools, you can often diagnose and even remove the check engine light without paying hundreds of dollars at a repair shop.
In this article, we’ll explain what the check engine light means, how to find the cause, and step-by-step methods to reset it yourself safely.
Understanding the Check Engine Light
The check engine light, also known as the malfunction indicator lamp (MIL), is part of your car’s onboard diagnostics system (OBD-II). Modern vehicles are equipped with sensors that constantly monitor engine performance, fuel systems, exhaust emissions, and more. When something goes wrong or the computer detects readings outside normal limits, it turns the light on.
Common causes include:
- Loose or faulty gas cap
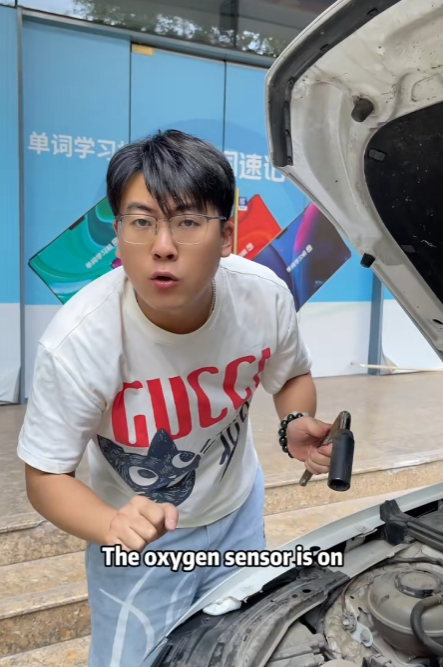
- Bad oxygen (O2) sensor
- Faulty catalytic converter
- Mass air flow sensor issues
- Spark plug or ignition coil problems
- Low-quality fuel or incorrect fuel mixture
The light may appear as a steady glow or a blinking warning. A steady light often points to minor issues, while a flashing light means the problem is more severe (like misfires that could damage the catalytic converter).
Before you try to remove the check engine light, it’s essential to understand why it came on in the first place. Resetting the light without fixing the underlying issue could cause long-term damage to your car.

Step 1: Diagnose the Problem with an OBD-II Scanner
The best way to start is by using an OBD-II scanner. These devices plug into your car’s diagnostic port, usually located under the steering wheel. Once connected, the scanner reads error codes stored in your car’s computer.
- Locate the OBD-II port.
- Plug in the scanner.
- Turn on the ignition (you don’t need to start the engine).
- Use the scanner to read the error codes.
- Write down or save the codes for reference.
Each code corresponds to a specific issue, such as P0420 (catalytic converter efficiency below threshold) or P0301 (misfire in cylinder 1). Many scanners provide short descriptions, and you can search online for details.
If the problem is minor—like a loose gas cap—you can fix it yourself. If it’s something major, you might still need a mechanic, but knowing the code will help you understand the situation better.
Step 2: Check the Gas Cap
One of the simplest and most common reasons the check engine light comes on is a loose or damaged gas cap. If the cap doesn’t seal properly, fuel vapors can escape and trigger the warning system.
- Remove the gas cap and inspect it for cracks or wear.
- Wipe the rubber seal and make sure it’s clean.
- Screw it back on tightly until you hear a few clicks.
After tightening or replacing the gas cap, the light may go off on its own after a few drives.
Step 3: Fix Simple Issues Yourself
Depending on the code from your OBD-II scanner, you may be able to handle other small repairs, such as:
- Replacing spark plugs or coils – Spark plugs are inexpensive and usually easy to change.
- Changing the air filter – A dirty air filter can affect the fuel-air mixture.
- Replacing the oxygen sensor – O2 sensors can be swapped out with basic tools.
If you’re comfortable with DIY repairs, fixing these components can save money and remove the check engine light naturally once the issue is resolved.
Step 4: Clear the Code with an OBD-II Scanner
If you’ve addressed the problem, you can now use your scanner to clear the code and turn off the light. Most scanners have a “clear codes” or “erase codes” option.
- Plug in the scanner again.
- Navigate to the “Clear Codes” function.
- Confirm the selection.
- Restart the car to check if the light is gone.
If the issue has been fixed, the light should remain off. If it comes back, the problem is still present.
Step 5: Disconnect the Battery
If you don’t have a scanner, another way to remove the check engine light is by disconnecting the car battery. This resets the vehicle’s computer.
- Turn off the car.
- Use a wrench to disconnect the negative (-) battery cable.
- Wait 15–30 minutes.
- Reconnect the cable and tighten it.
When you restart the car, the light may be gone. However, this method also resets your radio presets, clock, and other stored settings. If the problem hasn’t been fixed, the light will come back after a few miles.
Step 6: Let the Light Reset Itself
In some cases, if the issue is temporary—such as poor fuel quality, momentary misfires, or humidity affecting sensors—the check engine light may turn off by itself after several driving cycles. The car’s computer rechecks the systems each time you drive, and if the readings return to normal, it will reset the light automatically.
Important Safety Notes
While it’s tempting to remove the check engine light quickly, remember:
- Do not ignore serious problems. A flashing check engine light usually signals something that can damage your engine or exhaust system.
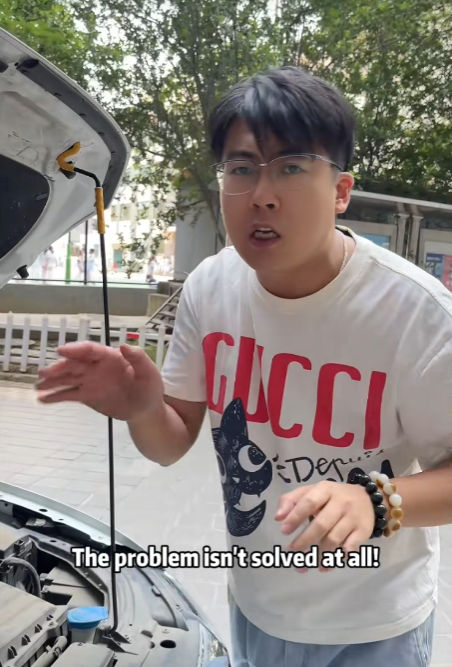
- Resetting without repairs is risky. If you just erase the light without fixing the cause, you may end up with worse (and more expensive) damage later.
- Always double-check. If the light comes back repeatedly after resets, it’s a sign that you need a professional mechanic.
Preventing Future Check Engine Light Problems
You can reduce the chances of seeing the check engine light again by taking care of your car:
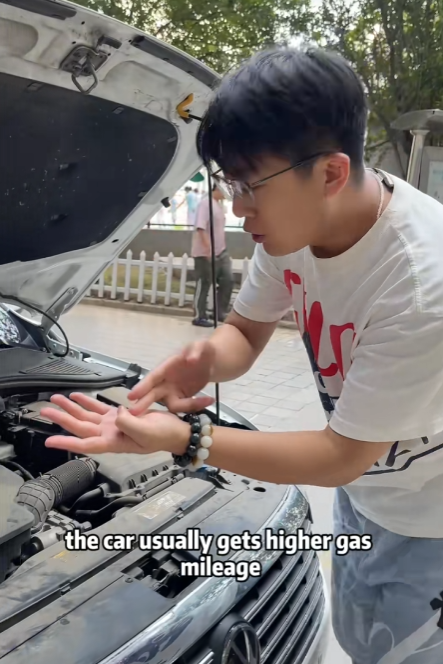
- Keep up with regular maintenance like oil changes, spark plugs, and air filters.
- Use high-quality fuel.
- Replace the gas cap if it’s worn out.
- Inspect your exhaust system and sensors periodically.
- Don’t ignore unusual noises, smells, or reduced performance.
Conclusion
The check engine light can be intimidating, but with the right approach, you don’t have to panic. By using an OBD-II scanner, checking simple things like the gas cap, fixing minor issues yourself, and knowing how to reset the light, you can save both time and money.
However, always remember that the light is a warning system designed to protect your car. Removing it without solving the problem is like putting tape over a warning sign—it hides the issue but doesn’t make it go away.
If the light keeps returning after your attempts, don’t hesitate to consult a professional mechanic. With proper care, you’ll not only remove the check engine light but also keep your vehicle running smoothly for years to come.