Filling structural columns with cement mortar is a crucial step in construction, ensuring the strength and stability of buildings. Whether for reinforced concrete, masonry, or steel-encased columns, proper filling techniques prevent voids, improve load-bearing capacity, and enhance durability. This guide will provide an in-depth explanation of the process, materials, tools, and best practices involved in filling columns with cement mortar.

1. Understanding Cement Mortar in Column Construction
Cement mortar is a mixture of cement, sand, and water, sometimes combined with additives to enhance properties such as workability, setting time, and strength. It is used to fill gaps, provide structural support, and bind materials together.
Types of Columns Requiring Cement Mortar Filling
- Concrete Columns – Reinforced with steel bars and sometimes require mortar to fill gaps and improve bonding.
- Masonry Columns – Built with bricks or blocks, requiring mortar for stability and strength.
- Steel-Encased Columns – Sometimes filled with cement mortar to improve fire resistance and increase load-bearing capacity.
2. Materials and Tools Required
Materials:
- Cement – Ordinary Portland Cement (OPC) is commonly used.
- Sand – Well-graded fine sand is essential for a smooth mix.
- Water – Clean and potable, ensuring proper hydration.
- Admixtures (optional) – Plasticizers, accelerators, or retarders depending on the project requirements.
- Reinforcement Bars (if needed) – Typically steel bars for added strength.
Tools:
- Mixing Tools – Cement mixer, hoe, or trowel.
- Shovels – For handling materials.
- Bucket or Hose – For water supply.
- Tamping Rod or Vibrator – To remove air pockets and ensure uniform filling.
- Trowel and Float – For smooth finishing.
- Plumb Bob and Level – To check alignment.
3. Step-by-Step Process of Filling Columns with Cement Mortar
Step 1: Preparing the Column Structure
Before filling, the column must be properly prepared:
- Ensure Reinforcement is in Place – If the column includes steel reinforcements, they should be correctly positioned and secured.
- Clean the Surface – Remove dust, debris, and any loose materials to improve adhesion.
- Wet the Surface – Slightly dampen the inside of the column to prevent rapid water absorption, which can weaken the mortar.
Step 2: Mixing the Cement Mortar
A good mortar mix ensures durability and strength:
- Standard Mortar Mix Ratio:
- 1 part cement
- 3 to 5 parts sand
- Sufficient water to achieve a workable consistency.
- Use a Cement Mixer – If available, a mechanical mixer provides a more uniform mix.
- Hand Mixing – If done manually, mix dry ingredients first, then gradually add water.
- Check Consistency – The mortar should be firm yet flowable enough to fill voids easily.
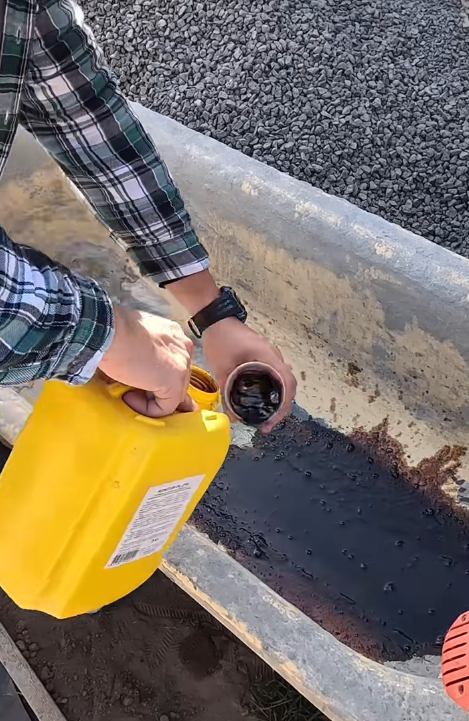
Step 3: Pouring the Mortar into the Column
- Start from the Base – Pour the mortar from the bottom up to avoid air pockets.
- Use a Funnel or Hose – In narrow spaces, a funnel or hose can help direct the mortar effectively.
- Layered Pouring – If filling a tall column, pour in layers rather than all at once.
Step 4: Compacting and Removing Air Bubbles
- Tamp the Mortar – Use a rod to push the mortar into gaps.
- Use a Vibrator – A mechanical vibrator helps eliminate voids and improves mortar bonding.
- Repeat for Each Layer – If filling in stages, compact each layer before adding the next.
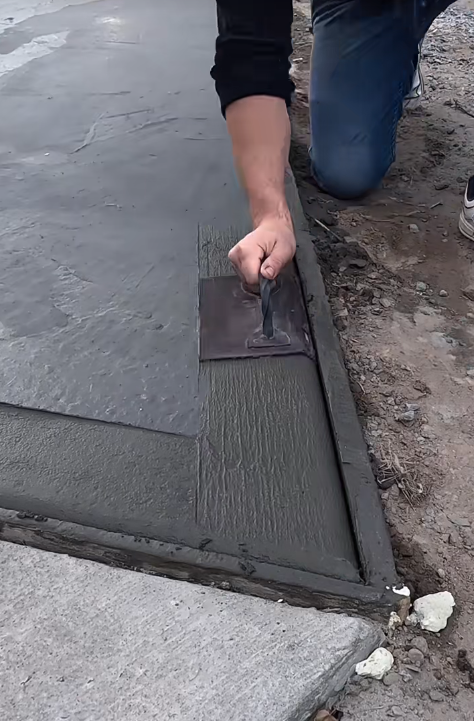
Step 5: Leveling and Finishing
- Use a Trowel – Smooth the surface for an even finish.
- Check Alignment – Use a plumb bob or level to confirm the column is straight.
- Remove Excess Mortar – Clean up any spills before the mortar sets.
4. Curing the Cement Mortar
Curing is essential to prevent cracks and ensure strength development.
- Keep the Column Moist – Cover with wet burlap, plastic sheets, or apply curing compounds.
- Curing Duration – Typically 7 to 14 days, depending on weather conditions.
- Avoid Rapid Drying – Direct sunlight and strong winds can cause premature drying and cracking.
5. Common Mistakes to Avoid
- Incorrect Mix Proportions – Too much sand weakens the mix; too much water makes it unstable.
- Skipping Compaction – Air pockets reduce the structural integrity.
- Inadequate Curing – Leads to weak mortar and potential cracks.
- Pouring Too Fast – Can cause segregation and uneven filling.
6. Safety Precautions
- Wear Protective Gear – Gloves, goggles, and masks protect against dust and cement irritation.
- Ensure Proper Ventilation – When working in enclosed areas, allow air circulation.
- Use Caution with Tools – Handle vibrators and mixing equipment safely.

7. Conclusion
Filling columns with cement mortar is a fundamental process in construction that enhances stability, durability, and strength. By following proper mixing, pouring, compaction, and curing techniques, you can ensure a high-quality, long-lasting structure. Attention to detail and adherence to best practices will lead to successful results in any construction project.