Yoga is a journey, a path of self-discovery, and a way to harmonize the body, mind, and spirit. Among the many areas of focus in yoga, the hips are one of the most significant. They are the center of movement, the seat of power, and often a repository for tension and stress. Many people carry emotional or physical tightness in the hips without realizing it, and opening them through yoga can lead to profound release, increased mobility, and enhanced overall well-being.
“Natural Yoga! | Hip Opening Episode 1” is designed to guide you through a gentle, mindful hip-opening sequence at home. This practice is approachable for beginners while also offering depth for more experienced practitioners. It emphasizes natural movement, conscious breath, and the art of releasing tension slowly and safely.
Why Hip Opening is Essential
The hips play a central role in almost every movement we make—walking, running, sitting, and standing. Tight hips can lead to discomfort, imbalance, and even pain in the lower back, knees, and legs. Yoga’s focus on hip flexibility and strength offers numerous benefits:
- Improved mobility: Freer hips allow smoother, more natural movement.
- Enhanced posture: Hip flexibility reduces strain on the lower back and spine.
- Emotional release: In yoga philosophy, hips are thought to store suppressed emotions; opening them can feel deeply liberating.
- Better performance in daily activities: Walking, bending, and lifting become easier.
- Injury prevention: Flexible and strong hips help protect the knees, ankles, and lower back.
Episode 1 of this series focuses on gently preparing the body, releasing tension, and gradually opening the hips without forcing the body.
Preparing Your Space and Mind
A natural hip-opening yoga practice is most effective when approached with mindfulness. Prepare your space and mind to allow for full presence.
Create a Comfortable Space:
- Find a quiet area with enough room to stretch and move freely.
- Use a yoga mat or soft surface to protect the knees and hips.
- Optional: soft lighting, music, or a candle to enhance relaxation.
Connect with Your Breath:
- Sit comfortably or lie down and take slow, deep breaths.
- Inhale fully through the nose, filling the belly and chest.
- Exhale slowly, releasing tension from the hips and lower back.
- Begin to focus on the sensations in your hips, noticing areas of tightness or ease.
This initial connection helps you move with awareness rather than forcing stretches.
Warm-Up for Gentle Hip Opening
Before engaging in deeper stretches, it’s important to wake up the body and increase circulation. A warm-up prepares the muscles, joints, and connective tissue for more intense movement.
Pelvic Tilts:
- Lie on your back with knees bent and feet flat on the floor.
- Inhale and gently tilt the pelvis forward, lifting the lower back slightly.
- Exhale, tilt the pelvis backward, pressing the lower back into the mat.
- Repeat 8–10 times.
Pelvic tilts mobilize the lower back and gently awaken the hips.
Knee-to-Chest Stretch:
- Lie on your back and hug one knee toward your chest while keeping the other foot grounded.
- Hold for 20–30 seconds, then switch sides.
- Optional: gently rock side to side to massage the lower back.
This movement warms the hip joints and releases initial tension.
Figure-Four Stretch (Reclined):
- Cross one ankle over the opposite thigh, forming a figure-four shape.
- Gently press the bent leg away from your body while keeping the other leg grounded.
- Hold for 30–45 seconds on each side.
The figure-four stretch targets the outer hips and glutes, preparing for deeper openings.
Standing Hip Warm-Up
Standing movements engage the muscles and improve balance, both of which support safe hip opening.
Standing Hip Circles:
- Stand with feet hip-width apart and hands on hips.
- Slowly rotate the hips in a circular motion, clockwise and then counterclockwise.
- Perform 5–10 rotations in each direction.
High Knee Lifts:
- From standing, lift one knee at a time toward the chest.
- Engage the core and maintain balance, then switch sides.
- Repeat 8–10 times per leg.
These movements increase circulation in the hip flexors and improve mobility.
Deep Hip Opening Poses
Once the body is warmed up, you can move into deeper hip-opening poses. These stretches should always be approached gently and mindfully.
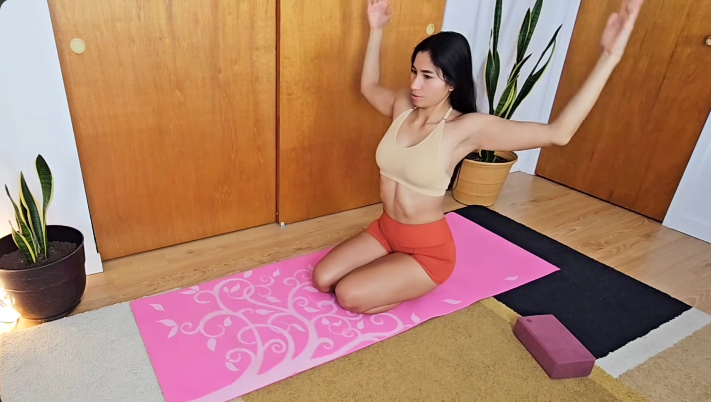
Low Lunge (Anjaneyasana):
- Step one foot forward into a lunge, lowering the back knee to the mat.
- Sink the hips forward while keeping the chest lifted.
- Optionally, lift arms overhead to deepen the stretch.
- Hold for 30–45 seconds, then switch sides.
Low lunge stretches the hip flexors and quadriceps, while also engaging the core for stability.
Pigeon Pose (Eka Pada Rajakapotasana):
- From downward-facing dog or plank, bring one knee forward and place it behind your hands.
- Extend the opposite leg straight back and lower the hips toward the floor.
- Keep the chest lifted or fold forward for a more passive stretch.
- Hold 30–60 seconds on each side.
Pigeon pose opens the outer hips and glutes, releasing deep-seated tension.
Butterfly Pose (Baddha Konasana):
- Sit with the soles of your feet together and let your knees fall outward.
- Hold the feet with your hands and gently press the knees toward the floor.
- Lean slightly forward if comfortable.
- Hold for 45–60 seconds.
Butterfly pose stretches the inner thighs and groin while creating space in the hip joints.
Dynamic Hip Flow
In addition to static stretches, a natural hip-opening sequence benefits from dynamic movements that combine breath and fluid motion.
Cat-Cow with Hip Focus:
- Start on all fours.
- Inhale, arch the back, and lift the tailbone and chest (Cow).
- Exhale, round the spine, tucking the tailbone (Cat).
- Emphasize movement in the hips and pelvis, allowing them to sway naturally.
- Repeat 8–10 times.
Figure-Four Hip Rolls:
- Lie on your back in the figure-four position.
- Slowly roll the crossed leg side to side, keeping the opposite leg grounded.
- Perform 8–10 controlled rolls per side.
Dynamic movements increase blood flow, improve joint mobility, and prepare the hips for deeper work.
Strengthening the Hips
Strength is as important as flexibility for healthy hips. Yoga poses that engage the glutes, hip flexors, and stabilizing muscles create support for the joints.
Bridge Pose (Setu Bandhasana):
- Lie on your back with knees bent and feet hip-width apart.
- Press into your heels and lift the hips toward the ceiling.
- Engage glutes and thighs.
- Hold for 20–30 seconds, then slowly lower.
Side-Lying Leg Lifts:
- Lie on one side with legs stacked.
- Lift the top leg slowly, then lower it with control.
- Repeat 10–15 times per side.
Clamshells (Optional for Advanced Practice):
- Lie on your side with knees bent at 90 degrees.
- Keep feet together and lift the top knee, keeping the hips stable.
- Repeat 10–15 times per side.
These strengthening movements enhance hip stability, balance, and control.
Mindfulness and Breath Integration
Throughout the practice, breath is a guiding principle. Deep, conscious breathing not only supports movement but also facilitates emotional release in the hips.
- Inhale to lengthen and expand the body.
- Exhale to soften and release tension.
- Pause in poses to notice sensations without judgment.
Mindful breathing transforms hip opening from a purely physical exercise into a holistic experience.
Closing the Practice

End your hip-opening session with a few minutes of relaxation to integrate the benefits.
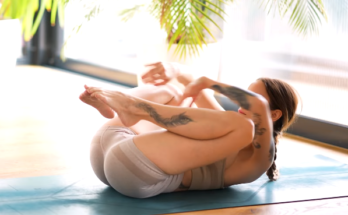
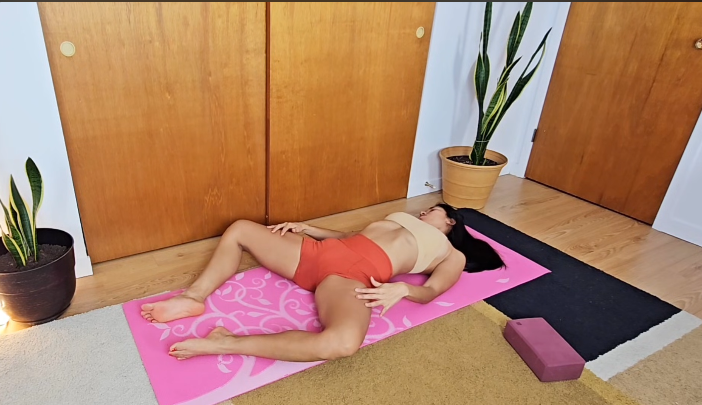
Supine Hip Release:
- Lie on your back and bring knees toward the chest.
- Gently rock side to side to massage the lower back and hips.
Savasana (Final Relaxation):
- Extend the legs comfortably, arms at your sides.
- Close your eyes and breathe naturally.
- Focus on the sensation of space and ease in the hips.
- Stay for 2–5 minutes.
This final relaxation allows the nervous system to settle and the muscles to absorb the practice.
Tips for a Natural Hip-Opening Practice
- Approach each pose slowly and mindfully; avoid forcing flexibility.
- Use props such as yoga blocks, blankets, or straps for support.
- Consistency is more important than intensity—daily short sessions are highly effective.
- Pay attention to your body’s signals; mild discomfort is okay, pain is not.
- Combine static stretches, dynamic flows, and strengthening exercises for balanced results.
By practicing naturally and mindfully, hip opening becomes a safe, sustainable, and transformative experience.
Final Thoughts
Hip opening is both a physical and emotional journey. Through natural yoga, you can release tension, improve mobility, and cultivate a sense of freedom in the body. “Natural Yoga! | Hip Opening Episode 1” introduces a foundation of mindful movement, gentle stretching, and strengthening exercises that you can build upon in future sessions.
Whether you are a beginner or an experienced practitioner, this practice encourages connection with your body, awareness of your breath, and a sense of openness—both physically and emotionally. Regular hip-opening yoga nurtures not only flexibility but also strength, balance, and a deeper sense of well-being.
Embrace the practice, move naturally, and allow your hips to open in a way that feels safe, mindful, and liberating. Each session is an opportunity to connect with your body, release tension, and cultivate lasting ease and mobility.
This text is a complete 1300-word guide for Episode 1 of a natural hip-opening yoga series, combining preparation, warm-up, dynamic flow, deep stretches, strengthening, mindfulness, and relaxation.
If you want, I can also create Episode 2 focusing on advanced hip opening, deeper stretches, and flowing sequences, to continue the series naturally. Do you want me to do that next?