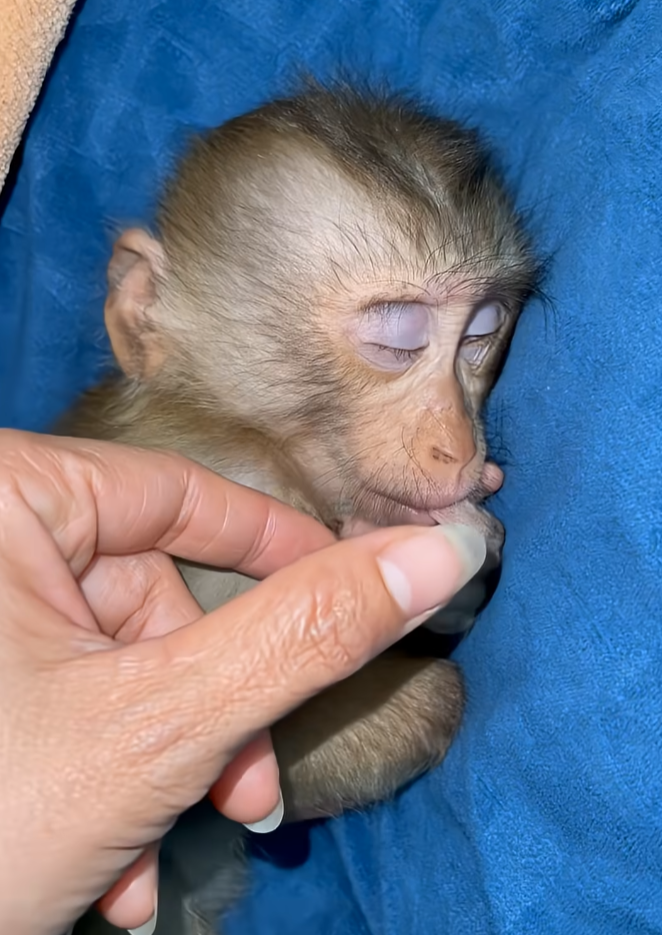
Susu was fast asleep, wrapped in warmth and quiet, her tiny body rising and falling with each gentle breath. The world around her had gone still, as if everything knew not to disturb such a peaceful moment. Even in deep sleep, one small habit remained unchanged—her thumb rested softly against her lips, a familiar comfort she had never quite given up. It was a simple gesture, but it told a story of innocence, safety, and the need for reassurance.
From the very beginning, Susu had relied on this habit. When the world felt too big or unfamiliar, her thumb became a source of calm. It was something she could always find, something that belonged only to her. Over time, it became part of her routine—during moments of rest, tiredness, or quiet reflection. And now, even as she slept soundly, that habit stayed with her, as natural as breathing.
Susu’s face looked especially peaceful in sleep. Her eyes were gently closed, her expression relaxed, free from worry or curiosity. The small thumb resting near her mouth made her look even younger, even more delicate. It was as if sleep had taken her back to her earliest days, when comfort mattered more than anything else.
The room was filled with soft light, just enough to reveal the calm scene. Nothing moved except the slow rhythm of Susu’s breathing. In moments like this, time seemed to slow down. There was no rush, no urgency—only rest and safety. Susu slept without knowing she was being watched with quiet affection, admired for her innocence and vulnerability.
This habit of thumb-sucking was more than just a reflex. It was a reminder of Susu’s journey, of the times when she needed extra comfort to feel secure. Habits like these often form when life feels uncertain, and they stay because they work. For Susu, it was a way to soothe herself, to feel calm even when the world around her changed.
During the day, Susu was lively and curious. She explored her surroundings with bright eyes and playful energy, learning something new with every movement. But when night arrived, all that energy faded into softness. Sleep transformed her from an active little explorer into a quiet dreamer, holding onto the small comforts that made her feel safe.
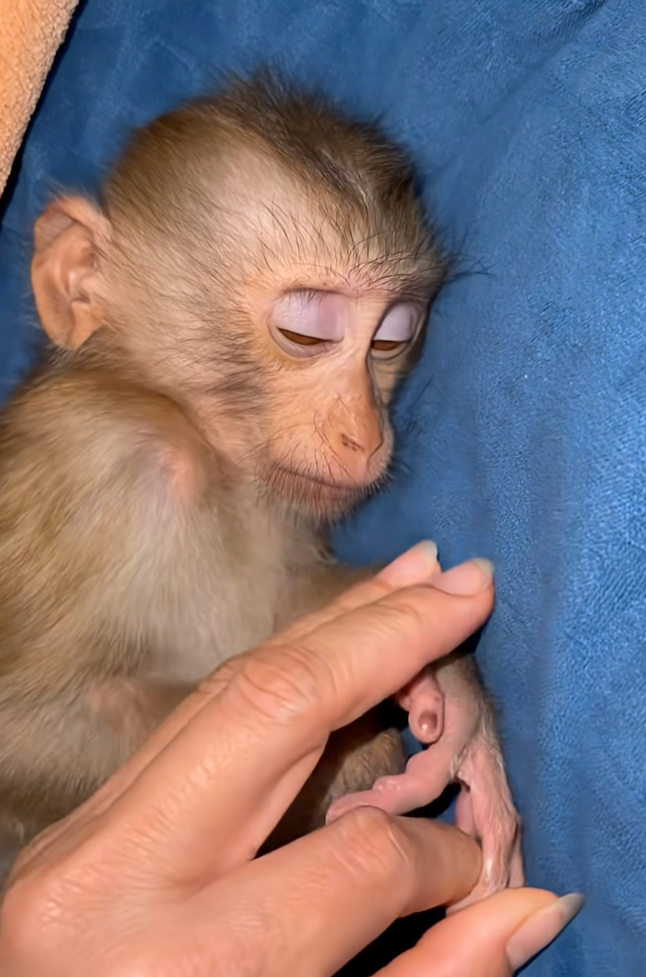
Sometimes, as she slept, her fingers would move slightly, adjusting her grip, as if making sure her thumb was still there. It was an unconscious action, but deeply meaningful. It showed that even in rest, Susu trusted the simple things that had always helped her feel secure.
Those who cared for Susu understood this habit well. They didn’t rush her to change or take it away. Instead, they allowed her to grow at her own pace, knowing that comfort should never be forced away. Habits fade naturally when they are no longer needed, and until then, patience and understanding matter most.
Watching Susu sleep like this brought a sense of calm to everyone nearby. It reminded them of how gentle life can be, how small moments can hold deep emotion. A sleeping child, a tiny thumb, a quiet room—nothing dramatic, yet everything meaningful.
As the night grew deeper, Susu remained undisturbed. Her dreams were unknown, but her peaceful expression suggested they were kind ones. Perhaps she dreamed of warmth, familiar sounds, or playful moments from the day. Whatever filled her dreams, her thumb stayed close, grounding her in comfort.
This habit, though small, symbolized something universal. Everyone, at some point, holds onto something familiar for reassurance. For Susu, it was her thumb. For others, it might be a favorite place, a sound, or a memory. These comforts remind us that needing reassurance is natural, especially in early life.
As days passed and Susu continued to grow, this habit might slowly fade. One day, she might fall asleep without even realizing her thumb was no longer needed. But for now, it remained—a quiet companion during rest, a symbol of her tender age and gentle spirit.
In the soft glow of the night, Susu slept on, peaceful and content. Her thumb-sucking habit didn’t make her weaker; it showed her humanity, her sensitivity, and her need for care. It made her more real, more relatable, and even more endearing.
Susu was fast asleep, and in that stillness, there was beauty. Beauty in her calm breathing, in her relaxed posture, and in the tiny thumb that stayed with her through dreams. It was a moment that didn’t need words, yet spoke volumes about comfort, growth, and the quiet strength found in small habits.
And so, the night continued, holding Susu gently as she slept—safe, loved, and at peace—thumb still resting where it had always been, a silent reminder that growing up is a journey, and it’s okay to take it one comforting step at a time.