When it comes to interior design and lighting installation, simplicity and functionality are key. One of the most practical and budget-friendly ways to enhance lighting in a room is by building a plasterboard (also known as drywall or gypsum board) box specifically designed for spotlights. These boxes not only provide a clean and elegant look but also help in directing and focusing light where it’s needed most. Whether you’re a DIY enthusiast or a professional installer, constructing a plasterboard box for spot lighting can be straightforward if you follow the right steps. In this article, we’ll walk you through everything you need to know about designing and building the simplest plasterboard box for spot lighting.
Why Use a Plasterboard Box for Spot Lighting?
Spotlights are one of the most popular lighting solutions in modern interiors. They provide focused illumination, highlight features, and can even serve as the main light source when arranged well. However, installing spotlights directly onto ceilings isn’t always the best solution, especially if the existing structure doesn’t allow easy access to wiring or positioning.
That’s where plasterboard boxes come in. These boxes allow you to:
- Hide wiring and electrical components.
- Lower the ceiling in a specific area for better light focus.
- Add a decorative architectural element to a room.
- Improve the acoustic and thermal insulation in the ceiling.
Planning the Box: What You Need to Know
Before you begin building your plasterboard box, it’s important to plan accordingly. Here are some key considerations:
1. Size and Shape
Determine the size of the box based on the number of spotlights you plan to install and the area you want to illuminate. The simplest box is typically rectangular or square and may stretch across a portion of the ceiling or run as a strip down the center.
2. Ceiling Height
Make sure the depth of the box doesn’t reduce your ceiling height too much. A depth of 10 to 15 cm is usually sufficient for most spotlight fittings.
3. Material Requirements
You’ll need:
- Metal profiles or wooden battens for the frame (U and C profiles for metal).
- Drywall screws and anchors.
- Plasterboard sheets (usually 12.5 mm thick).
- Joint filler and tape.
- A cutting knife or saw.
- Drill and screwdriver.
- Measuring tape, level, and pencil.
- Spotlights and appropriate electrical wiring.
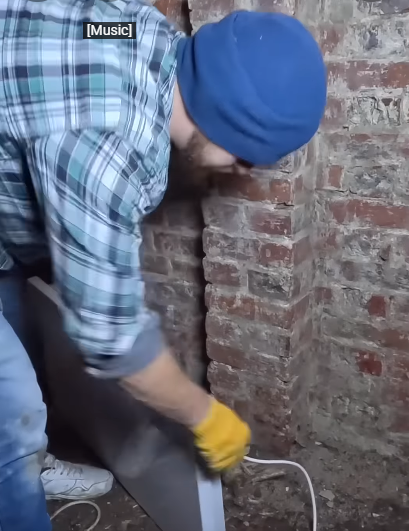
Step-by-Step Guide: Building the Simplest Plasterboard Box
Step 1: Marking the Layout
Using a pencil, level, and measuring tape, mark out the exact dimensions of your box on the ceiling and walls. Make sure all corners are square and lines are straight. This will be your guide for installing the frame.
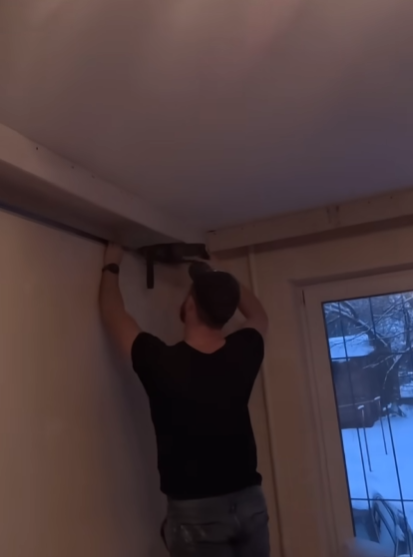
Step 2: Building the Frame
Using metal U and C profiles (or wood battens), create a rectangular or square frame. The U-profiles go along the wall and ceiling where the box will attach, while the C-profiles form the vertical structure that connects them.
- Attach U-profiles to the wall and ceiling using anchors and screws.
- Cut vertical C-profiles to the desired depth of the box and screw them into the U-profiles.
- Form a rectangular frame that supports the plasterboard from all sides.
Make sure the frame is rigid and level. A solid frame ensures that the plasterboard won’t sag or crack over time.
Step 3: Installing the Plasterboard
Cut the plasterboard sheets to fit the frame. Attach them using drywall screws placed every 20-30 cm along the profiles.
- Start with the vertical sides, then move to the bottom part of the box.
- Be careful not to overtighten screws, as this can damage the board.
Once the plasterboard is installed, make cutouts for the spotlights. Use a hole saw or keyhole saw to create precise holes based on the size of your spotlight fixtures.
Step 4: Taping and Finishing
Cover all joints and screw heads with joint tape and filler. Apply the first layer of filler over the tape, let it dry, then sand it smooth. Repeat with a second coat if necessary.
- Sand all surfaces evenly for a smooth finish.
- Make sure the edges around the spotlight holes are clean and neat.
After finishing, your box should blend seamlessly into the rest of the ceiling, ready for priming and painting.
Step 5: Installing Spotlights
Once the box is painted and dry, install the spotlight fittings. Connect the wiring carefully—make sure the power is off before handling any electrical connections.
- Push the spotlight housing into the pre-cut holes.
- Secure them according to manufacturer instructions.
Finally, turn on the lights and admire your work!
Design Tips for Better Impact
Even though this is the “simplest” plasterboard box, you can still incorporate a few design tricks to improve the visual appeal:
- Add indirect LED lighting around the edges of the box for a soft, ambient glow.
- Paint the inside of the box in a contrasting color for a bold architectural feature.
- Add molding or trim along the edges for a more classic look.
Common Mistakes to Avoid
- Poor measurements can lead to uneven edges and misaligned lights. Always double-check your layout.
- Weak framing can cause sagging or cracking over time. Use the right screws and fixings.
- Rushing the finishing leads to visible seams and rough textures. Take your time with joint filling and sanding.
- Ignoring ventilation can result in overheating if using high-power halogen bulbs. Consider LED options for safer and cooler operation.
Final Thoughts
A plasterboard box for spot lighting is one of the easiest yet most effective upgrades you can make to a room. It provides an opportunity to redefine the lighting scheme, improve aesthetics, and add value to your space. By following the steps above, you’ll not only save money on installation but also gain the satisfaction of building a functional and stylish lighting solution with your own hands.
Whether you want to highlight a dining table, a hallway, or simply make your ceiling more interesting, this simple plasterboard box can make a big difference. So grab your tools, plan your space, and start building—it’s easier than you think!