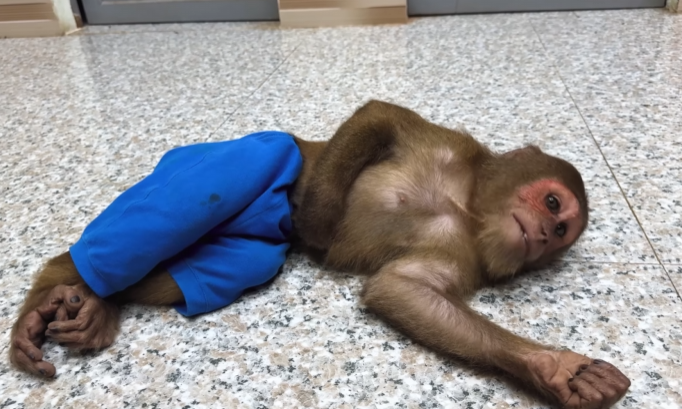
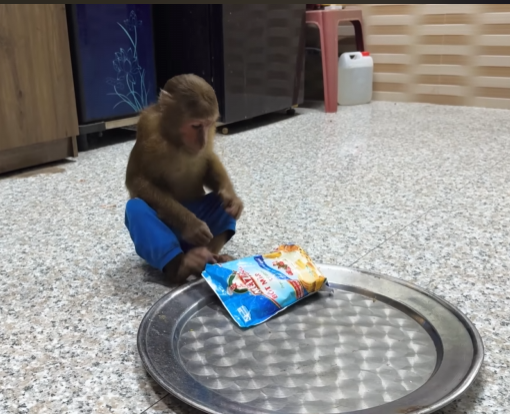
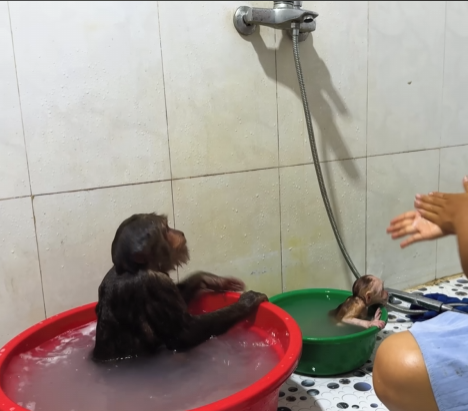
The morning sun spilled its golden light over the small jungle village, warming the leaves and making the dew sparkle like diamonds. CUTIS, the mischievous older monkey of the troop, was already awake, stretching his long limbs and scanning the area for potential fun. Beside him, the baby monkey, Milo, was bouncing with energy, squeaking and rolling over in excitement. Today, they were planning something… something that would test even the patience of their beloved mother.
CUTIS had a reputation in the troop. Clever, daring, and endlessly playful, he often led the younger monkeys into harmless chaos. Milo, on the other hand, was a bundle of curiosity and innocence. Together, they were unstoppable—but sometimes dangerously unpredictable.
The Morning Mischief Begins

It all started with breakfast. Mom, a careful and patient monkey, had been preparing a small pile of fruit for the troop. CUTIS and Milo watched from the branches above, their eyes glinting with mischief.
“Hey, Milo,” CUTIS whispered, “wanna see how far we can push Mom today?”
Milo squeaked excitedly, nodding. He had learned from CUTIS that a day without a little adventure was wasted.
CUTIS leapt down first, landing softly near the fruit pile. Milo followed, tumbling adorably and squealing with delight.
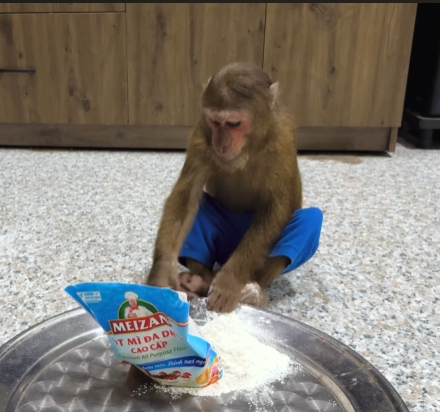
Mom turned just in time to see CUTIS snatch a bright red mango and toss it up into the air, catching it on his tail. Milo squealed, attempting to imitate him, but ended up flipping backward into a small pile of berries, sending them rolling across the ground.
Mom gasped. “CUTIS! Milo! What are you doing?!”
But CUTIS only winked, tossing the mango toward a nearby tree, making it swing and roll down the branch. Milo laughed uncontrollably, chasing after it, leaving tiny paw prints across the fresh fruit pile.
Mom’s tail twitched with frustration. “This is NOT how you eat breakfast!” she scolded, though her eyes betrayed a hint of amusement. CUTIS and Milo, however, were only getting started.
Chaos in the Garden
After breakfast, Mom tried to guide the monkeys toward helping with some jungle chores: gathering fruit, sorting leaves, and cleaning their resting area. But CUTIS had a different plan.
He pointed at the flowering bushes. “Milo, watch this!”
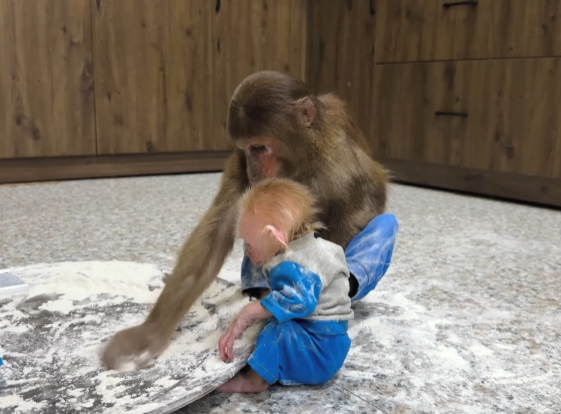
CUTIS leapt onto a low branch and shook it vigorously, sending petals fluttering everywhere. Milo, not wanting to be left out, grabbed a nearby stick and gently poked at another bush, making flowers and small fruits fall like confetti.
Mom arrived just in time to see her carefully tended garden turning into a whirlwind of petals and berries. She could hardly believe her eyes.
“CUTIS! Milo! Stop this nonsense right now!” she shouted.
CUTIS paused, pretending to be innocent. “We were just… helping, Mom!” he said with exaggerated sweetness. Milo nodded enthusiastically, his tiny chest puffed out as if they were truly being helpful.
Mom blinked. “Helping? Everything is upside down! Look at this mess!”
Milo and CUTIS shared a secret glance. The chaos was exactly what they had hoped for, but they didn’t anticipate what would happen next.
The Unbelievable Discovery

As Mom attempted to gather the fallen flowers and fruit, Milo spotted something shiny in the corner of the yard. His eyes sparkled with curiosity. He tiptoed over, picked it up, and squeaked in delight.
“What is it, Milo?” Mom asked cautiously, following him.
Milo held out the object: a small, glittering stone he had found buried under the leaves. CUTIS leapt beside him, inspecting it with exaggerated interest.
Mom gasped. “That’s… that’s my special gemstone! Where did you find that?!”
Milo and CUTIS exchanged a secret grin. They hadn’t meant to find it—they had simply been chasing butterflies and rolling around in the leaves—but now it was their moment to shine.
CUTIS gently tapped the stone with his paw, making it sparkle in the sunlight. “We… discovered it for you, Mom!” he said. Milo nodded furiously, squeaking in agreement.
Mom’s eyes narrowed, unsure whether to be angry or amazed. “You two… you’re impossible!” she exclaimed.
The Grand Finale

But the monkeys weren’t finished. CUTIS whispered to Milo, “Time for the final act.”
Milo’s eyes widened in excitement. CUTIS climbed up to the highest branch, then gestured toward the pile of fruit. With one swift motion, he sent a mango flying through the air. Milo jumped, trying to catch it mid-leap—but instead, the mango landed perfectly in a small water pool, sending a splash that soaked Mom’s feet.
Mom froze, dripping wet, and her jaw dropped. Milo squealed, laughing uncontrollably. CUTIS rolled on the branch, howling with laughter. The troop of younger monkeys who had been watching joined in, chattering and squeaking with delight.
Mom’s face was a mix of shock and exasperation. “CUTIS! Milo! This… this is unbelievable!”
Milo waddled over to her, still giggling, and offered the glittering stone as a peace offering. CUTIS leaned down, picking up a fallen flower and placing it gently on Mom’s head.
For a moment, silence fell. Mom blinked, then… something unexpected happened.
She laughed.
The Unbelievable Ending 😯

Yes, Mom was angry—but her anger melted into laughter as she looked at CUTIS and Milo. The two monkeys had caused chaos, made a mess of the garden, and even drenched her feet—but their cleverness, playfulness, and sincere attempts to delight her had completely won her over.
“You two… are absolutely impossible,” she said, shaking her head, smiling through her laughter. “I can’t stay mad at you.”
CUTIS and Milo squeaked in triumph. They had turned Mom’s anger into joy, and in doing so, had created a moment that would be remembered in the jungle for days to come.
Mom ruffled Milo’s soft fur and patted CUTIS’s head. “You both have hearts full of mischief… and love. That’s unbelievable.”
Milo clung to her side, grinning. CUTIS perched proudly nearby, tail flicking with satisfaction. The garden was a mess, the fruit pile was scattered, and her feet were still wet—but Mom didn’t mind anymore.
Sometimes, the jungle teaches lessons in unexpected ways: through chaos, laughter, and little acts of playfulness that remind everyone why they are together. CUTIS and Milo had learned something too—they had discovered that a little mischief, if done with love, could turn even anger into a moment of happiness.
And for Mom… it was a reminder that even the wildest little monkeys could bring joy, wonder, and… unbelievable surprises.
The jungle echoed with laughter as CUTIS and Milo rolled in the sunlit grass, proud of their day’s work. Mom shook her head again, smiling. “Unbelievable… truly unbelievable,” she murmured.
And in that moment, all three monkeys—Mom, CUTIS, and Milo—felt closer than ever, bonded by chaos, laughter, and the unforgettable ending of a morning that no one would ever forget.