Ceramic tile flooring is a popular choice for homeowners and commercial spaces due to its durability, water resistance, and classic appeal. Whether you’re renovating a kitchen, bathroom, or entryway, ceramic tile offers both functional and aesthetic value. But what does it take to install ceramic tile flooring from start to finish? In this guide, we’ll walk through all the stages—from preparation to final touches—so you know exactly what to expect.
Stage 1: Planning and Design
Every successful tile flooring project begins with proper planning. Start by measuring the area where you want to install the ceramic tiles. Calculate the square footage to determine how many tiles you’ll need, making sure to buy an extra 10% to account for breakage and waste.
Next, select the tile design, size, and color. Ceramic tiles come in a wide range of styles—from wood-look finishes to glossy or matte surfaces. Consider how the tiles will blend with the rest of your decor, as well as the amount of foot traffic the area receives.
You’ll also need to choose a grout color and tile pattern. Popular layout options include straight lay, diagonal, herringbone, and brick patterns. Mapping out the design on paper or using layout software helps visualize the final look and catch any potential issues before installation.
Stage 2: Gathering Tools and Materials
Before you begin installation, gather the necessary tools and materials. These include:
- Ceramic tiles
- Tile spacers
- Notched trowel
- Tile cutter or wet saw
- Thin-set mortar or adhesive
- Grout
- Grout float
- Level
- Tape measure
- Chalk line
- Rubber mallet
- Sponge and bucket
- Knee pads (optional but recommended)
Having all your tools ready ahead of time ensures the process goes smoothly without unnecessary delays.
Stage 3: Surface Preparation
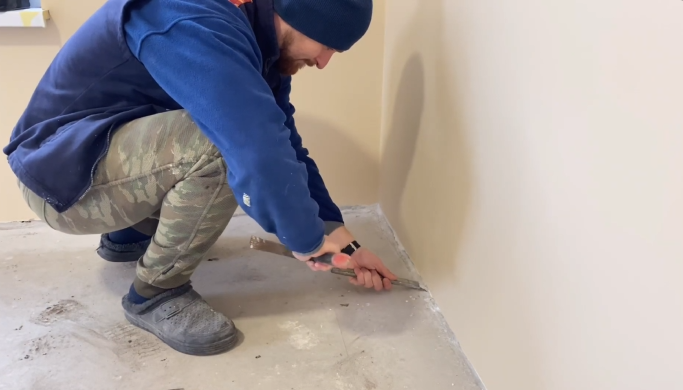
Proper surface preparation is crucial for a long-lasting tile floor. The subfloor must be clean, level, dry, and structurally sound. If you’re installing over concrete, check for cracks and patch them up. For wooden subfloors, ensure there’s minimal movement and consider adding a cement backer board for added stability and moisture resistance.
Remove any old flooring, debris, or adhesive. Sweep and vacuum the surface thoroughly. If necessary, use a leveling compound to correct uneven spots. A flat surface will prevent tile cracking and ensure a clean, professional finish.
Stage 4: Dry Layout and Marking
Before applying adhesive, do a dry layout of the tiles. This means placing the tiles on the floor without mortar to test your design and layout. Start from the center of the room and work outward. Use a chalk line to mark the center and align the tiles along the lines. This helps maintain symmetry and prevents awkward tile cuts at the edges.
Use tile spacers between each tile to keep consistent gaps for grout. Adjust the layout as needed, and make note of where you’ll need to cut tiles to fit around edges or fixtures.
Stage 5: Applying Adhesive and Laying Tiles
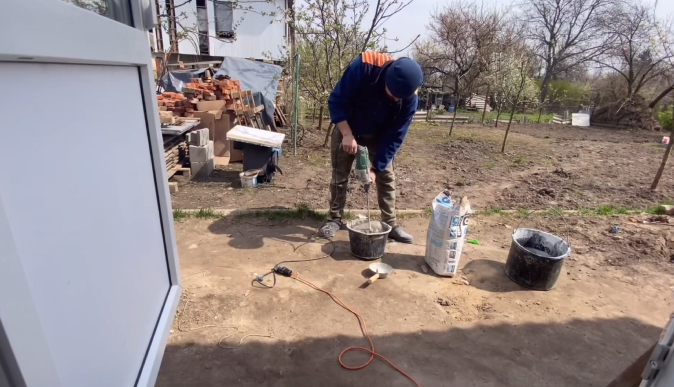
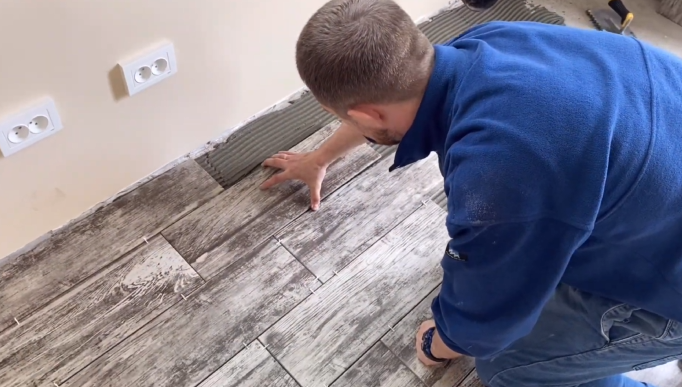
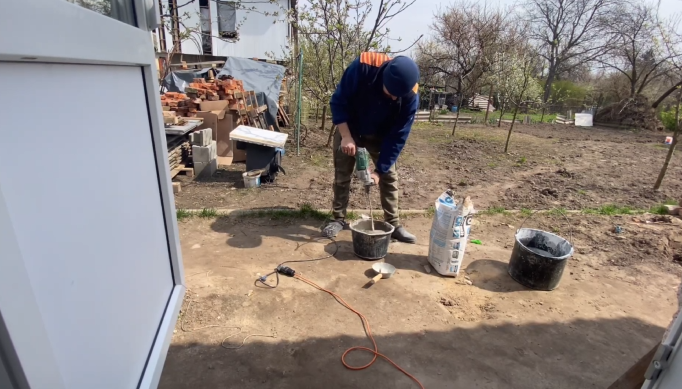
Once satisfied with your dry layout, begin applying the thin-set mortar. Using the notched trowel, spread a small section of mortar on the subfloor—just enough for a few tiles at a time. Comb the mortar with the notched side of the trowel to create grooves, which help the tile adhere better.
Place each tile firmly into the mortar, twisting slightly for better adhesion. Insert spacers between tiles to maintain even joints. Use a level to check that tiles are even and a rubber mallet to gently tap any uneven tiles into place.
Work in small sections to prevent the mortar from drying before the tiles are laid. Wipe off any excess adhesive that squeezes up between the joints before it hardens.
Stage 6: Cutting Tiles
As you reach the edges of the room, you’ll likely need to cut tiles to fit. A tile cutter works well for straight cuts, while a wet saw is ideal for intricate or curved cuts around obstacles like toilets, sinks, or corners.
Always measure carefully before cutting, and wear safety goggles to protect your eyes. Smooth the edges with a rubbing stone if needed. Fit the cut tiles into place with the same process used for full tiles.

Stage 7: Letting the Mortar Set
After all tiles are laid, allow the mortar to cure for at least 24 hours. Avoid walking on the tiles during this time to prevent them from shifting. This drying period is essential for creating a strong bond between the tiles and the subfloor.
Stage 8: Grouting the Joints
Once the tiles are set and secure, it’s time to apply grout. Remove tile spacers and mix the grout according to the manufacturer’s instructions. Using a grout float, press the grout into the joints at a 45-degree angle, ensuring that all gaps are filled.
Wipe off excess grout with a damp sponge, rinsing frequently. Be careful not to dig into the joints. Let the grout dry slightly, then buff the tiles with a dry cloth to remove any haze. A final cleanup may be needed the next day once the grout is fully cured.
Stage 9: Sealing (Optional but Recommended)
Some types of grout are porous and may benefit from sealing. A grout sealer helps prevent staining and moisture penetration, especially in wet areas like bathrooms and kitchens. Use a small applicator or brush to apply the sealer along the grout lines and allow it to dry as directed.
If your ceramic tiles are unglazed, consider sealing the tiles themselves as well for added protection.
Stage 10: Final Inspection and Cleaning
Inspect the finished floor carefully. Check that all tiles are secure, the grout lines are filled evenly, and no tiles are cracked or loose. Sweep and mop the surface gently to remove any remaining dust or grout haze.
Now your ceramic tile floor is complete! It should be beautiful, durable, and ready to withstand everyday wear.
Maintenance Tips for Longevity
To keep your ceramic tile flooring in top condition:
- Sweep regularly to remove dirt and debris.
- Clean with a mild detergent and warm water.
- Avoid harsh chemicals or abrasive tools that could scratch the surface.
- Re-seal grout lines periodically if needed.
- Address spills quickly to prevent staining.
With proper care, ceramic tile flooring can last for decades and maintain its original charm.